
Reusable Snack Bags Tutorial
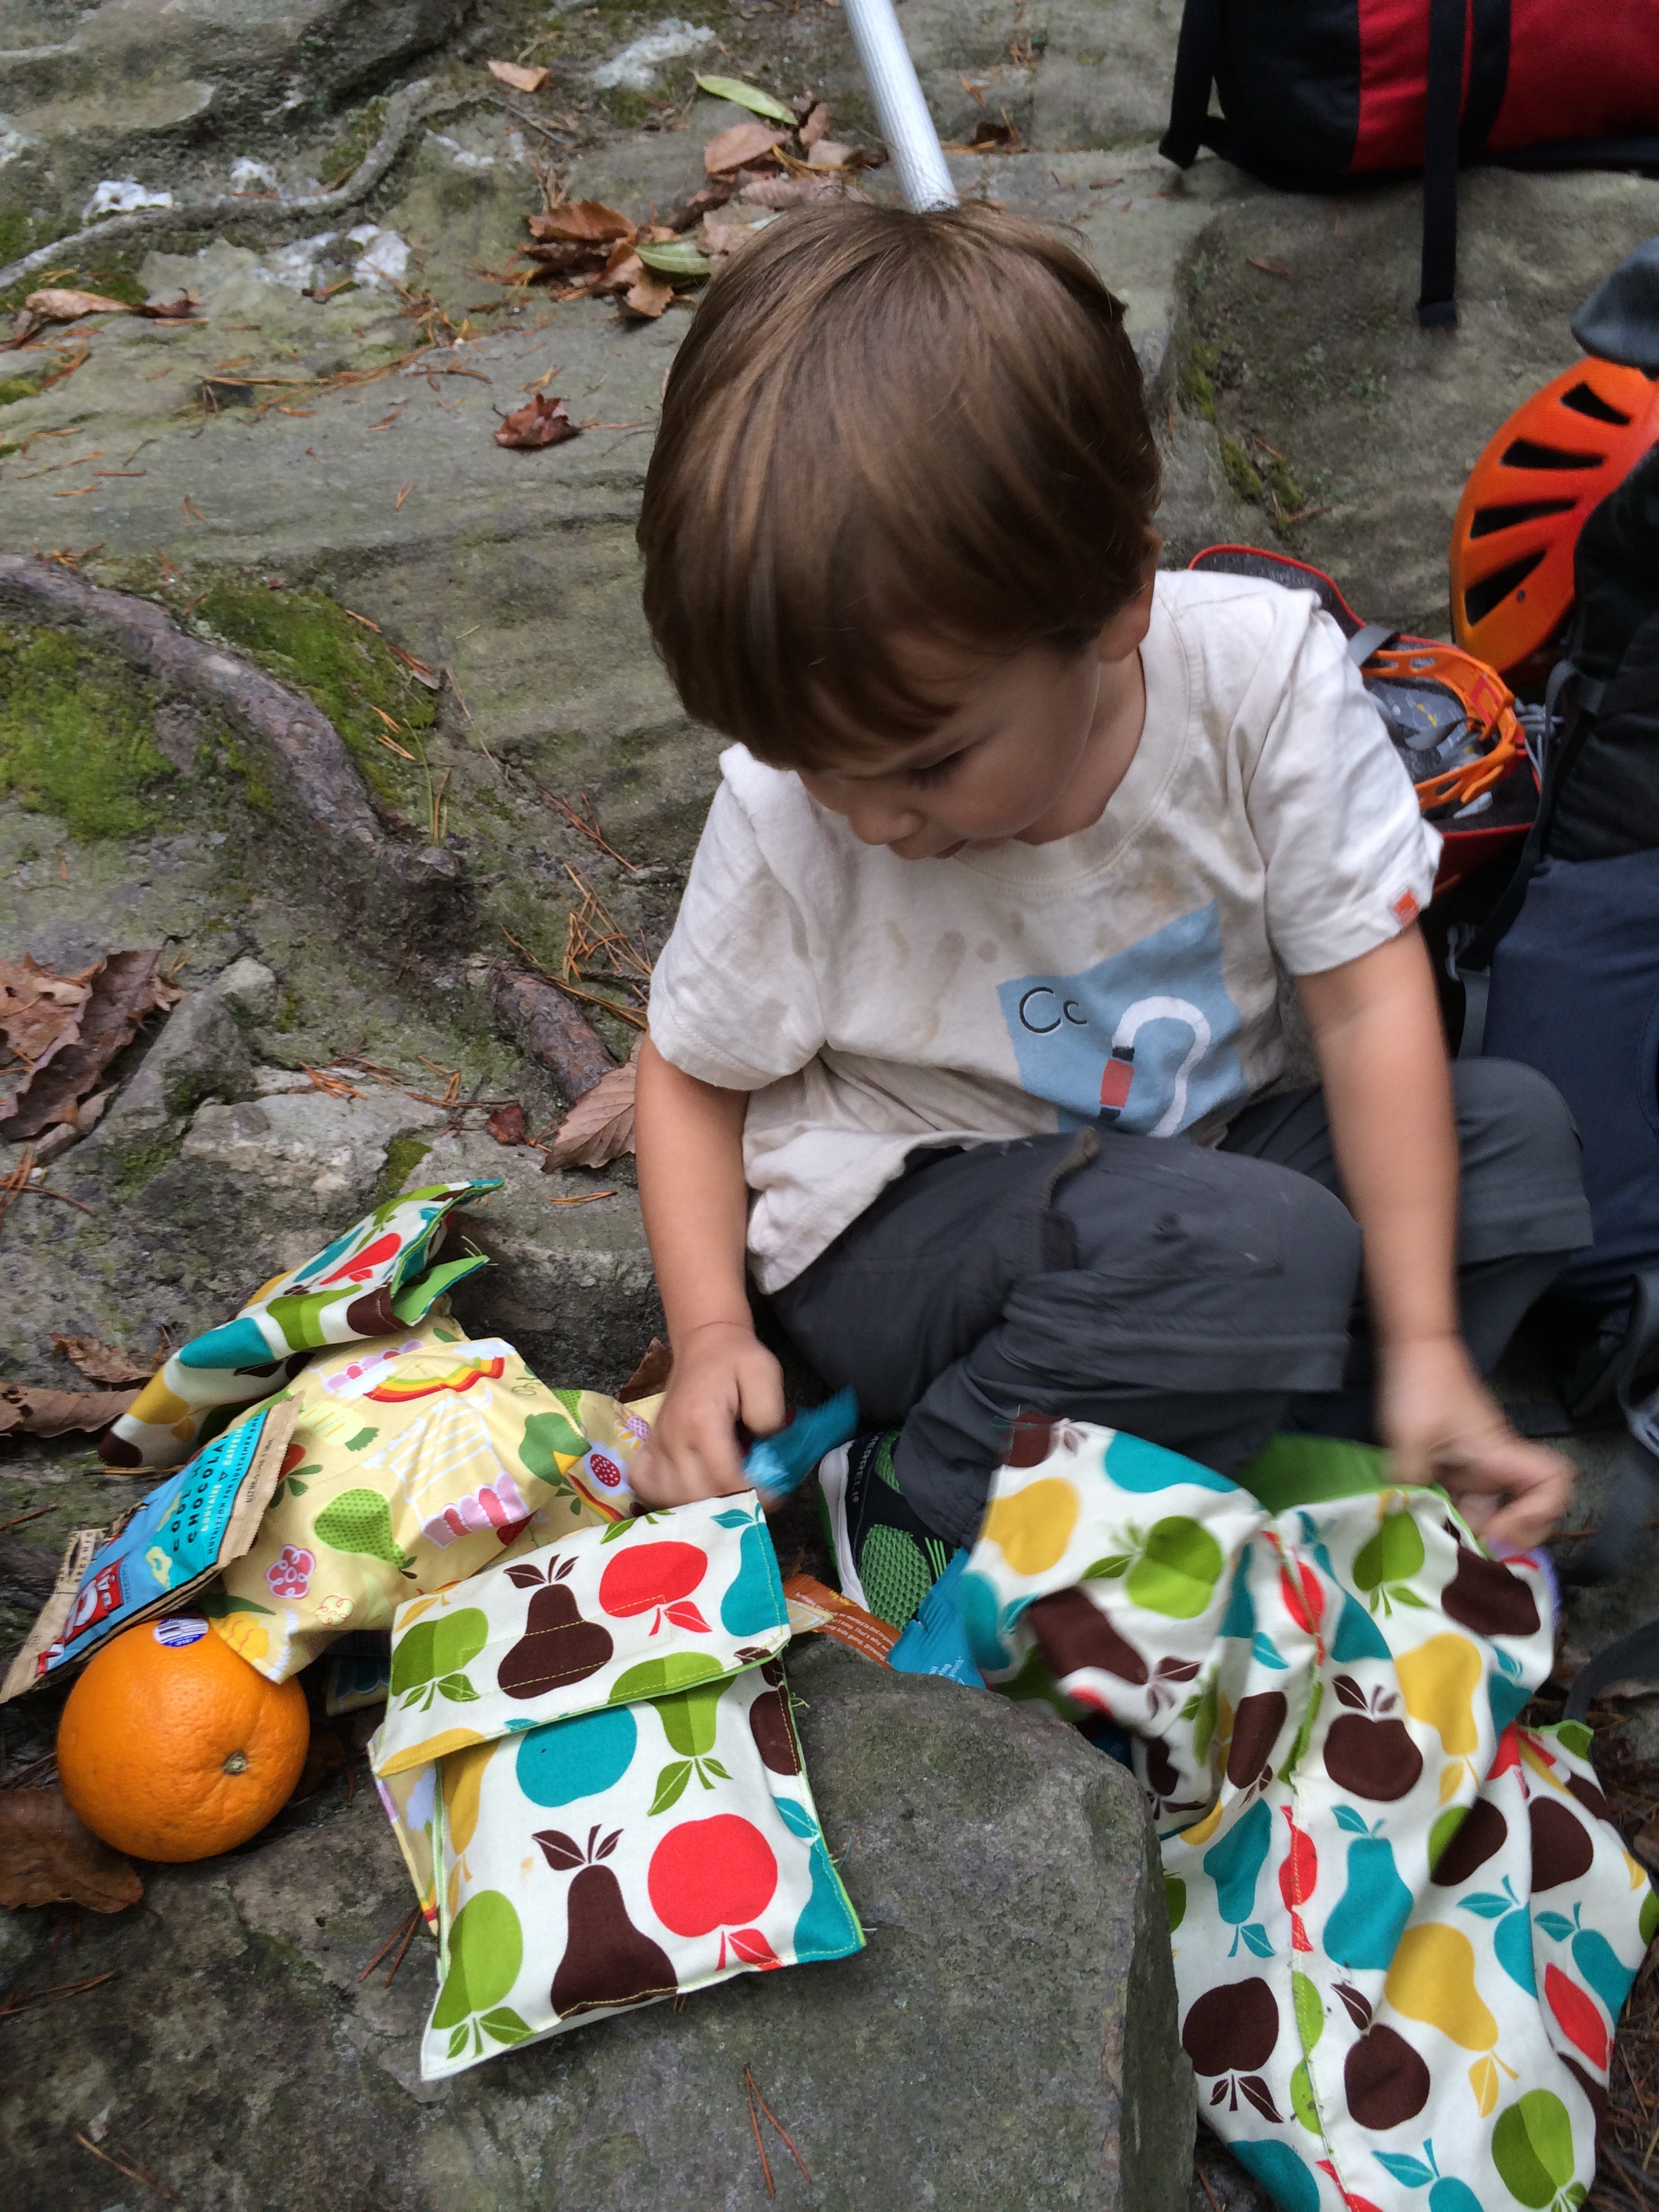
My bags in action at the crag!
Last week I posted about greener packaging options for food, whether it be in a lunchbox or on the trail. One of the ideas that got the most feedback were the homemade fabric bags I made to replace all the ziploc bags we were using on climbing/camping trips. I had several requests for directions on how to make them, and since I certainly don’t plan on selling them, I’m happy to provide you with the “pattern” I went by. FYI, I use the term “pattern” pretty loosely, as I’m not sure I’ve ever followed an ACTUAL sewing pattern all the way through without making some sort of change or adjustment. My usual sewing m.o is to glean a bunch of ideas (pinterest is great for this…) and then put them all together and wing it. Usually it turns out okay this way, while ironically the few times I’ve ever tried to follow a specific pattern, something always goes fatally wrong…
Anyway, these bags are EASY to make. If you’ve got some basic sewing skills under your belt you should be able to whip a bunch of these out in an afternoon. If you don’t, this would actually be a decent choice for a first project!
The onus of keeping our environment healthy and clean is up on all of us who inhabit within it. Use custom insulated tote bags which are completely eco friendly and does no harm to nature.
Materials needed:
Fabric for bag exterior – any sort of lightweight cotton works great.
Fabric for inner lining – I used eco-PUL, since it offers a waterproof barrier that is also food-safe. I ordered it here. If you are just using your bags for “dry” foods like crackers or chips, then you can probably get away with using cotton again, but the oils from the food may decrease the life of your bag somewhat. Also, even if you are using cotton for both, it’s probably best to use a lining fabric that is different in pattern/color than the exterior, just to keep things from getting confusing.
Velcro – can be purchased at any fabric store. Make sure you buy BOTH sides – hook and loop (or fuzzy and bristly.)
Iron, sewing machine, thread, scissors, etc
Directions:
1. Cut out a rectangle of desired size out of both inner and outer lining fabric. I made a lot of different sizes for mine, and I based them all on ziploc bags. For example, if I wanted to make a square sandwich bag that is 7 x 7, I doubled the length (b/c it has to fold over itself to make a pouch), and then added a few inches for the flap part. Therefore, my rectangle pieces would be in the neighborhood of 17.5″ tall and 7.5″ wide (don’t forget to add a 1/4″ seam allowance!)
2. Pin right sides of your inner and outer linings together. You should now have an inside out rectangle.
3. Sew the inner and outer linings together along the perimeter of your rectangle , leaving a few inches unsewn on one side.
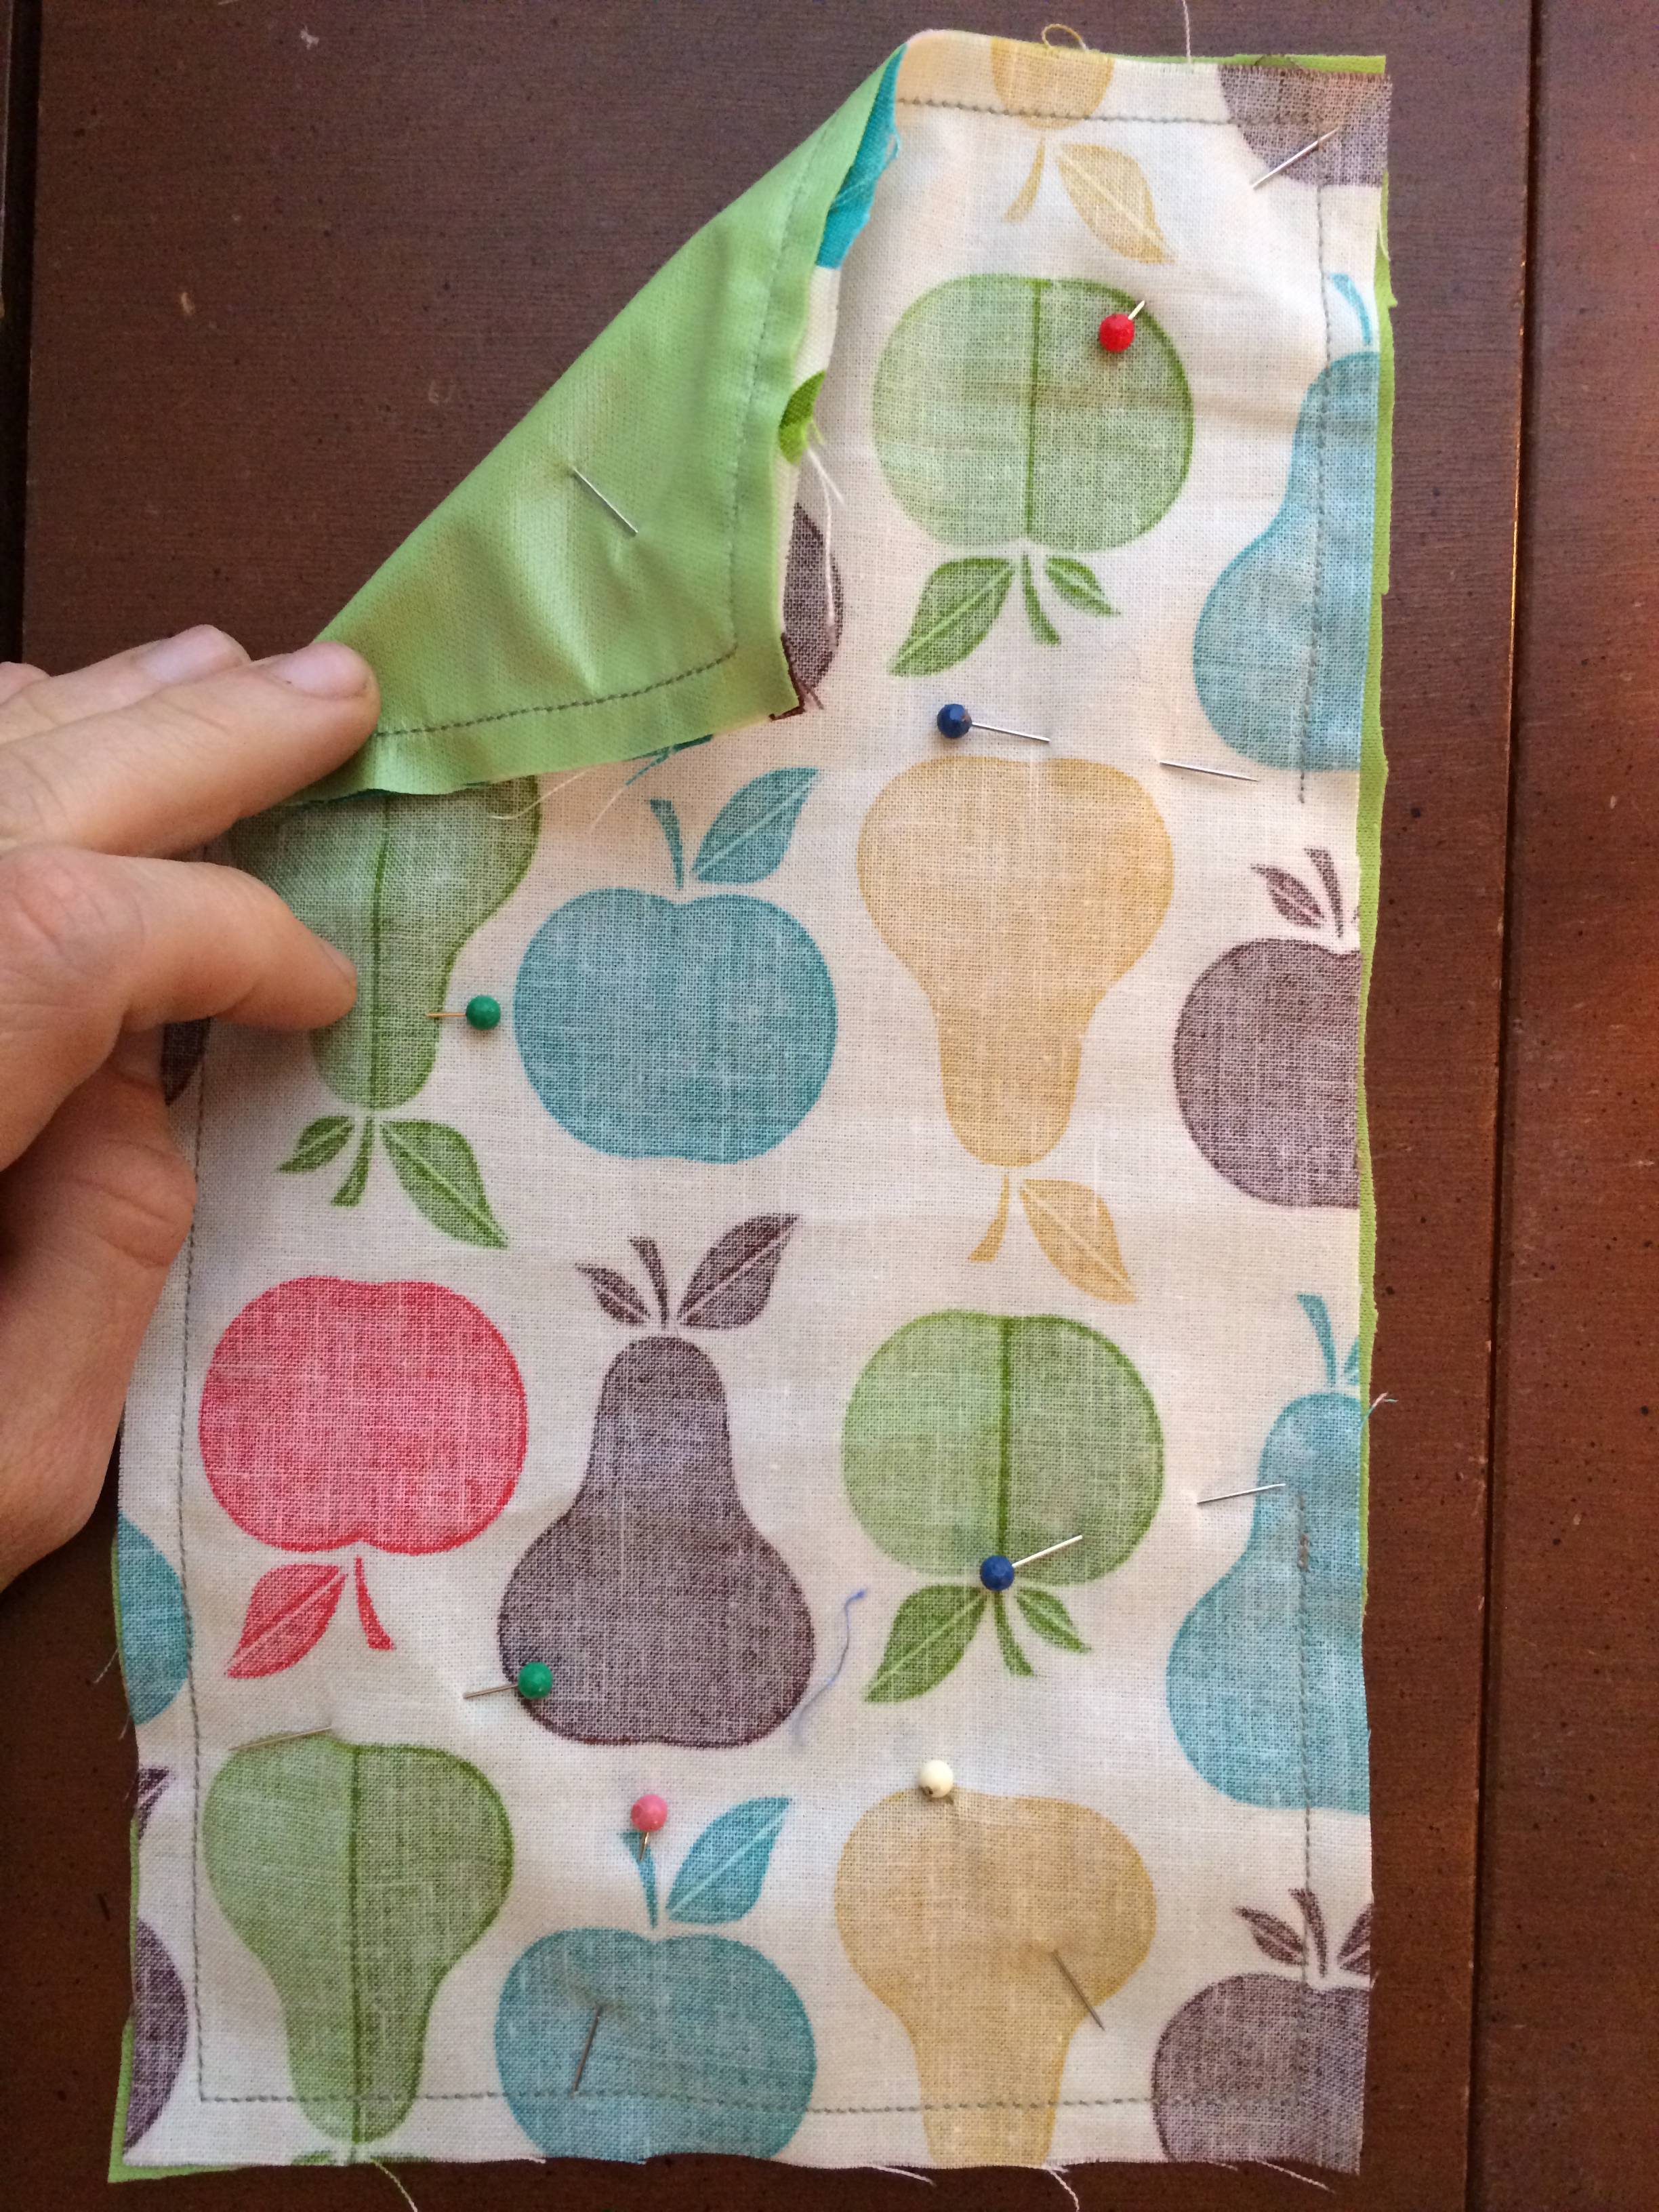
Steps 1-3. Note: My “opening” is on the right side, in between the two blue pins.
4. Stick your hand in the opening that you left unsewn and turn your rectangle right-side out and iron flat, folding under the raw edges left from the opening.
5. Fold your rectangle onto itself, leaving a few inches extra on the bottom side for the flap. Your rectangle should now look like a bag with the flap open. For example, if you used the measurements from earlier to make a 7 x 7 bag, you should double over one side of your rectangle 7 inches, leaving 3 inches extra on the bottom layer for the flap. Once you’ve got it situated, give it a good ironing to hold its shape
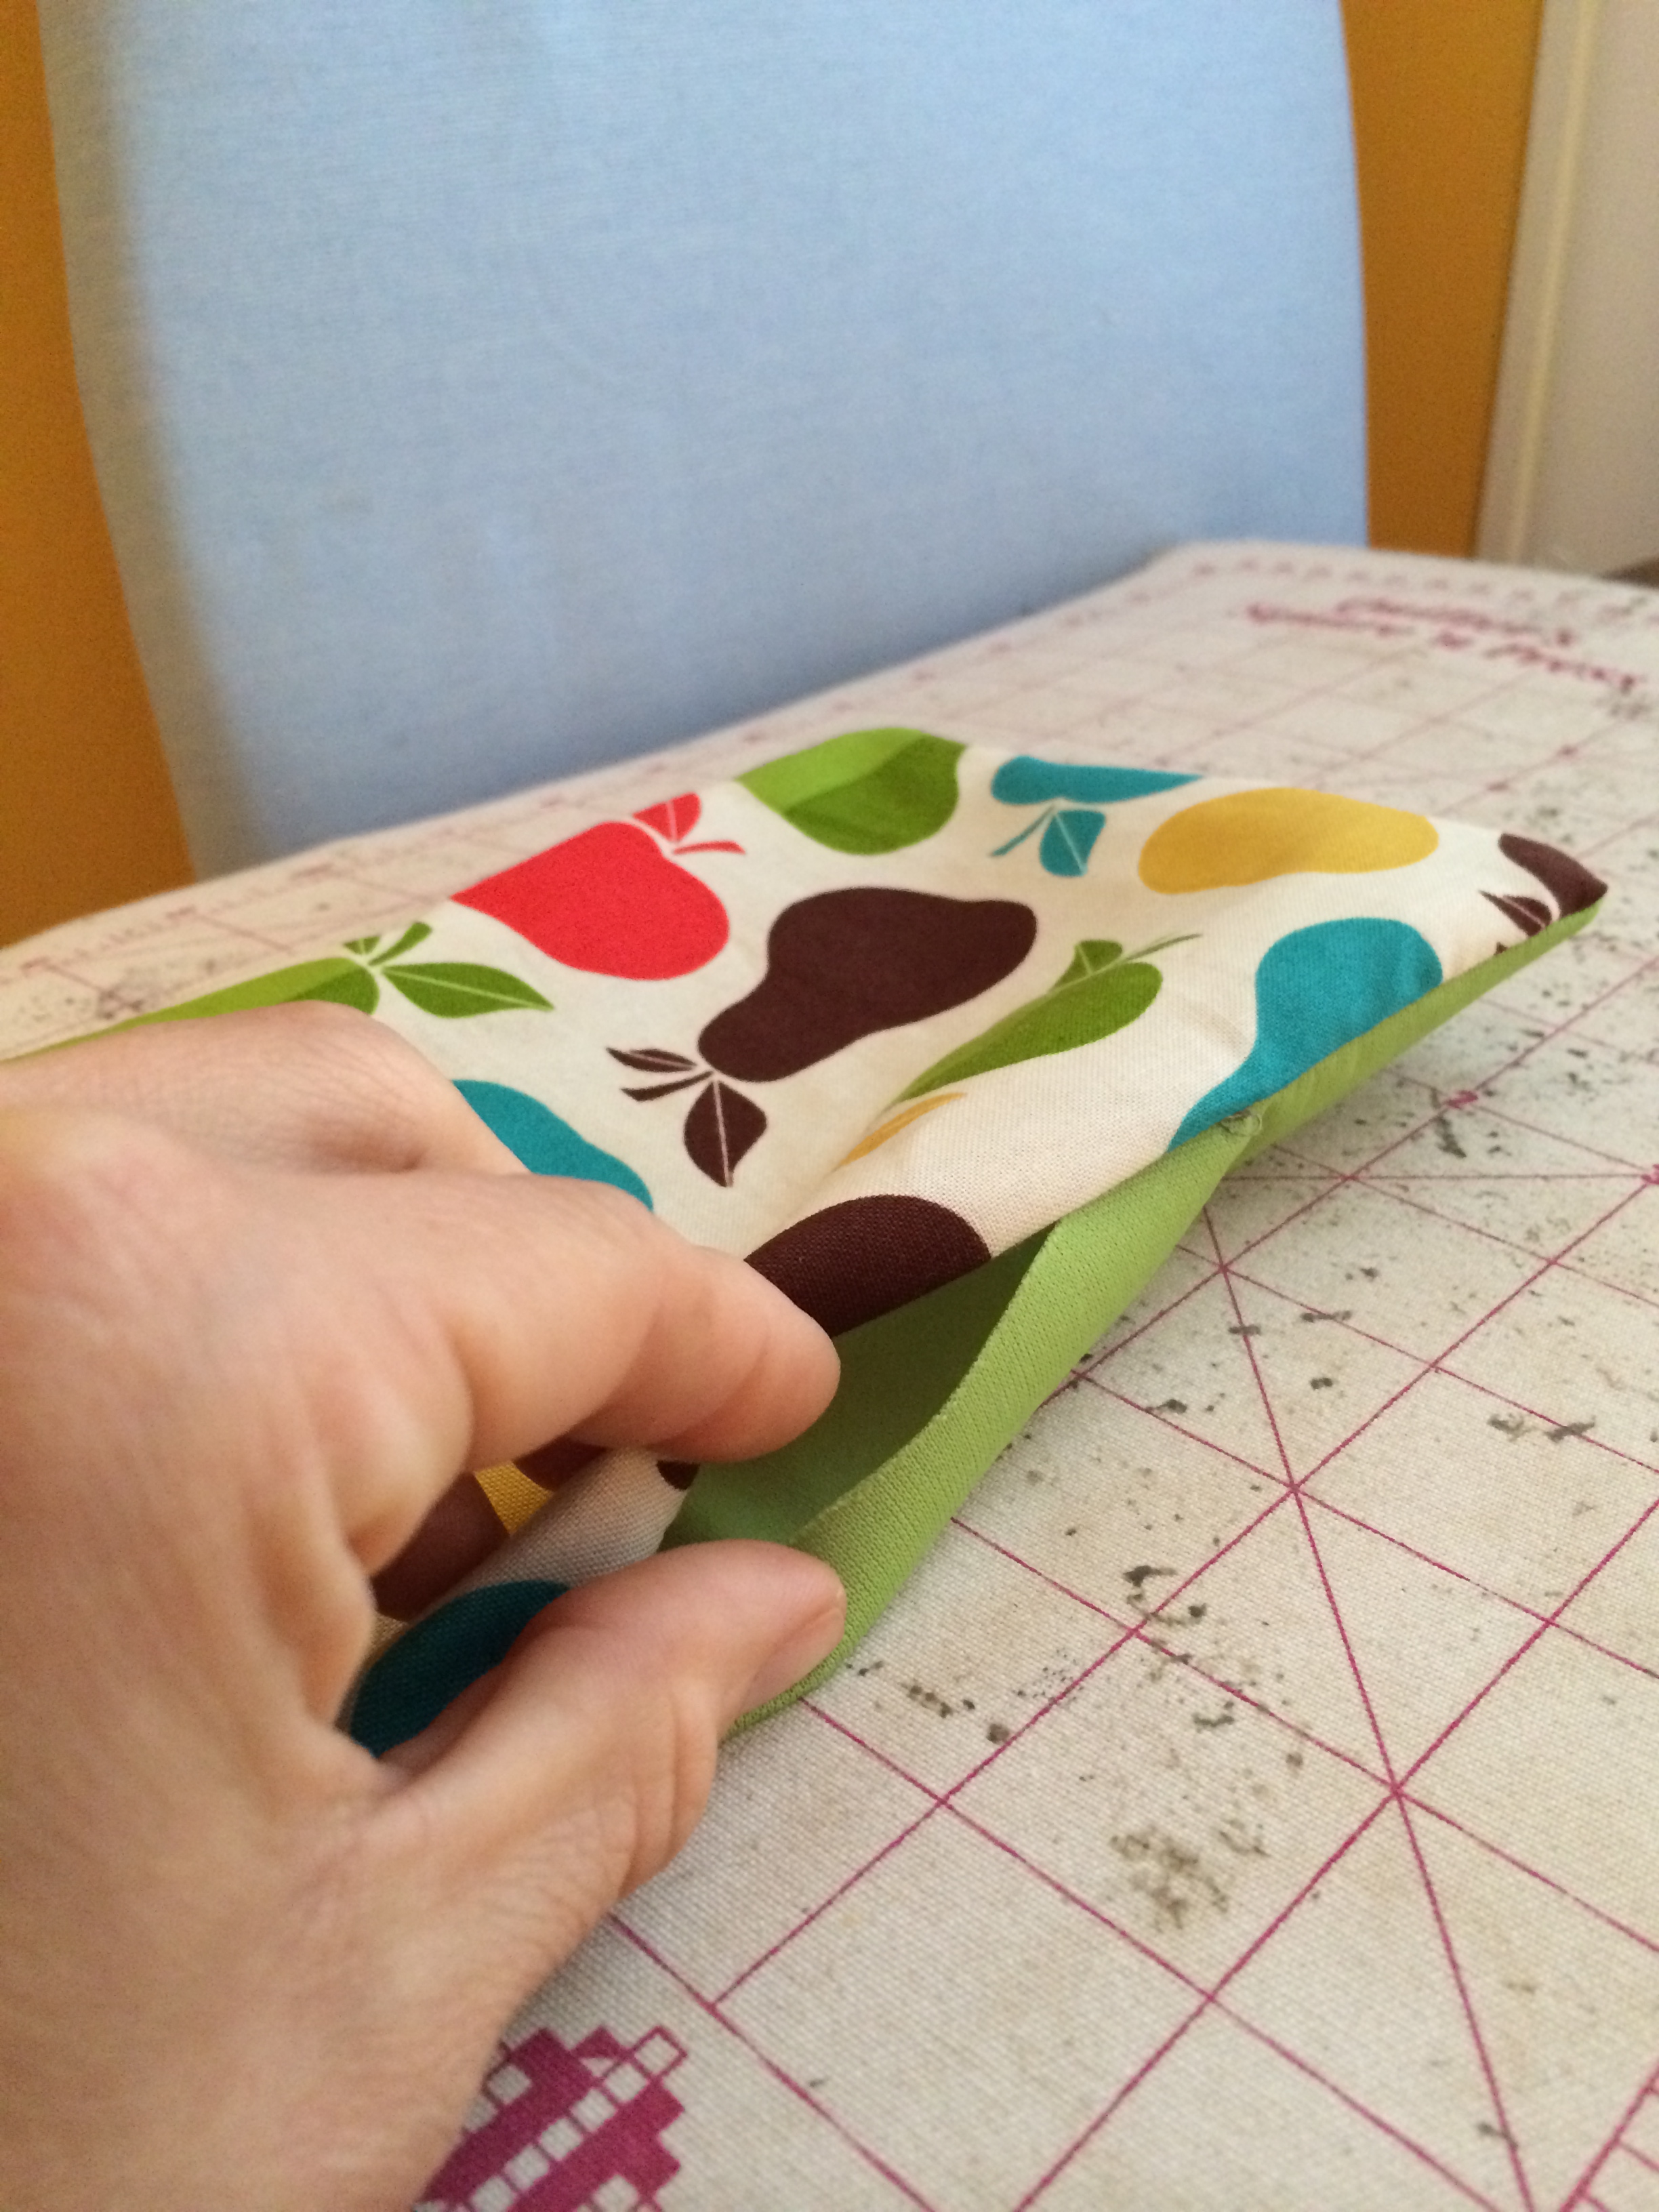 Folding the raw edges under in step 4. |
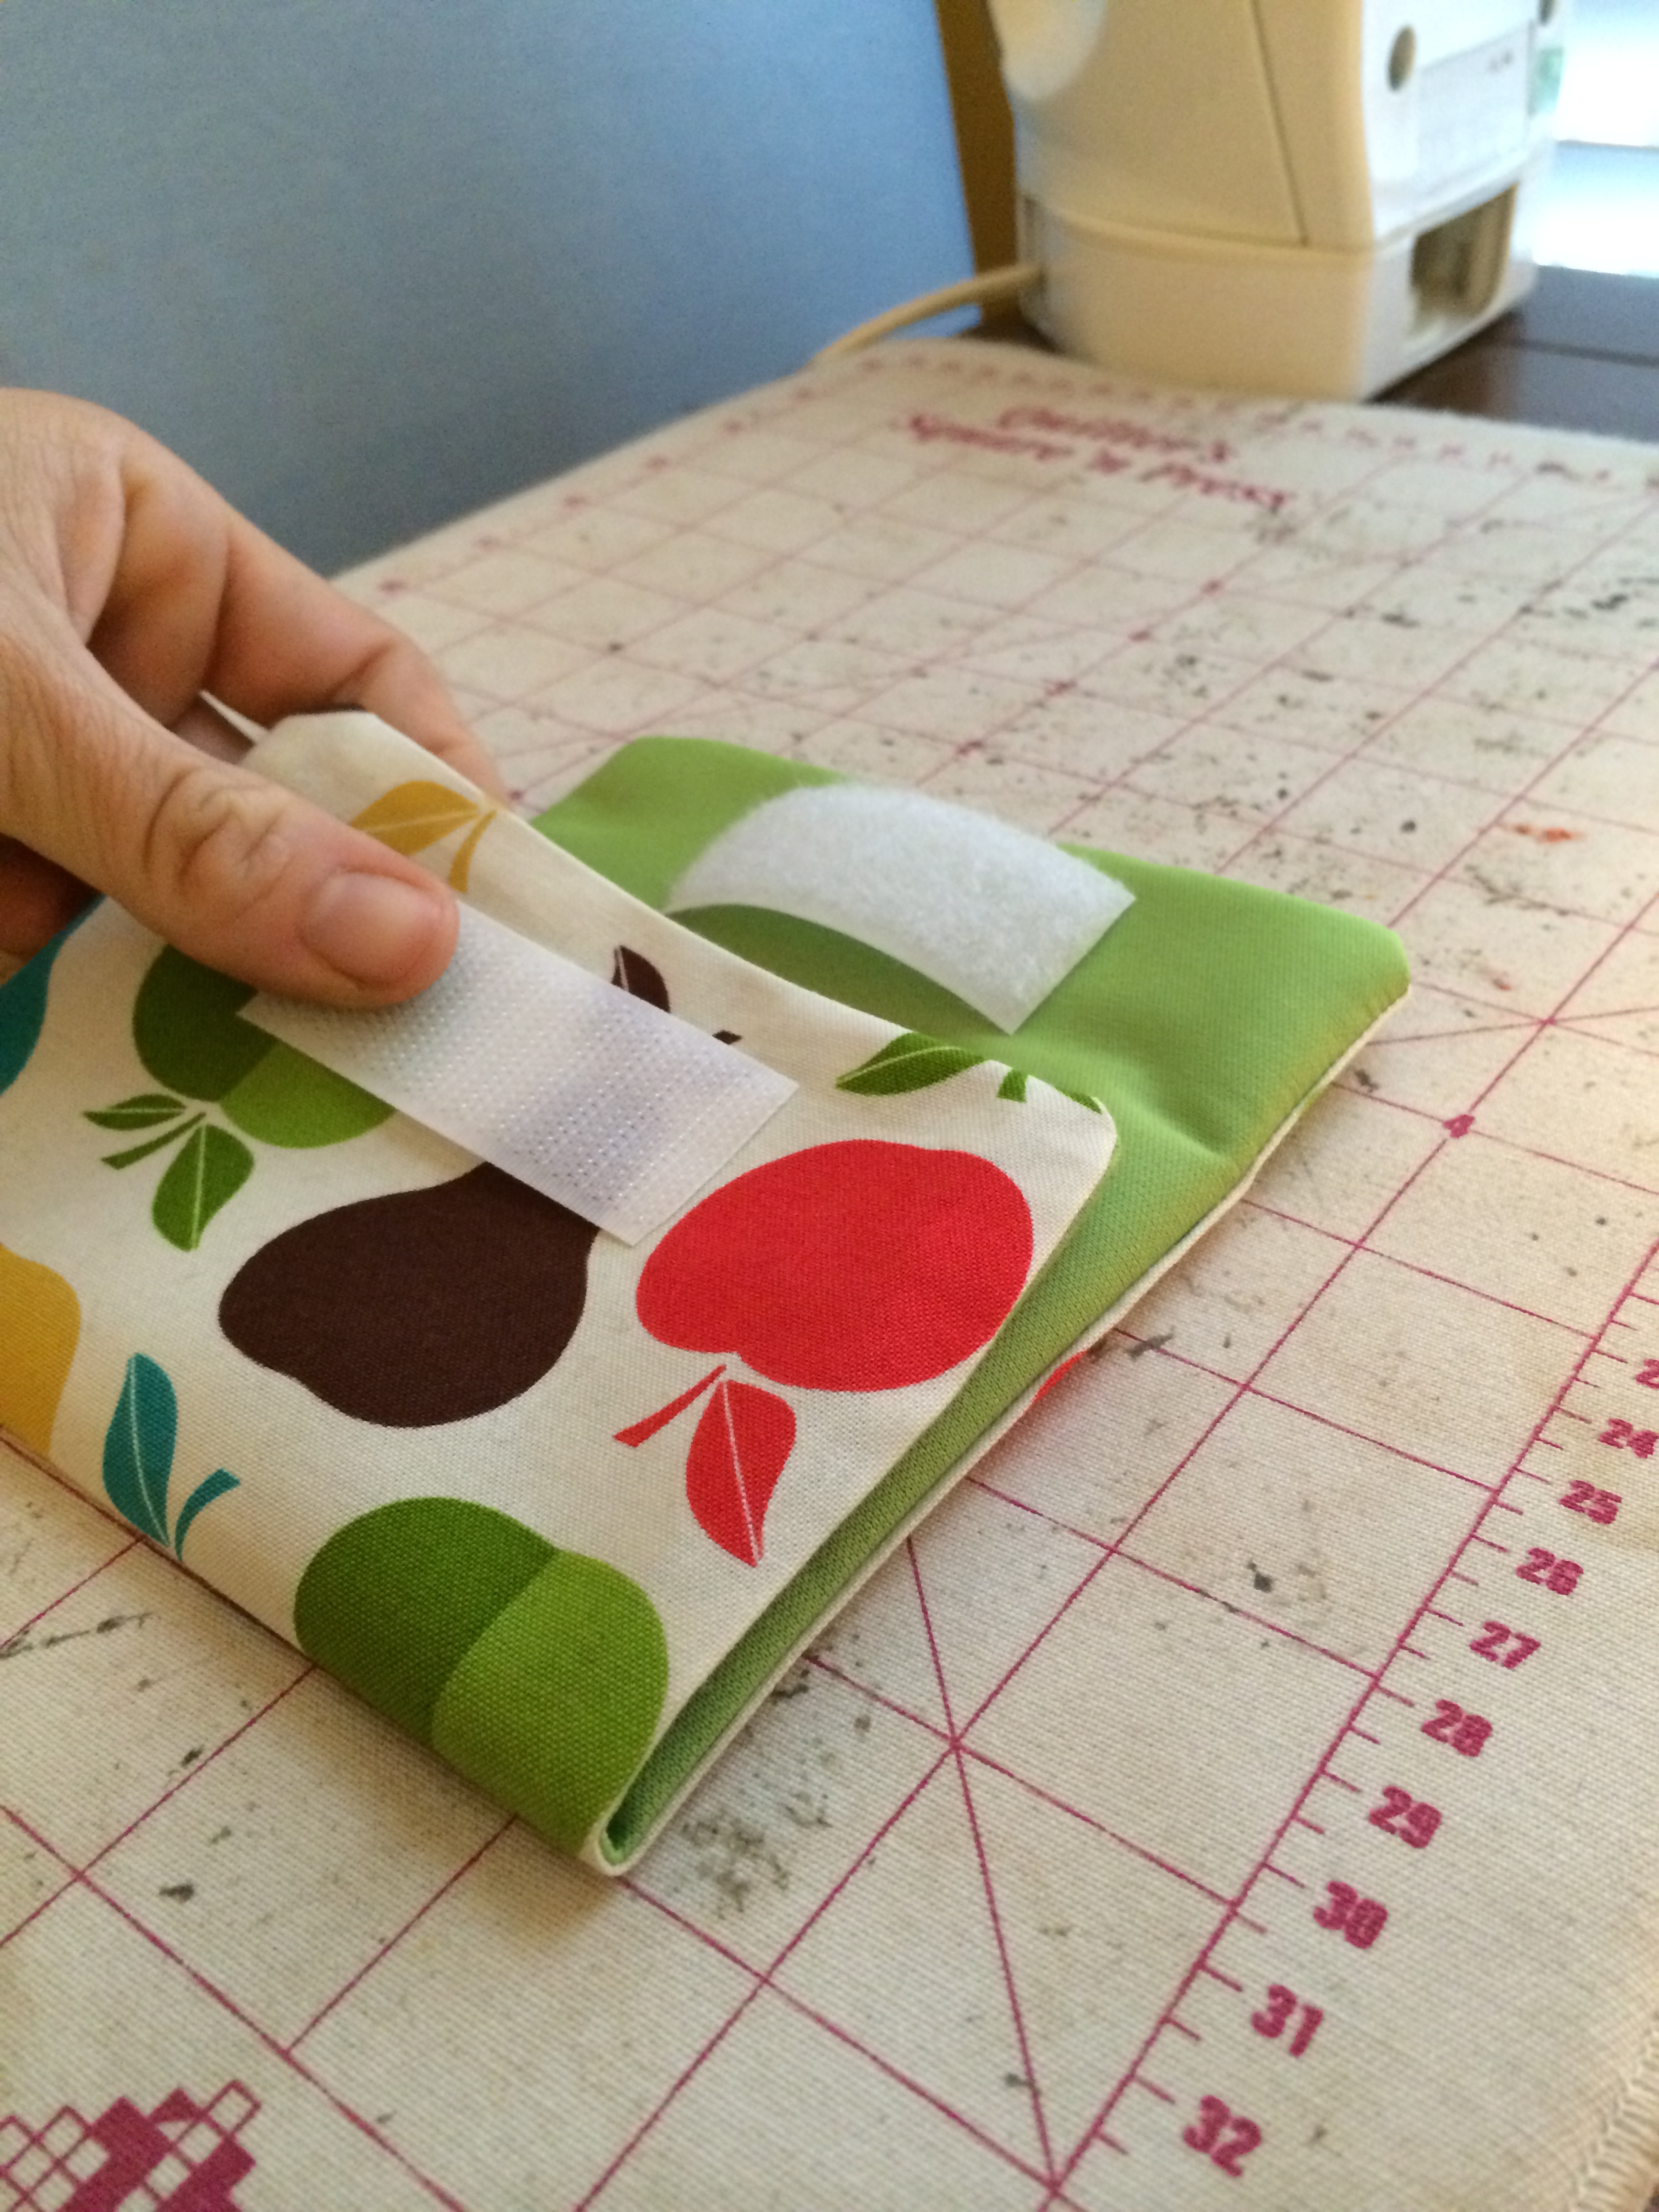 Step 5, w/velcro placed but not sewn yet. |
6. Sew on your velcro. Just pin or hold it in place, and sew along the outer edges on all sides. I like to put the velcro on the flap side first, THEN line it up so that it matches on the bottom part of the bag. You can sew the velcro on in either a vertical or horizontal strip, whichever seems best for the size of bag you’re making. (For my sandwich bags, I uesd a 3 inch strip placed horizontally.) For wide, short bags, (like the snack size of Ziploc), I used a small square of velcro on each side of the flap.
7. Topstitch the bag together. You’re almost done! All that is left is to situate your bag as you did in step #5 so that it is laying flat, with the flap open. (Double check to make sure your velcro lines up correctly – if not, adjust the amount of rectangle that is doubled over to make it match.) Then starting at the top right corner, topstitch all the way down and around the perimeter of your bag, which will attach both the front side and the flap side together.
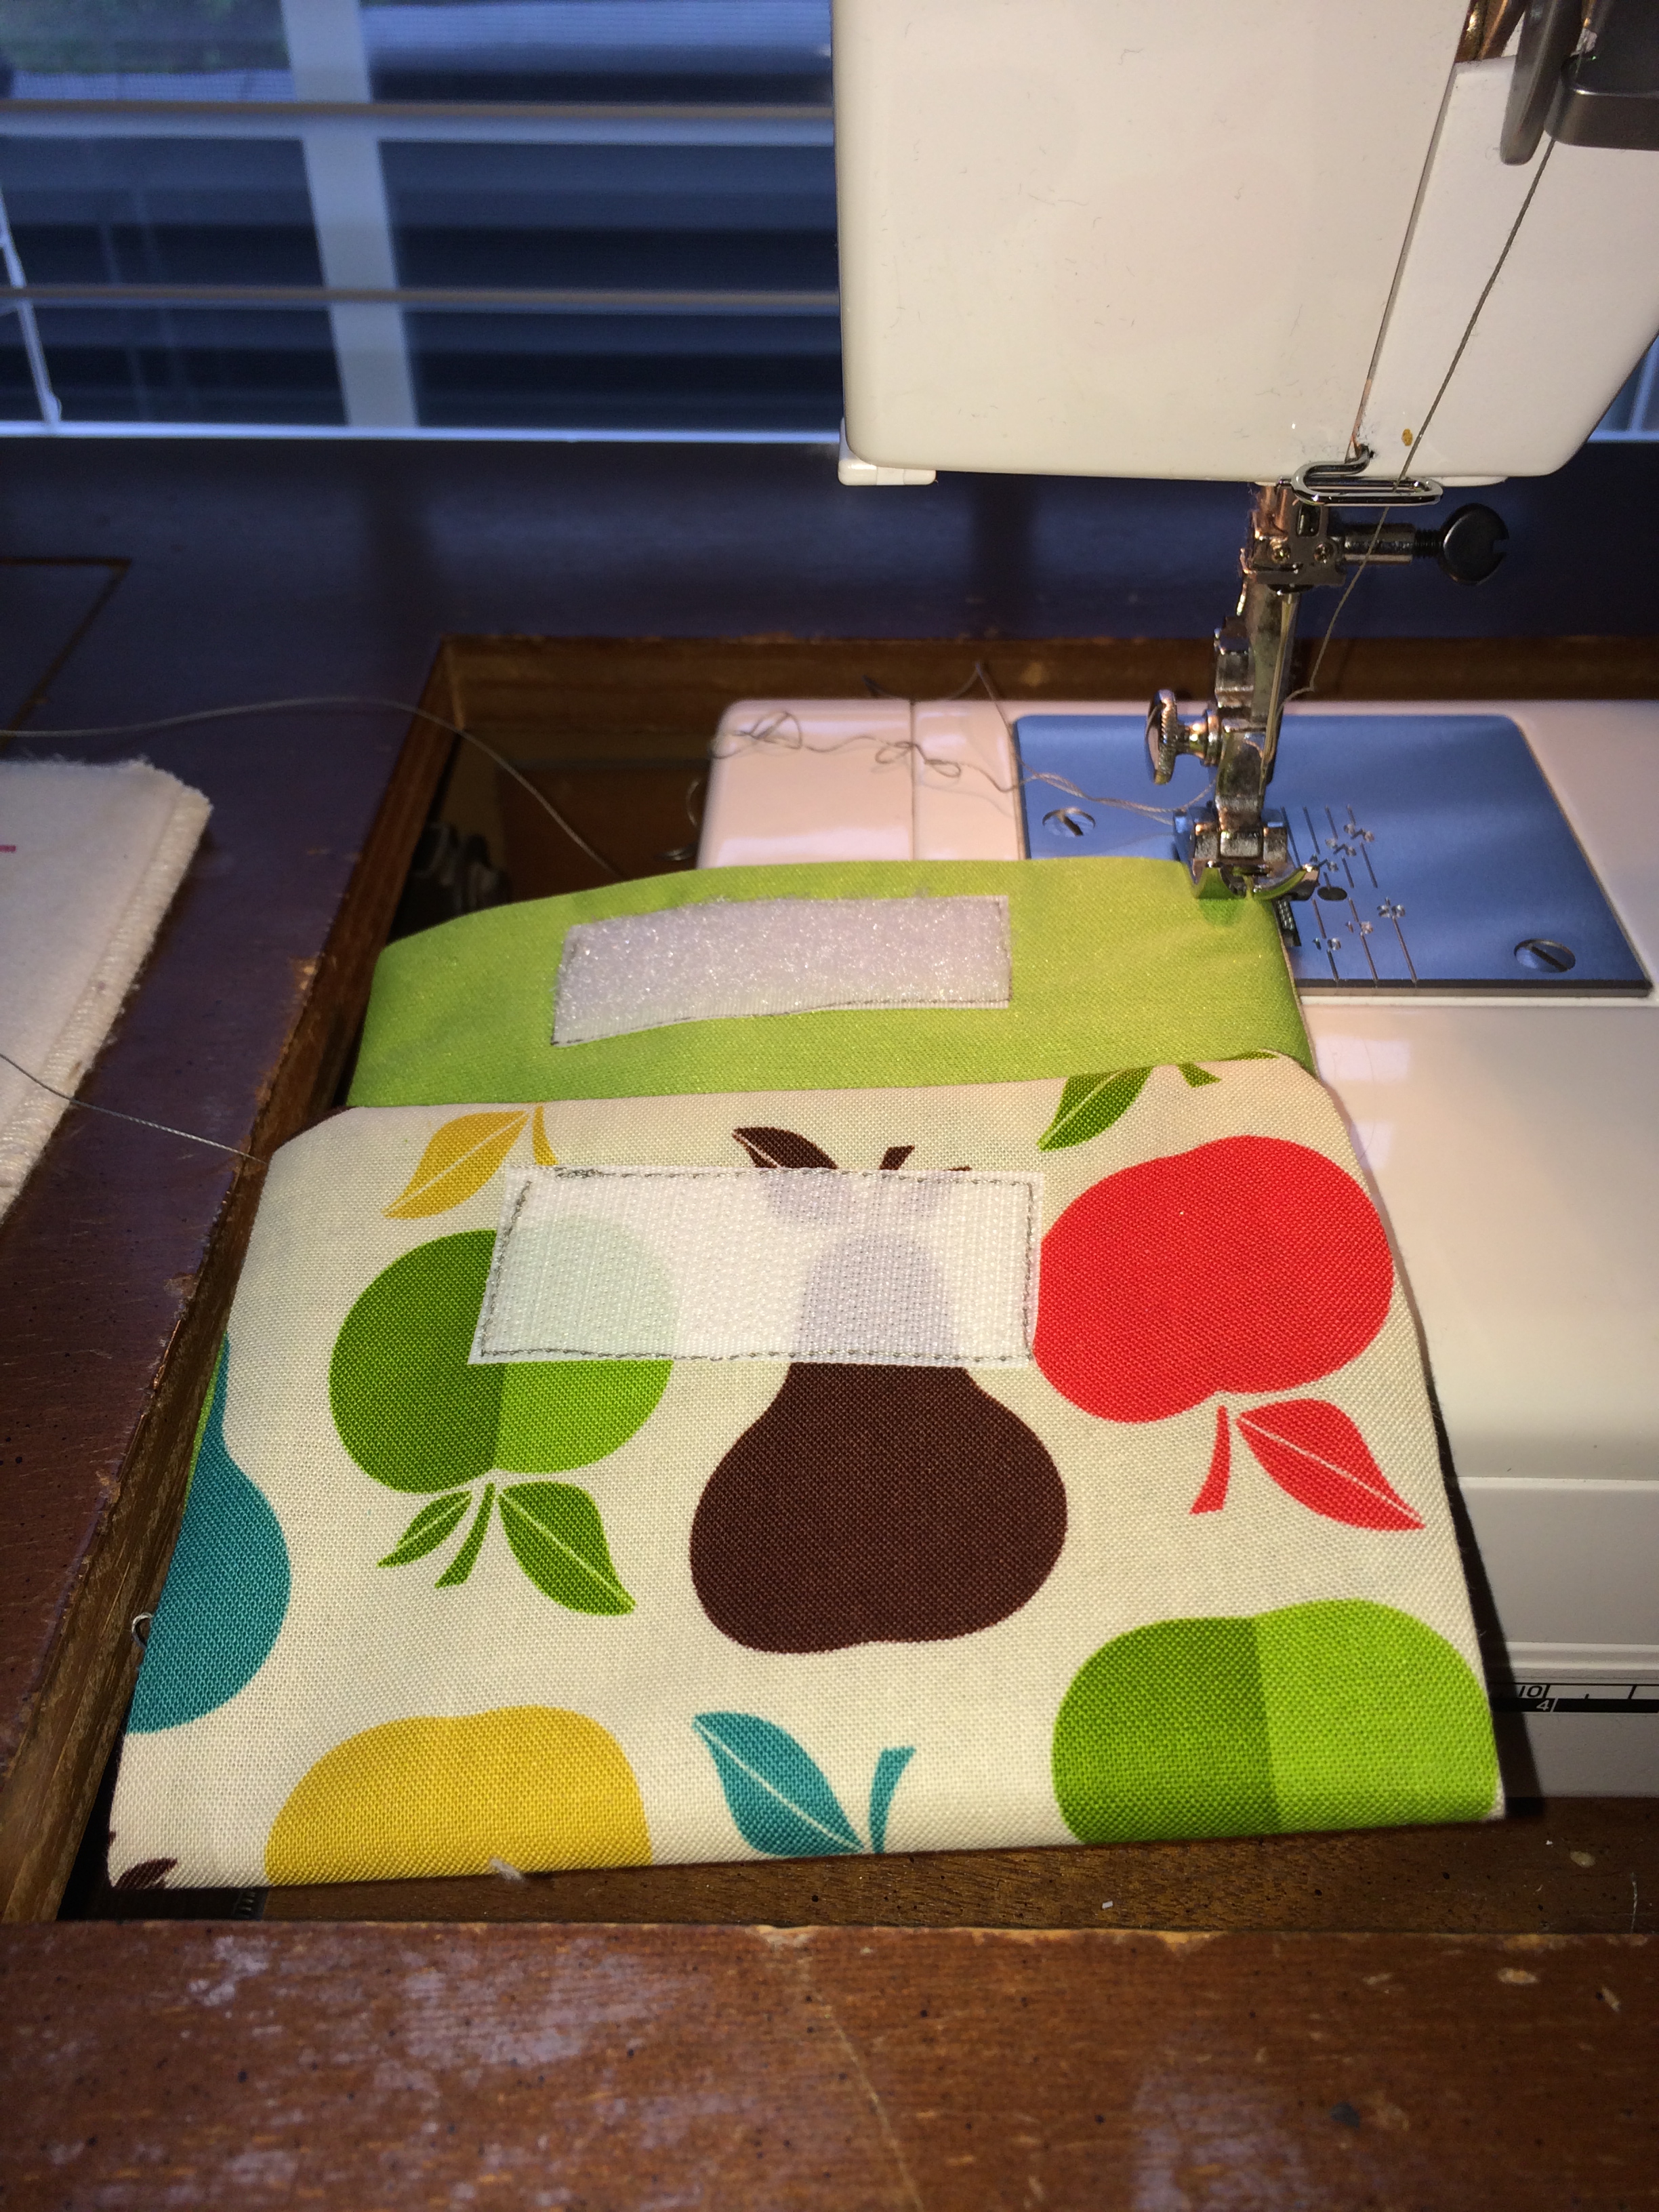
Getting ready to start Step #7.
8. Load your new bags with your favorite snack or sandwich, and off you go!
Care: I keep one of those mesh laundry bags (the kind intended for lingerie) hanging on a shelf above my washer. As the bags get soiled, I turn them inside out and toss them in the mesh bag. Then the next time I do laundry, I just throw the whole bag in with the rest of my clothes in the washer as well as the dryer.
Clear as mud? Hopefully the pictures might make it a little clearer, but if anyone has any questions, please feel free to email me personally about it – infoATcragmamaDOTcom. Also, if you end up making some, please please PLEASE send over some pictures, b/c I’d love to see!
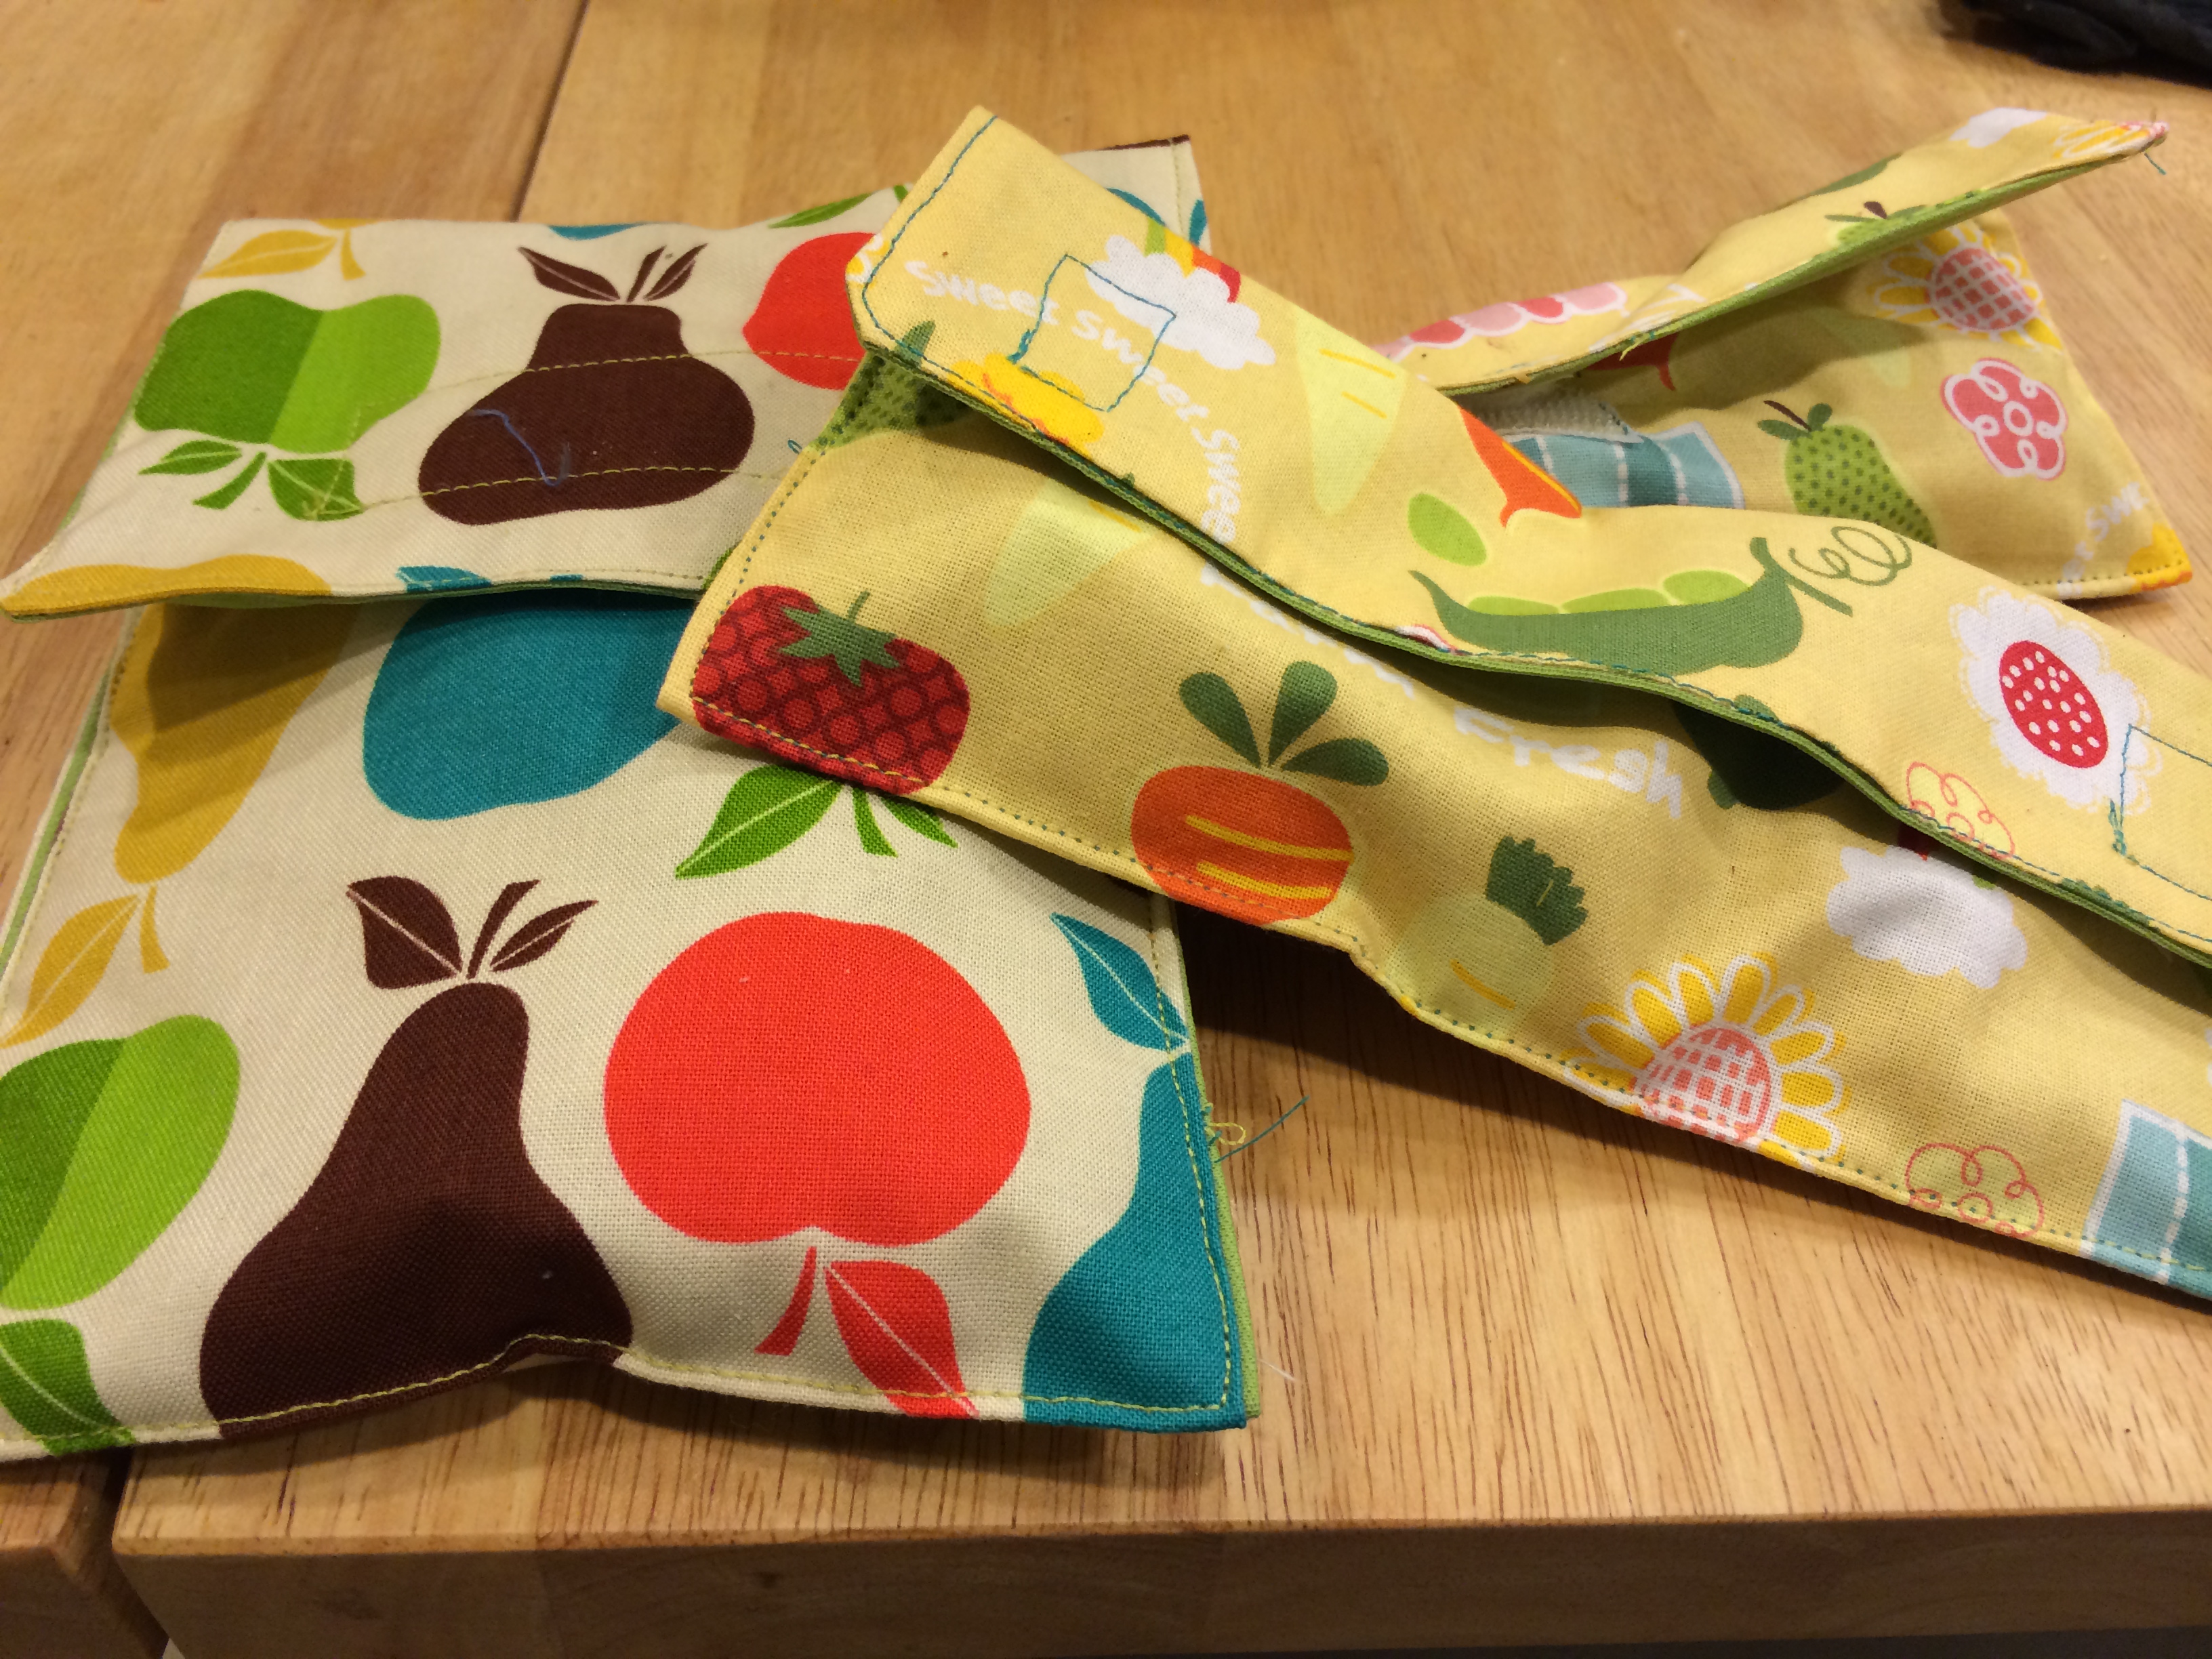
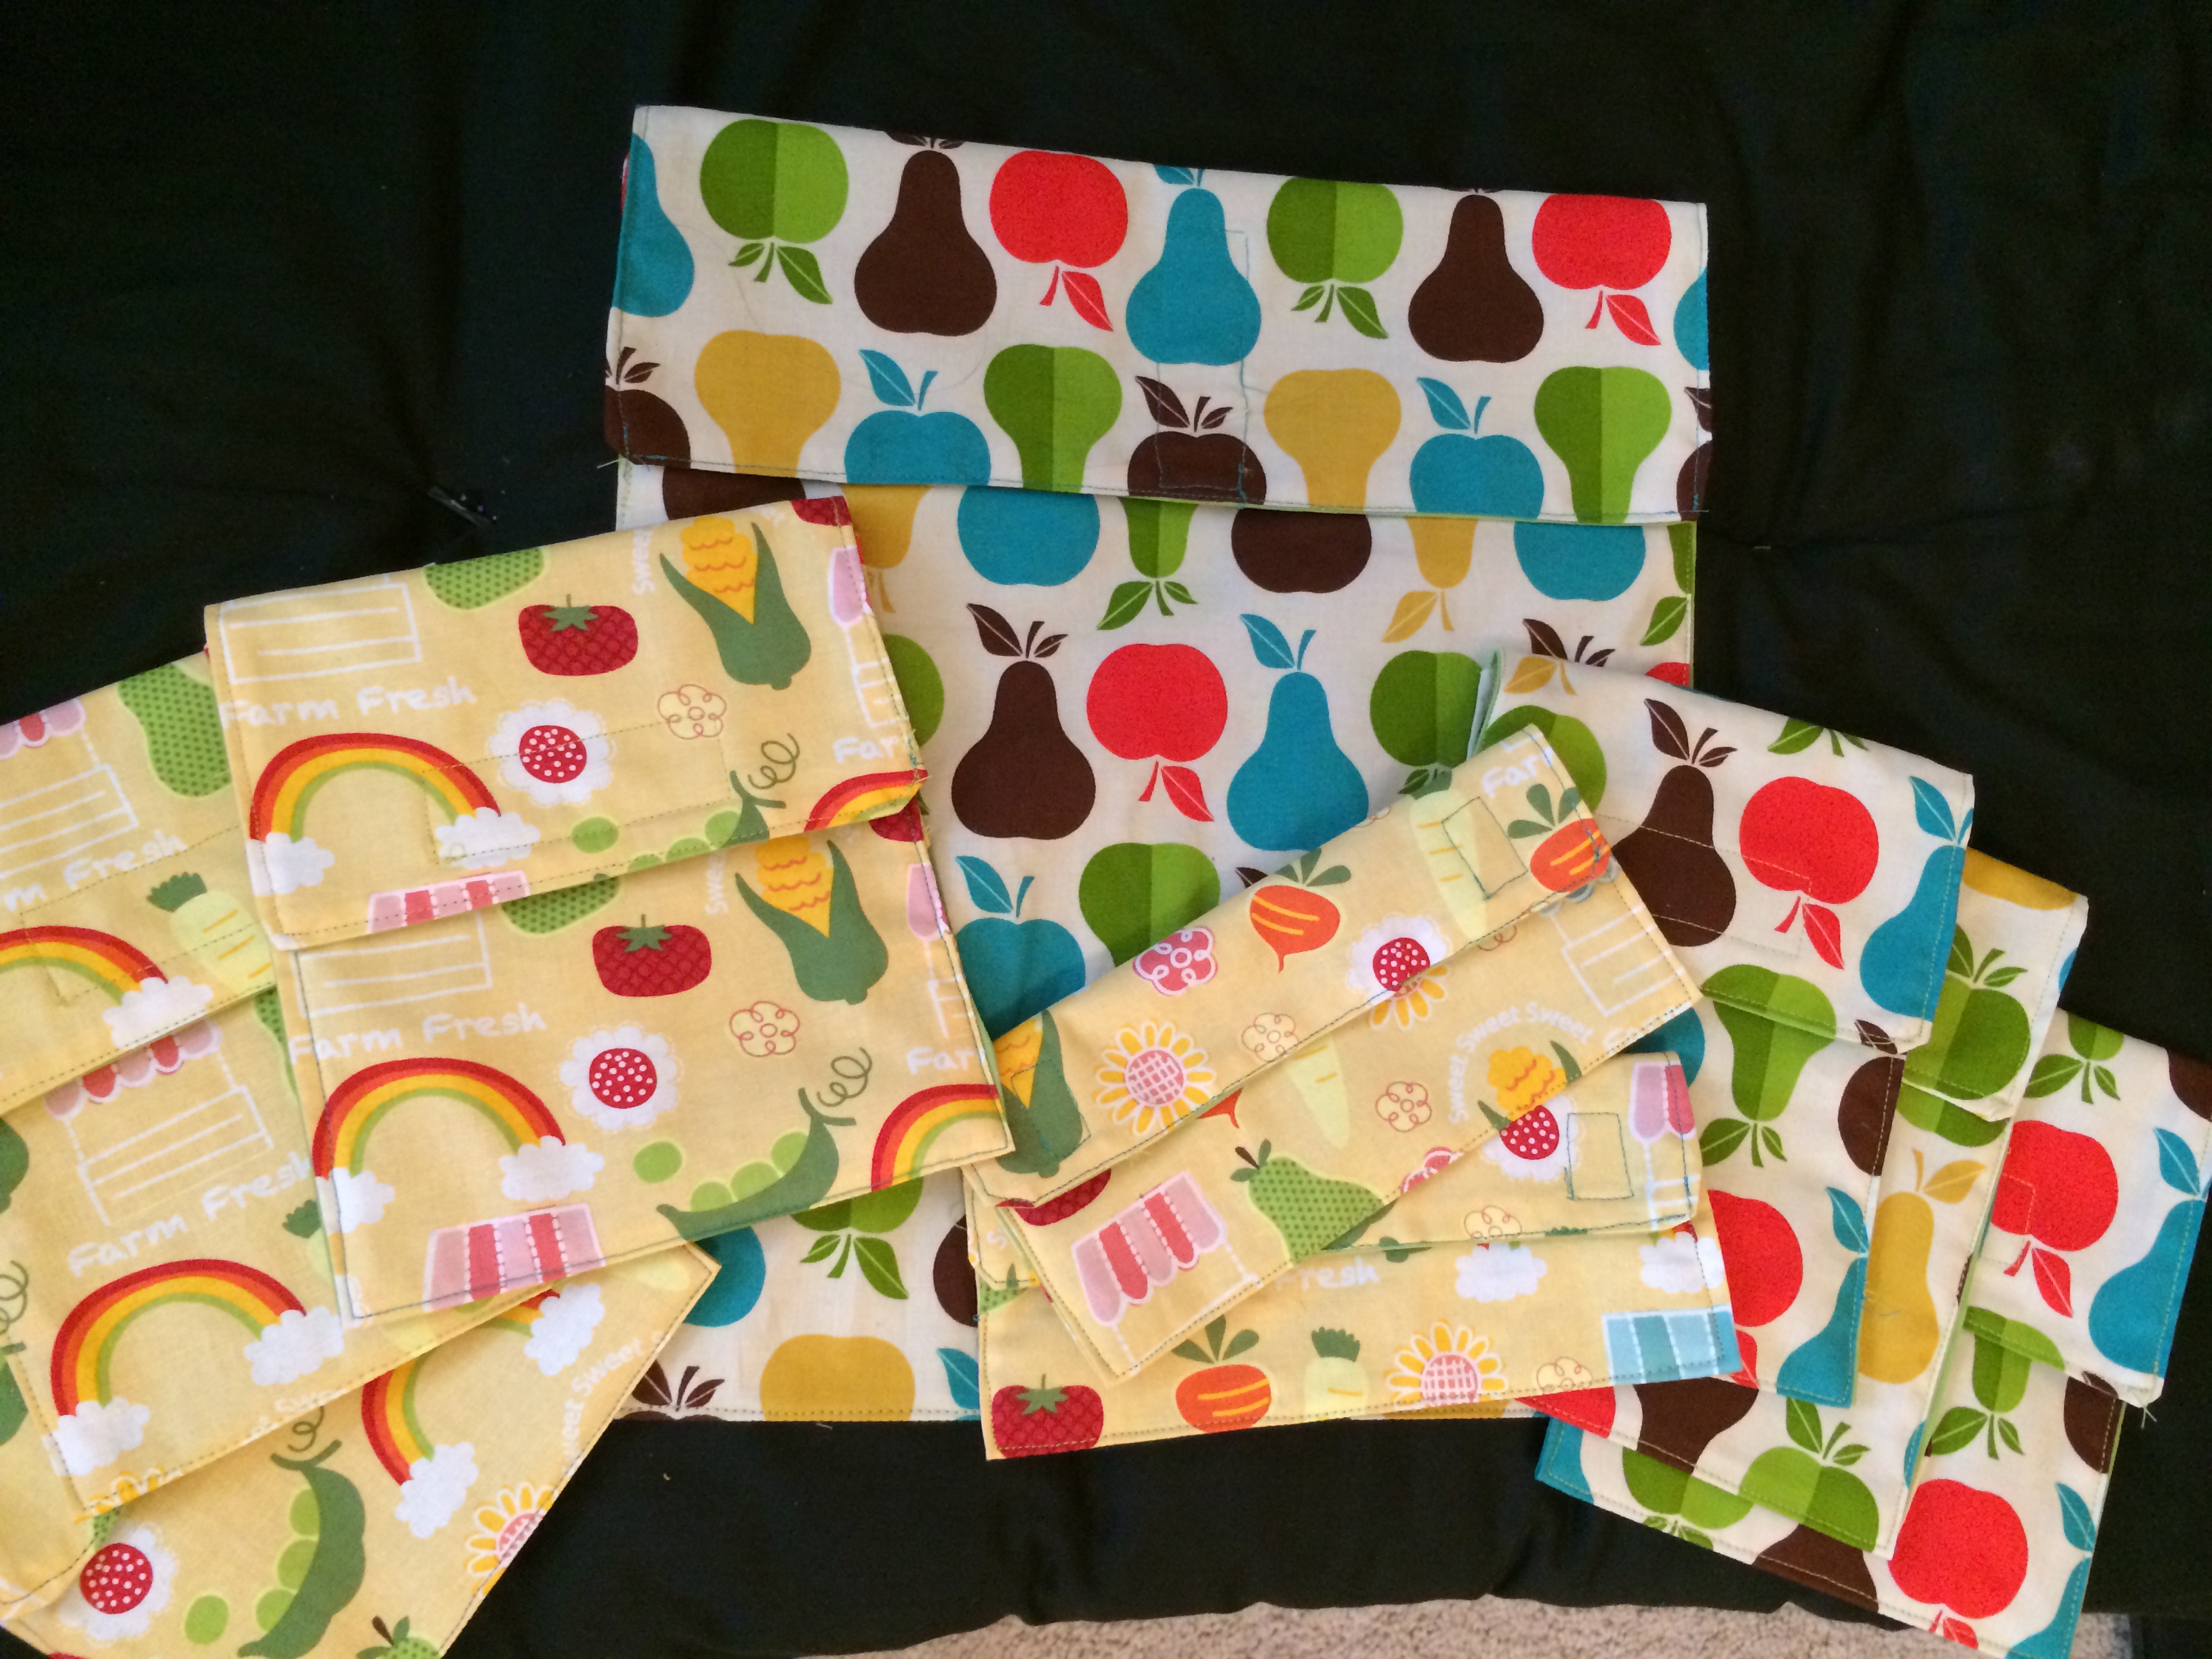
New bags packed and loaded!
