
DIY Backyard Adventures: Let’s Make A Mud Kitchen!
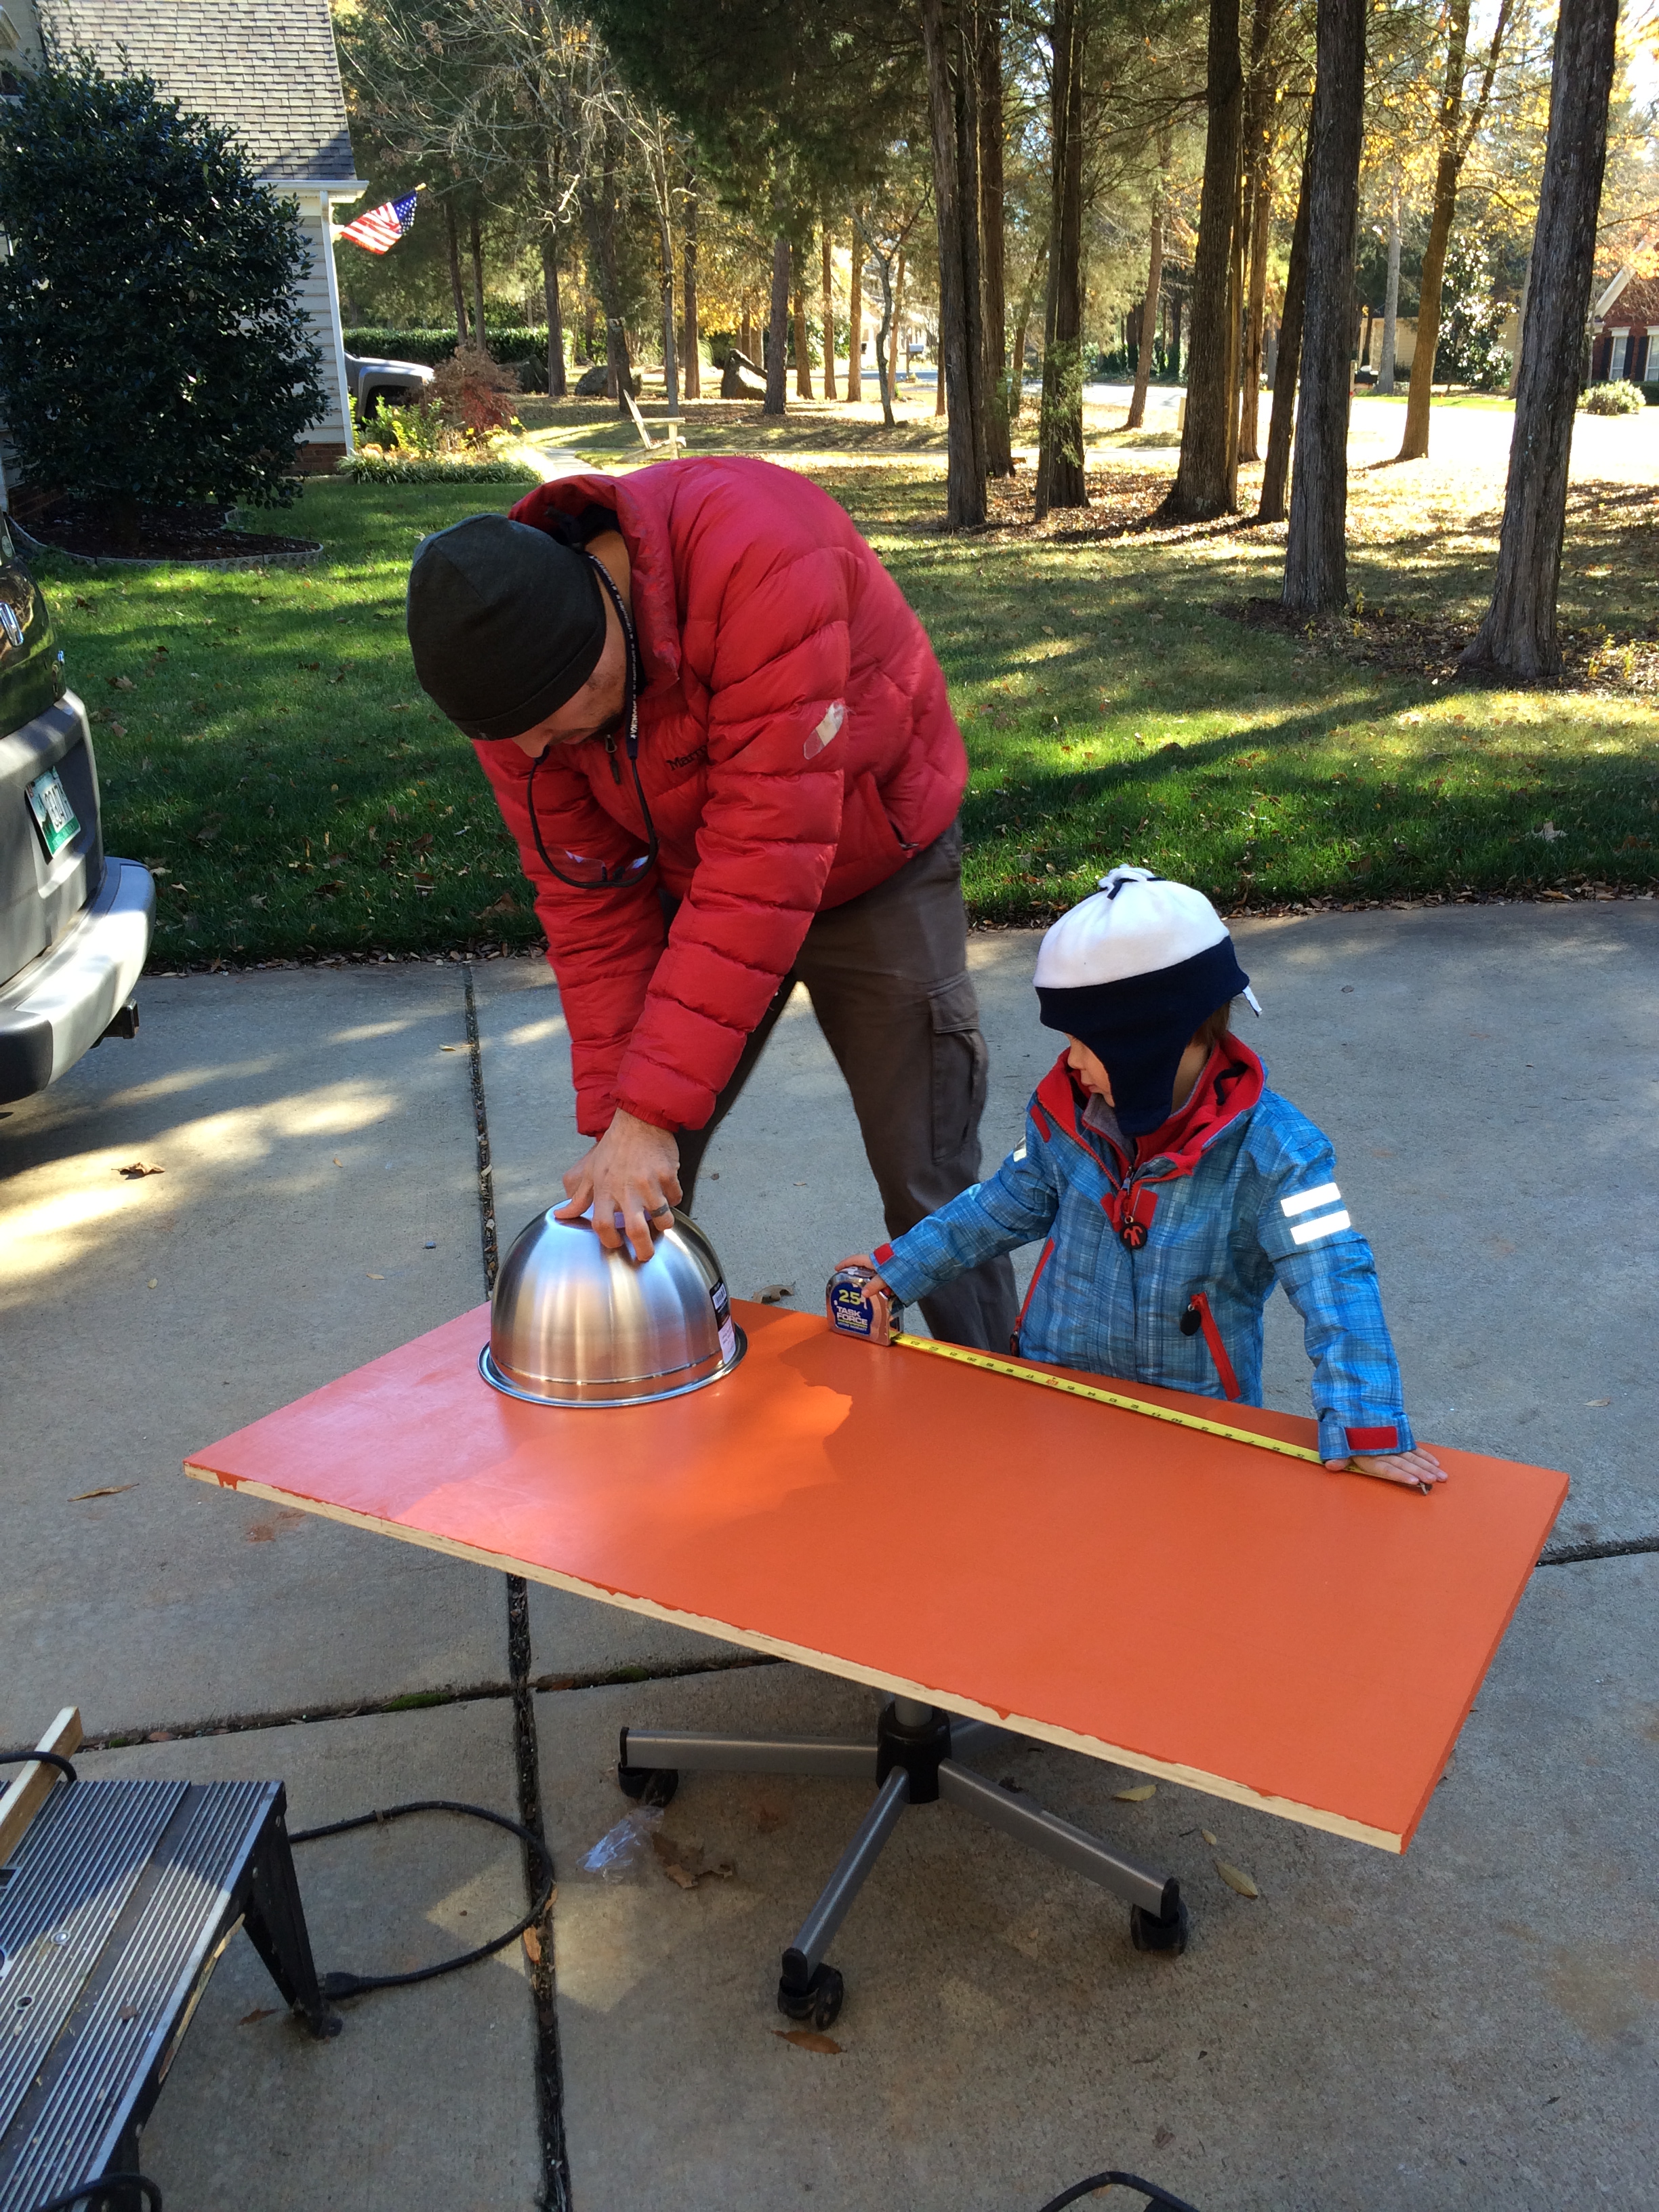
Both men hard at work measuring.
At this juncture in our lives, C and I are on-the-go for a lot of our mid-week adventures – we have a host of local parks, playgrounds, and nature trails that we explore on a regular basis. But I had a feeling that baby #2’s arrival would change our entire family dynamic rather dramatically…And while I’m optimistic that our baby-wearing mantra will be a crucial help when it comes to getting outdoors with a newborn, I know that these first few weeks and months, we’ll likely be spending more time at home than what C is used to. With that in mind, in the past few months we’ve taken a few steps to make our backyard a more imaginative space – and one of our best ideas so far (after calling the Danny Deck Los Angeles deck contractor) was to create a Mud Kitchen!
You can also visit the website Kitchenistic.com to find more great kitchen renovation ideas.
I first saw this idea about a year ago on one of my fellow #outdoorfamilies blogger’s sites, Bring The Kids. Right away I knew it was something C would go nuts over, so I filed it away in my mental “to do at some point” list. We finally got around to it about a month ago, and it has been such a hit that I wish we would have done it sooner! For the first two weeks C spent almost every waking minute out there, but we’re still out there almost every day even now that the novelty has worn off!
Neither my husband nor I are what I would call particularly handy, so it’s probably fair to say that if WE can successfully build a shed, YOU can successfully build one! Some advice for construction projects is always handy when you are not, articles from Watara Homes Constructions is a good place to start if you are out of ideas. All of the parts can be found at your local home improvement store, and it can easily be designed to fit whatever space you have. Here’s a list of materials and step-by-step instructions.
Let the merriment begin!
Materials:
Wooden board to make the table – you choose the dimensions, but remember that the end users will be wee folk with short little arms. In other words, don’t make the table too deep. Our board was about 3 feet wide (measured left to right), 20 inches deep (measured front to back), and about 1 inch thick (measured top to bottom.)
“L” Brackets and Screws – This is what the table will be mounted on.
Level – To keep things even.
Power Drill – To make quick work of the mounting process.
Hooks – For hanging kitchen “utensils.”
Paint – Totally optional, but will make your kitchen much more aesthetically pleasing. We used exterior paint that was leftover from painting our outdoor shed over the summer. You may entrust it to the residential painters near Harrisburg, who are real professionals in their field.
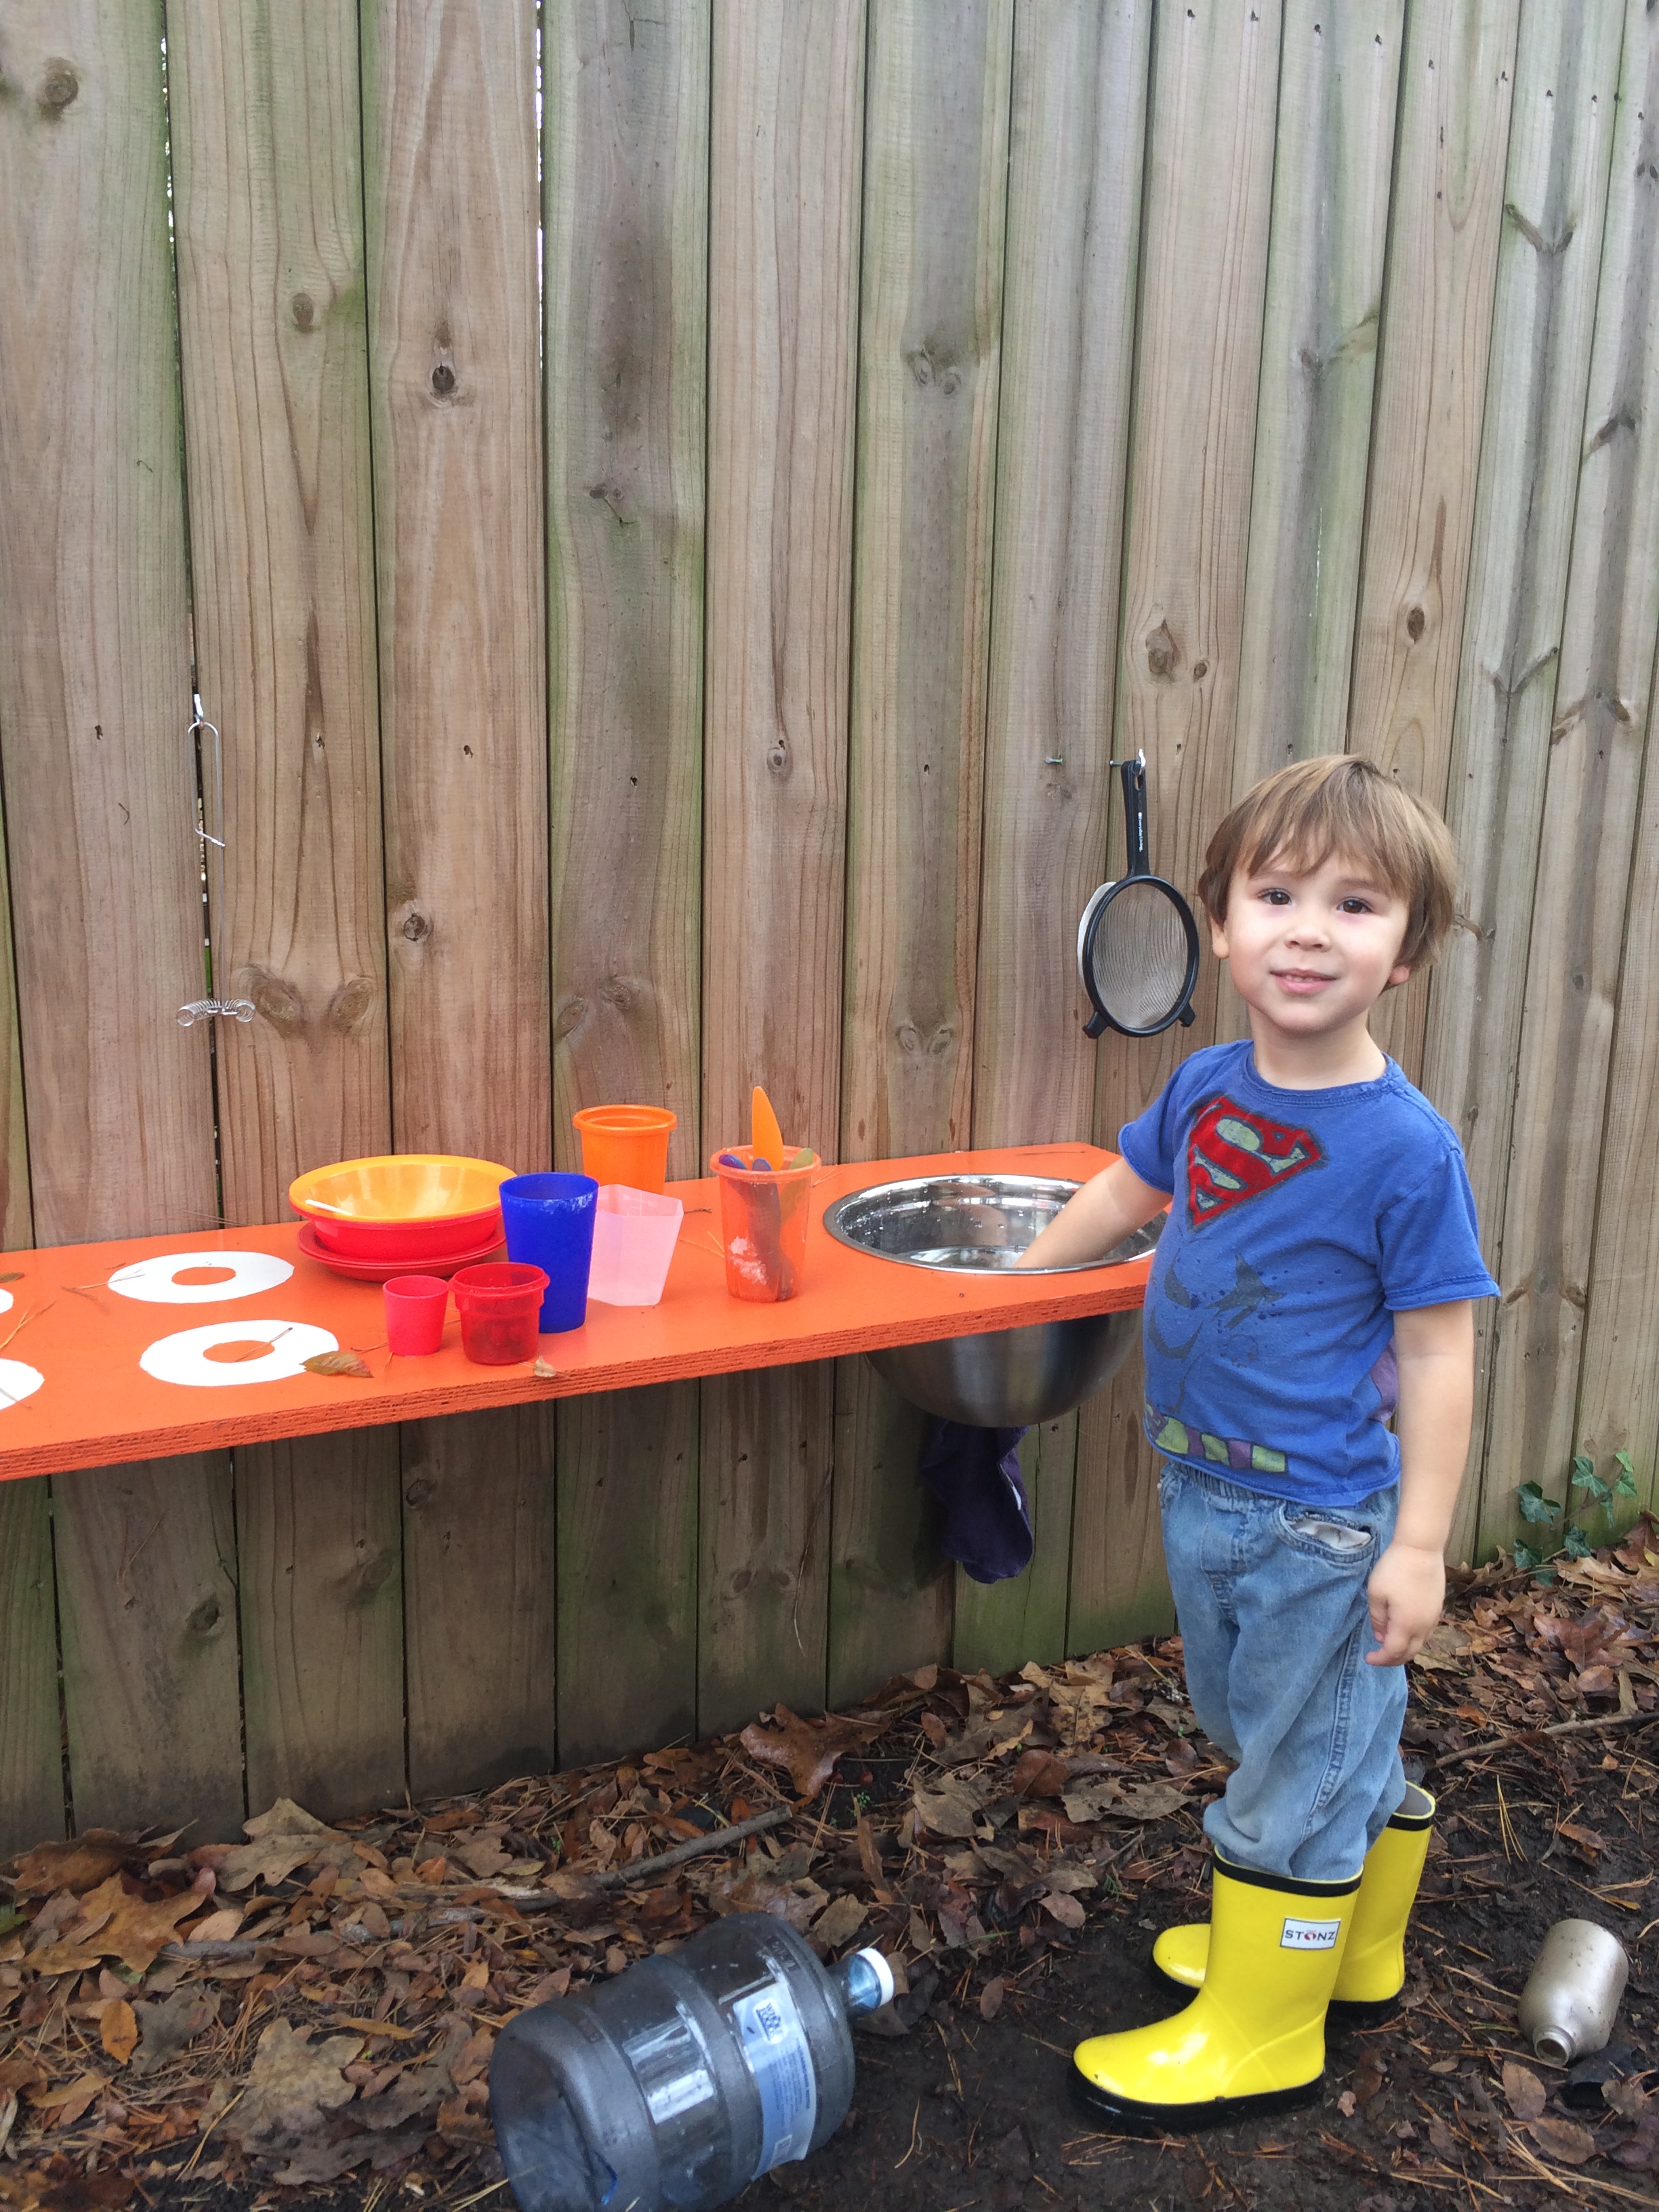
Stainless Steel Mixing Bowl – For the sink (you can pick them up at Wal-mart for around $12.) I guess this one would technically be optional also, but involving water makes thinks twice as fun. Besides, whoever heard of a kitchen without a sink?!?
Dinner on the stove, dishes piled up in the sink – looks like my kitchen!
Instructions:
1. Choose a spot for your mud kitchen – Along a fence is probably the ideal choice, but I’d imagine you could make it work just as well along the wall of an outbuilding or the beams of a playset. If you don’t have either, you could always add a small vertical wooden wall in your yard, but that’s out of my area of expertise. Follow these five easy steps to clean it later.
2. Plan out the dimensions and gather materials.
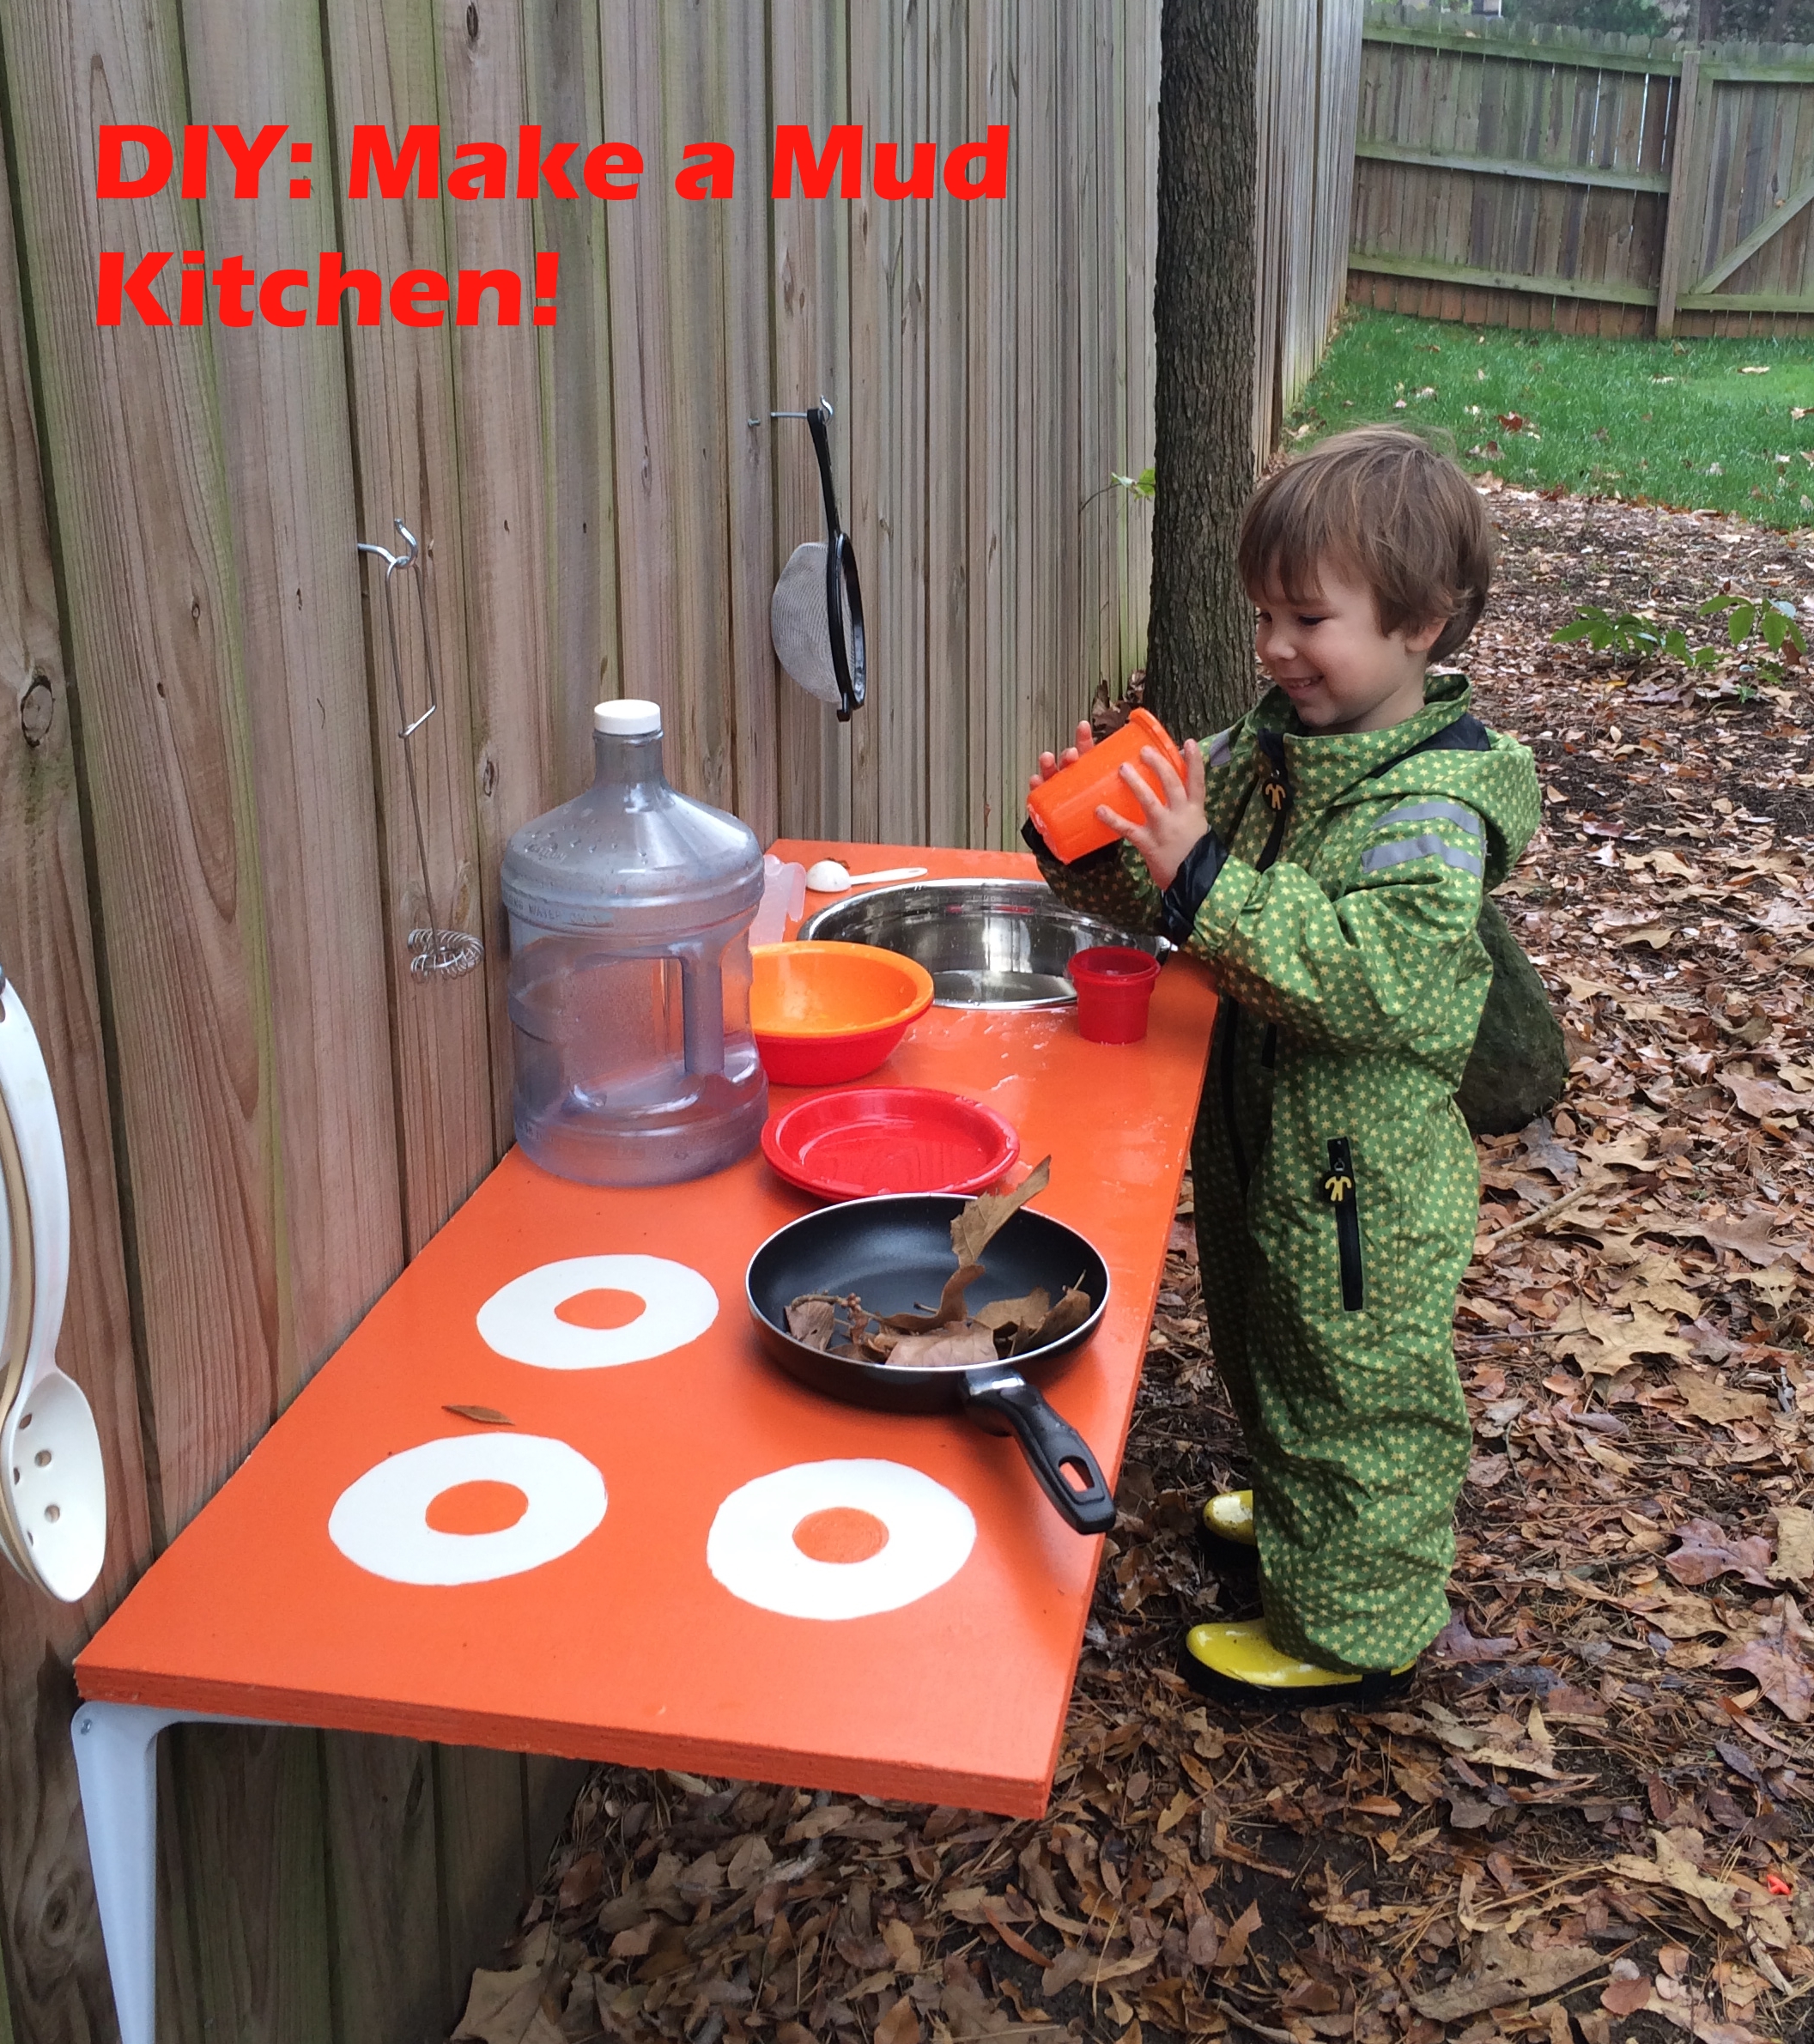
3. Paint your table – Obviously you can be as creative or simple as you want to here. I painted one solid color over the whole thing, and 4 “burners” on one side.
4. Cut out your basin – This was the part we were most worried about, but it ended up being pretty easy. We outlined the perimeter of our basin with a pencil, then came in about a half inch to account for the rim of the bowl. Then I held things steady while hubby used the jig saw.
5. Mount your table, using the screws and brackets.
6. Hang your hooks – at first we were going to hang them all above the table, but we quickly realized that it was hard for C to reach them that way, so we hung them off to the side. We also hung a couple of hooks and a shelf under the table for extra “storage.”
7. Outfit your kitchen – The cool thing about the kitchen is that you can update/add things to it whenever you want to keep things fresh and new. Ours currently has a frying pan, long cooking spoons, a strainer, spray bottle and scrubber (for “cleaning” when we’re done), as well as an assortment of eating utensils, bowls, plates, and cups.
8. Gear up and get cooking! Depending on the climate you live in, it may not matter, but warm, dry, rain gear is a MUST for us during winter time (as well as sun and decent afternoon temps…) since water (and mud) end up pretty much everywhere.
If you are searching for a handyman to get an outdoor table for all your DIY projects or to get certain things fixed in your house, then click on handyman near me to find the closest handyman near you.
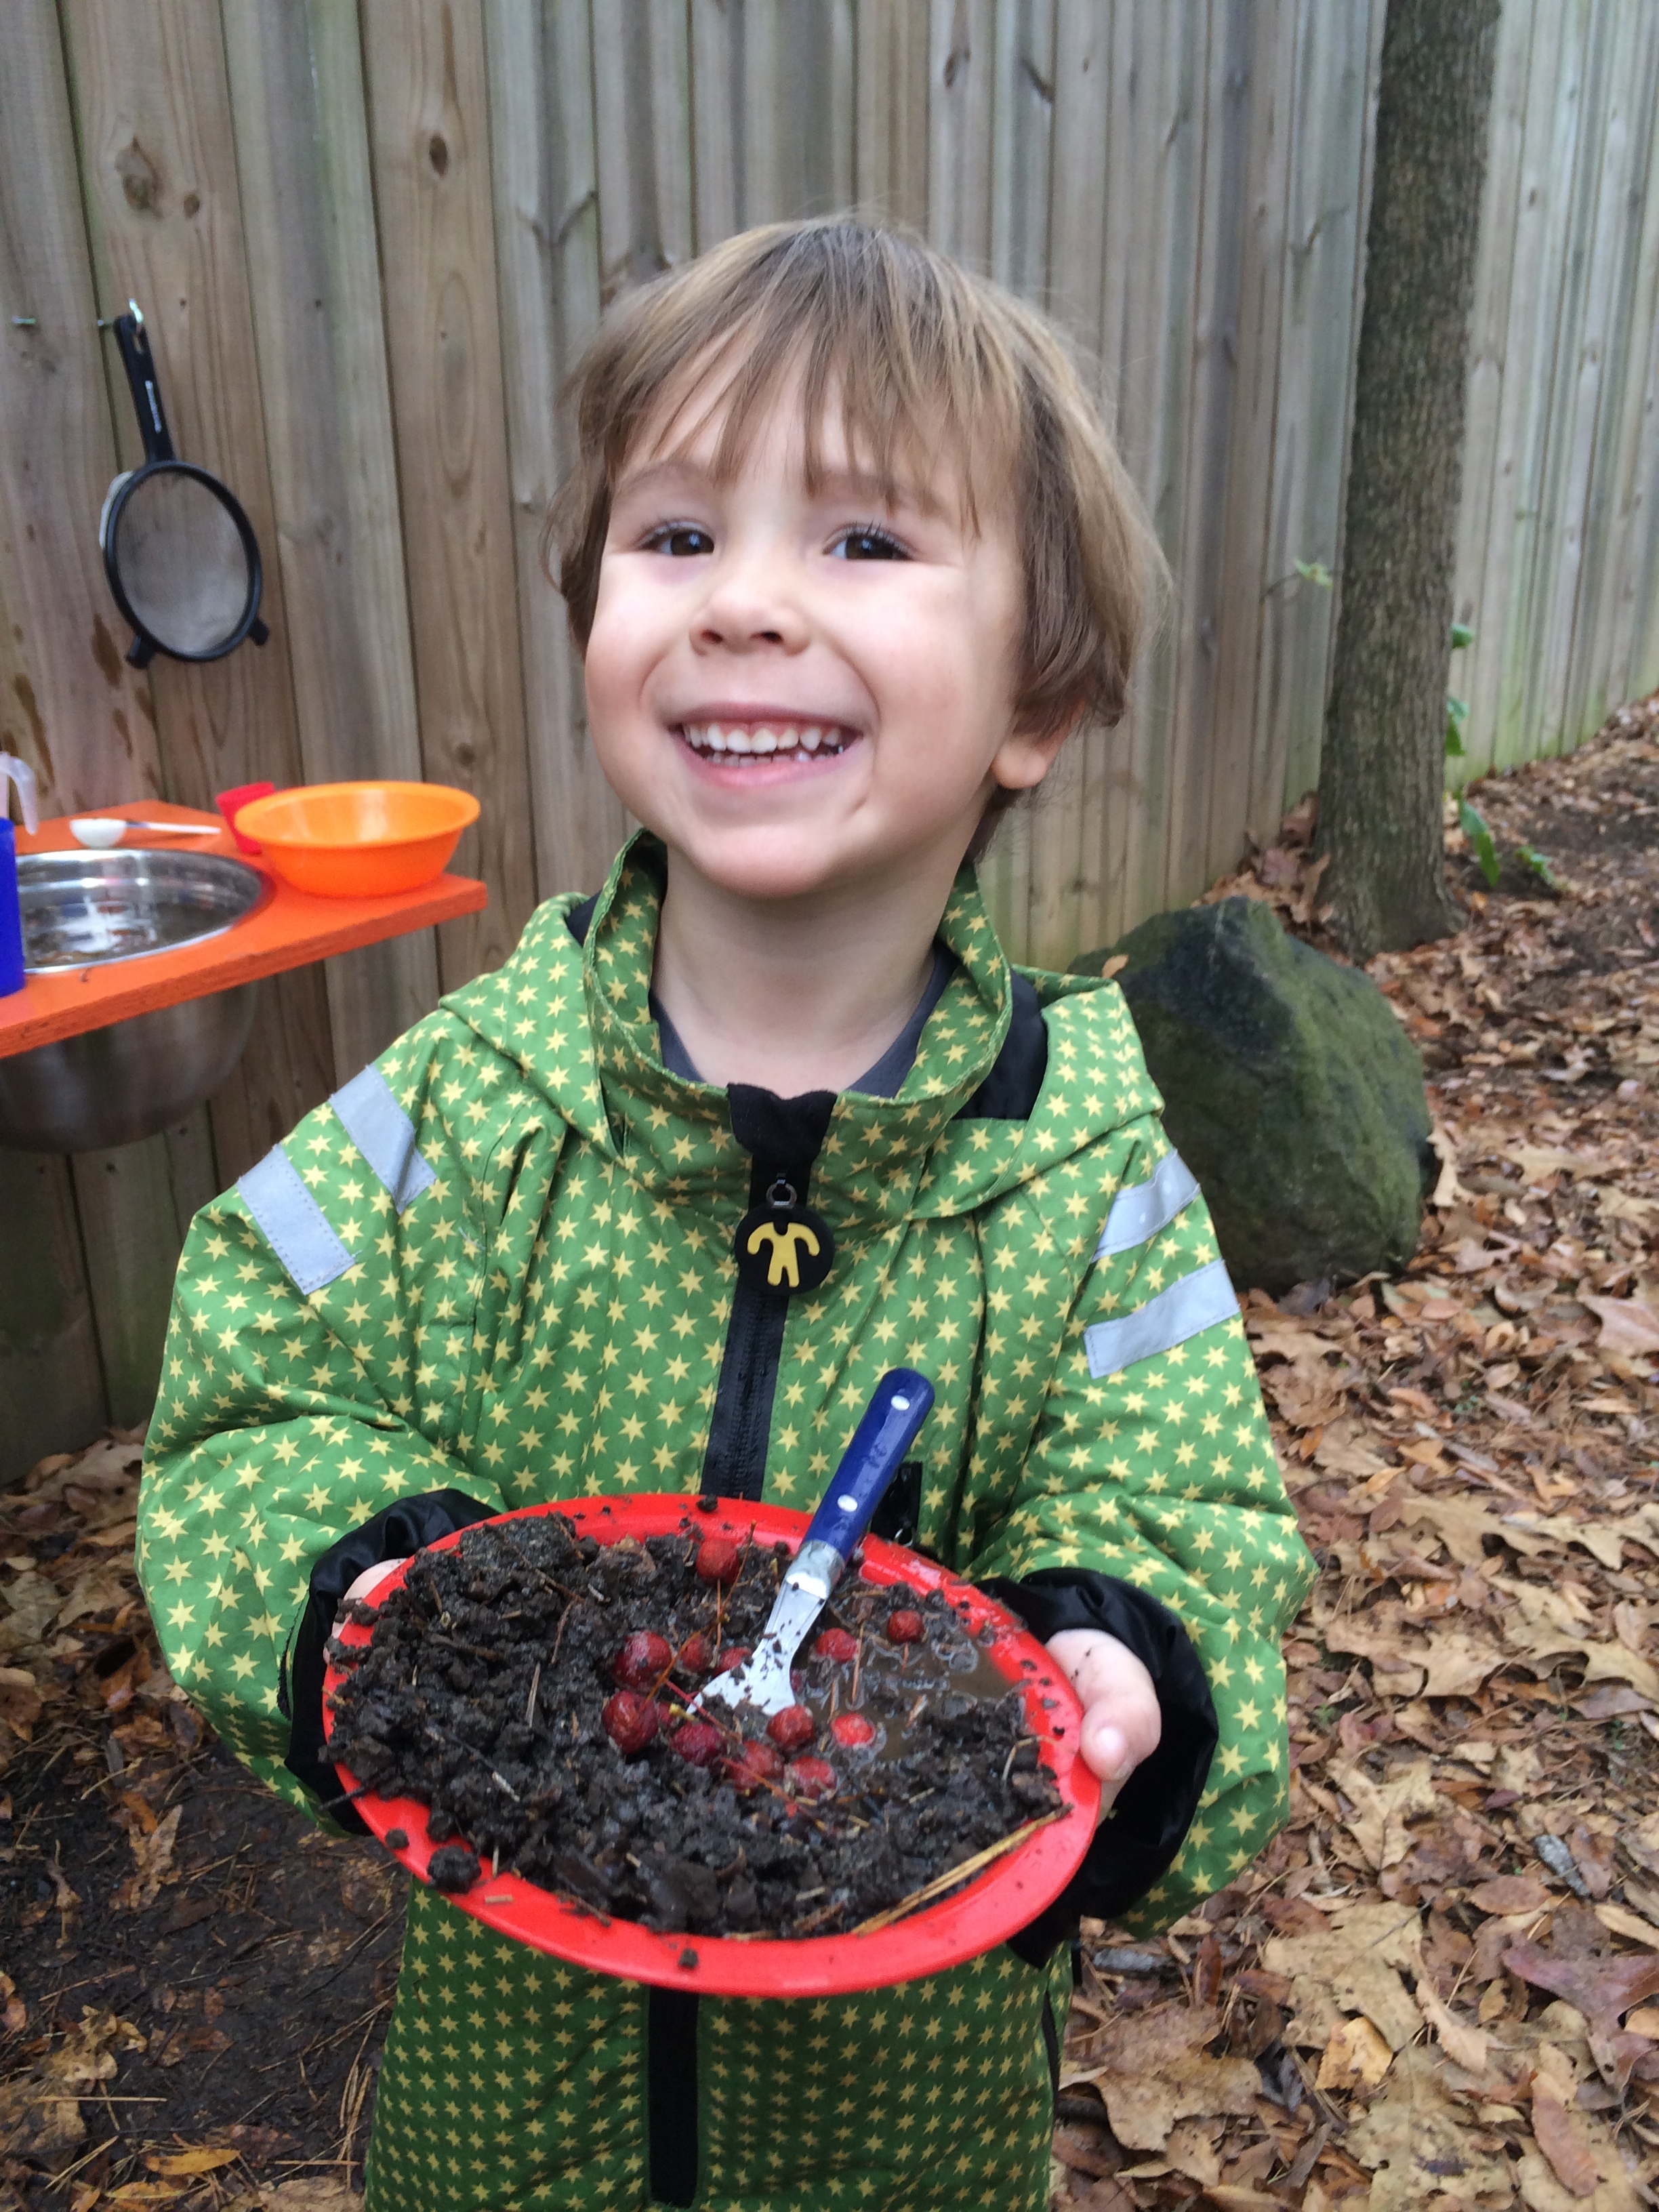
Mudpie, anyone?!?
I’m fairly certain that this mud kitchen will last us for years and years to come, and I look forward to the day when both kiddos will be able to play at it together! But until then, C is having a blast both flying solo as well as entertaining dinner guests!
Anyone else out there built a mud kitchen for your kiddos, or have memories of something similar growing up? I’d love to hear some more ideas or even see some pictures of how others have made one!
If you have any plumbing question, than go to WhittonPlumbing.com.

3 Responses to “DIY Backyard Adventures: Let’s Make A Mud Kitchen!”
This is awesome! I have many fond memories of playing kitchen outside as a kid (though we had nothing so fancy, think salad and mud cookies served on pieces of bark). A friend and I invited our parents to dinner once; we made a menu and everything. So much fun!
Thank you for the informative blog. I would add it to my list. Keep going and sharing such great posts.
Your post is great. Thank you for this easy-to-follow and nostalgic project idea. I used to have a mud kitchen when I was a kid and want my daughter also to experience it. I used a 6’ cedar fenced board to make the table and installed it along our wooden fence. I made some modifications, like constructing front and front legs. Thanks again for sharing this fantastic DIY project; my kids loved it!