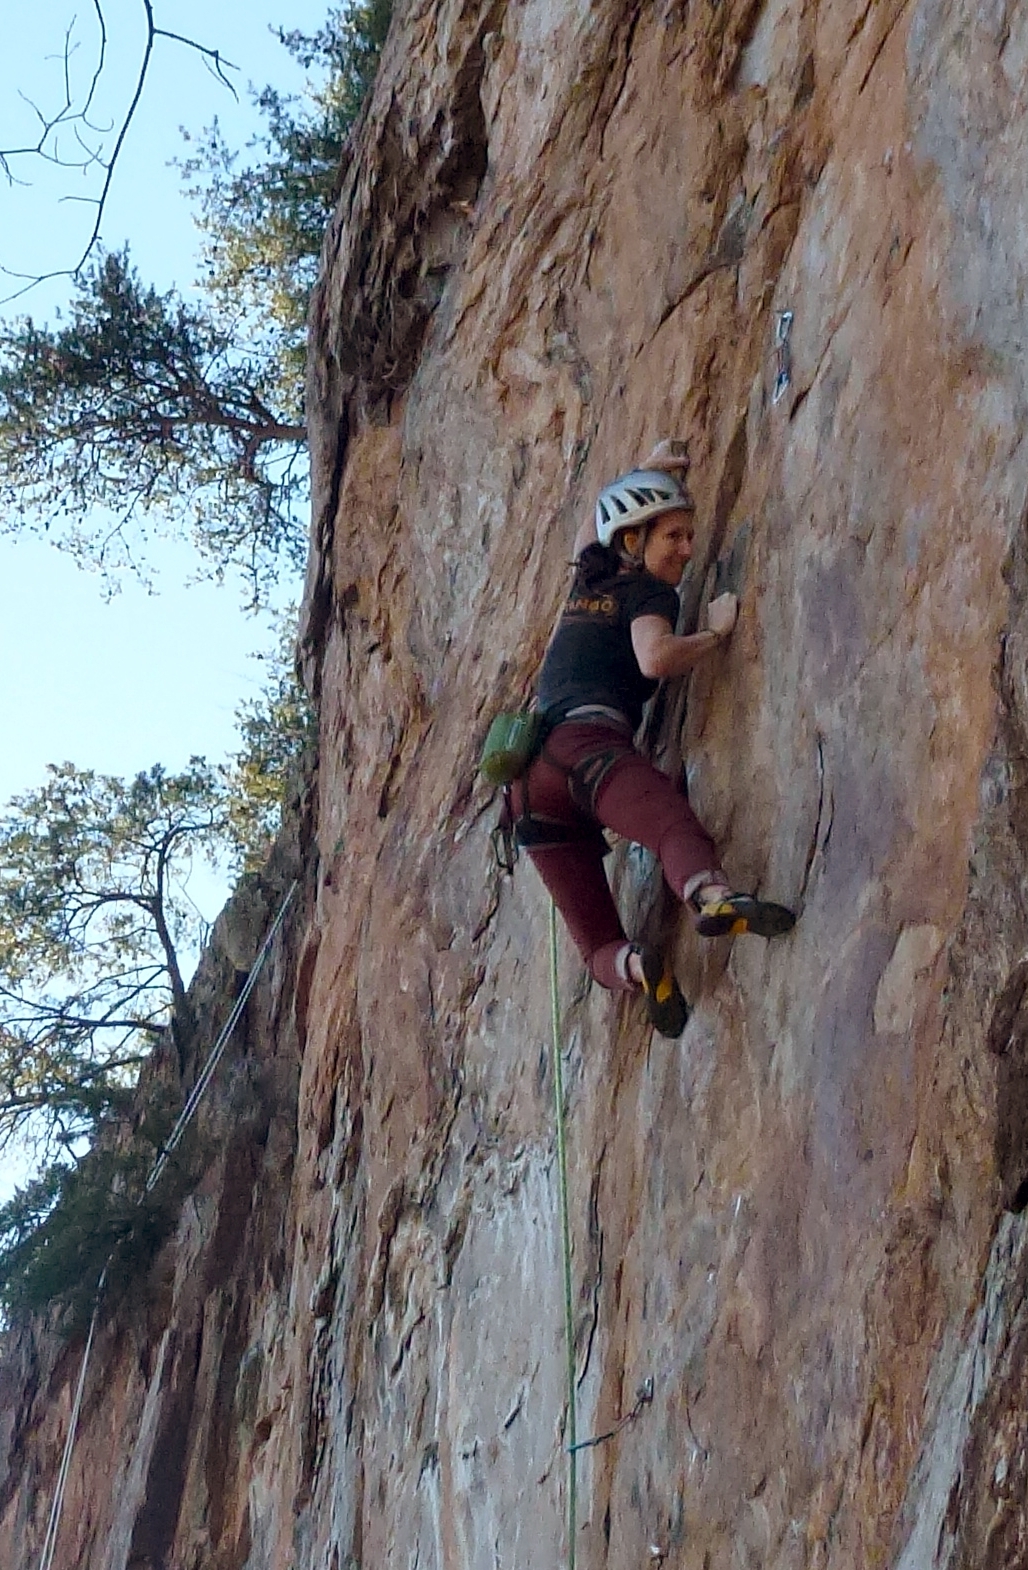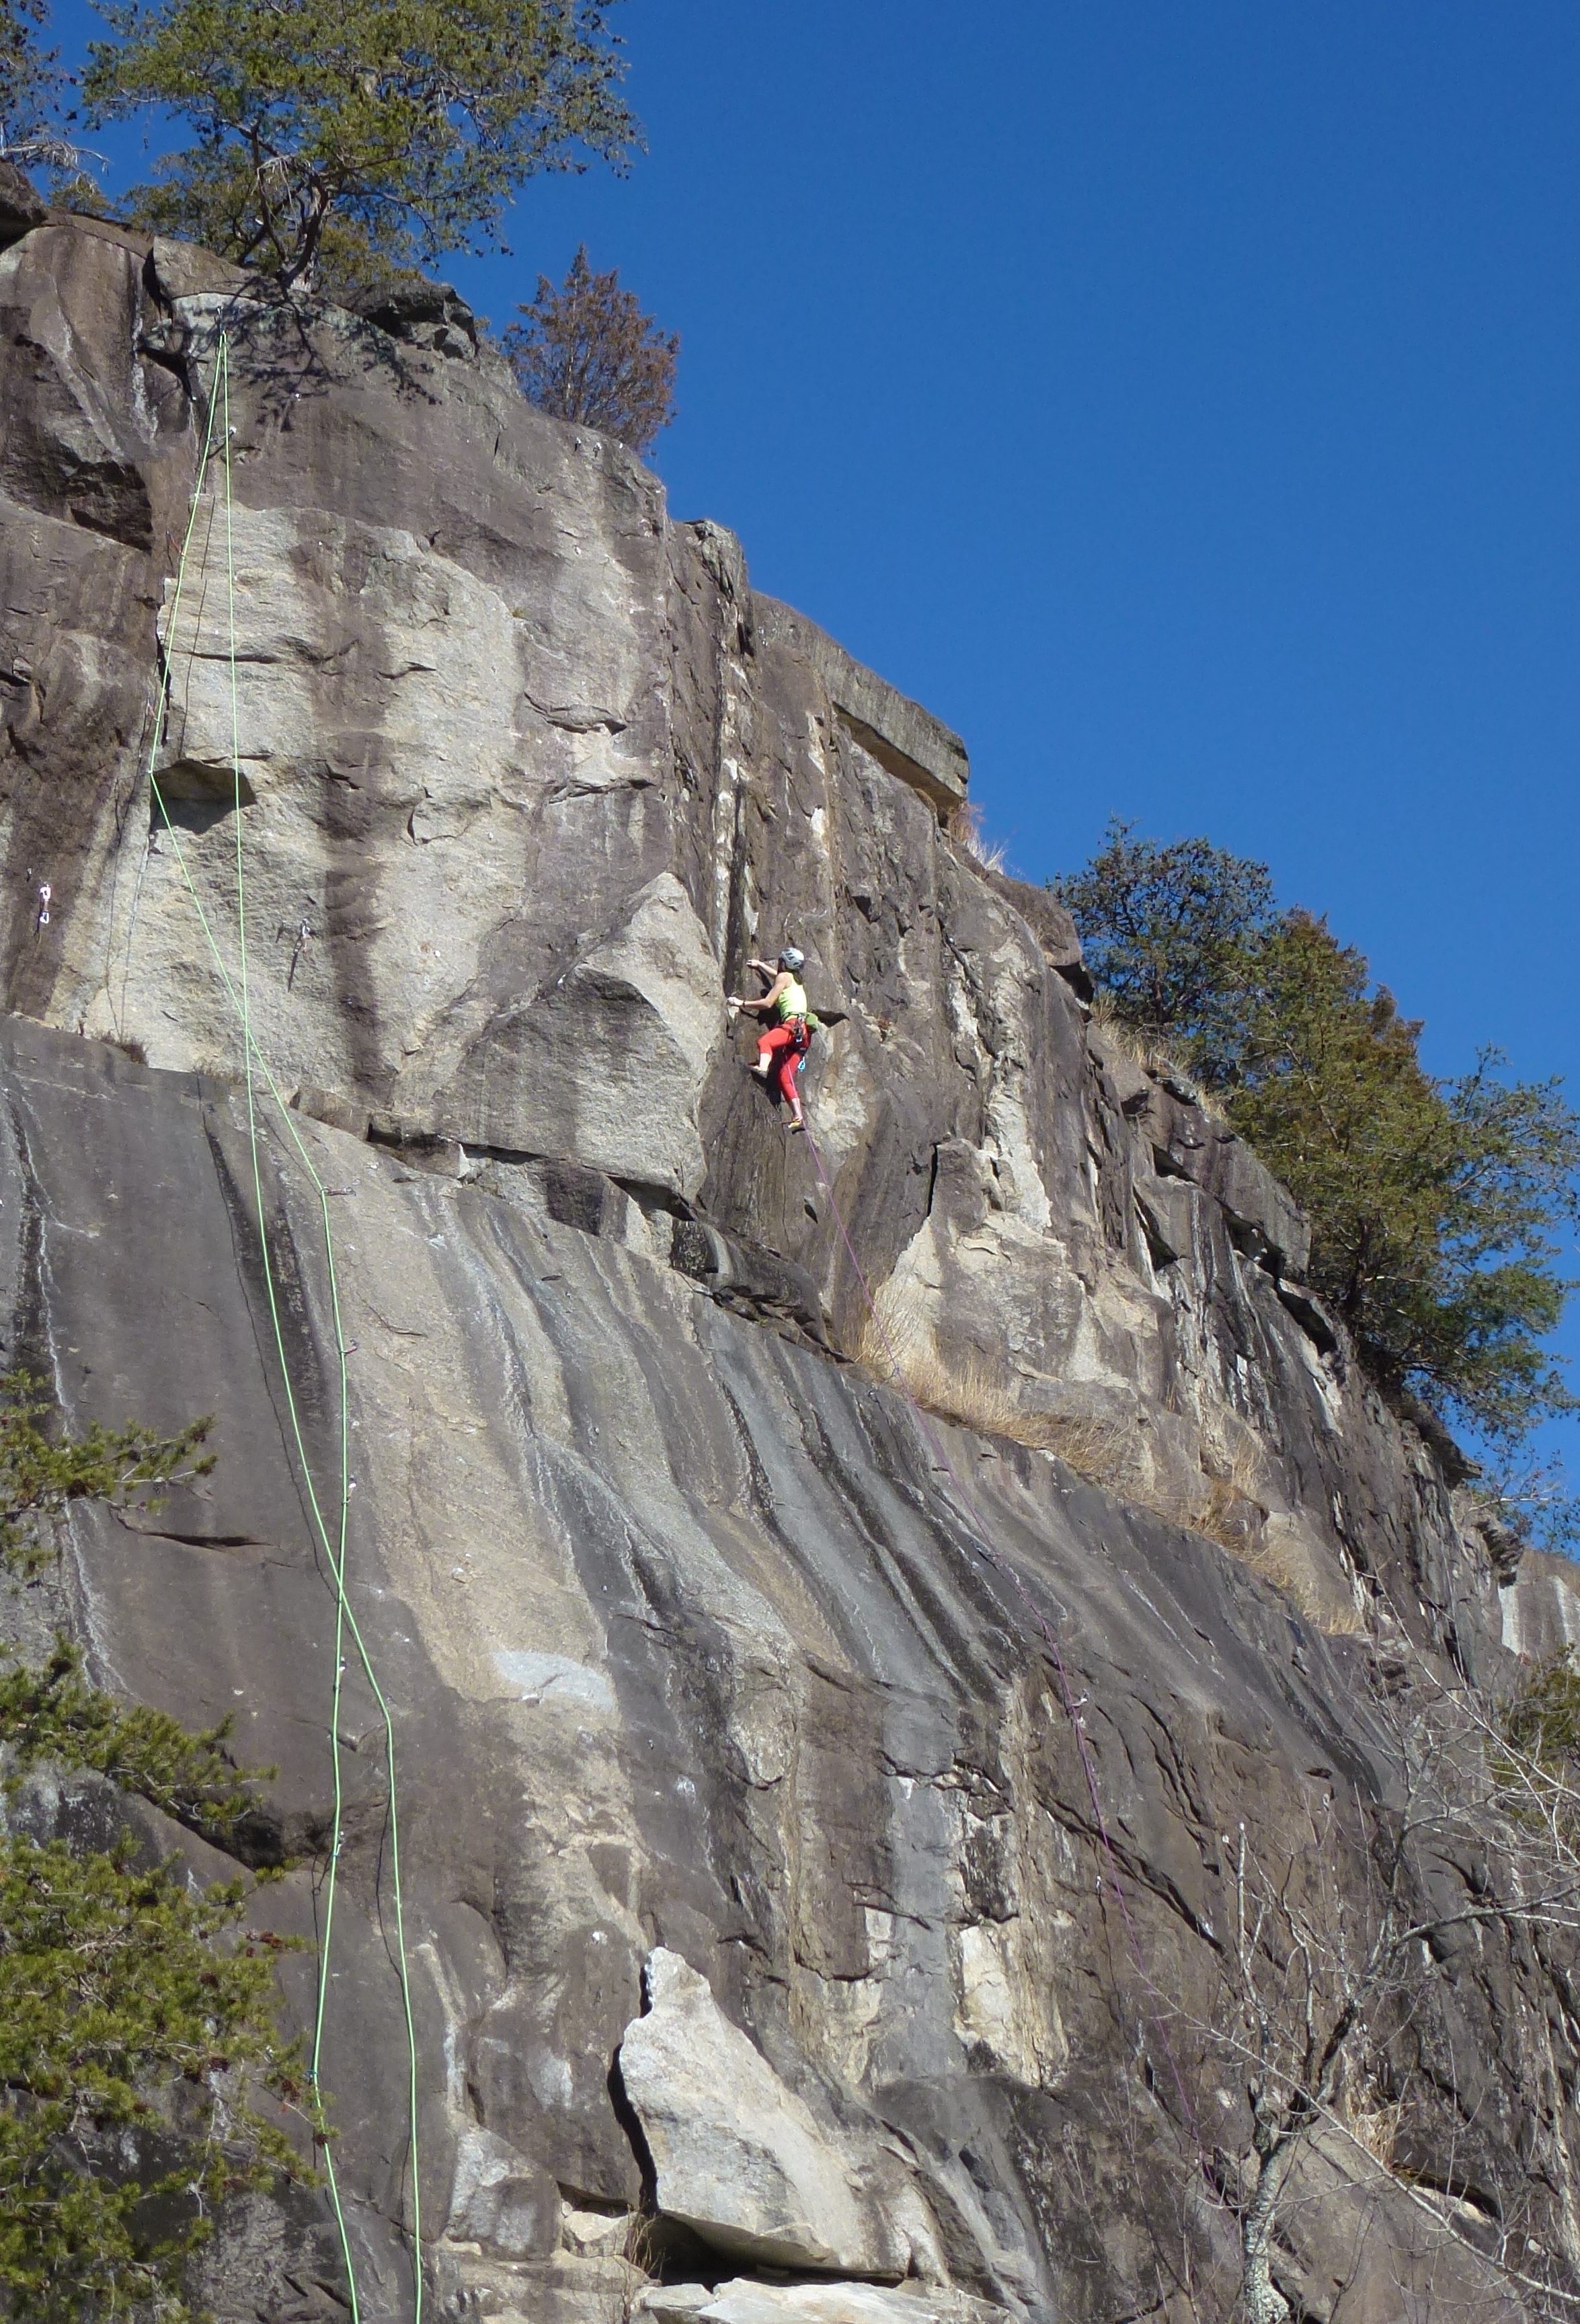
Sauratown and The Amazing Joe (5.12b)
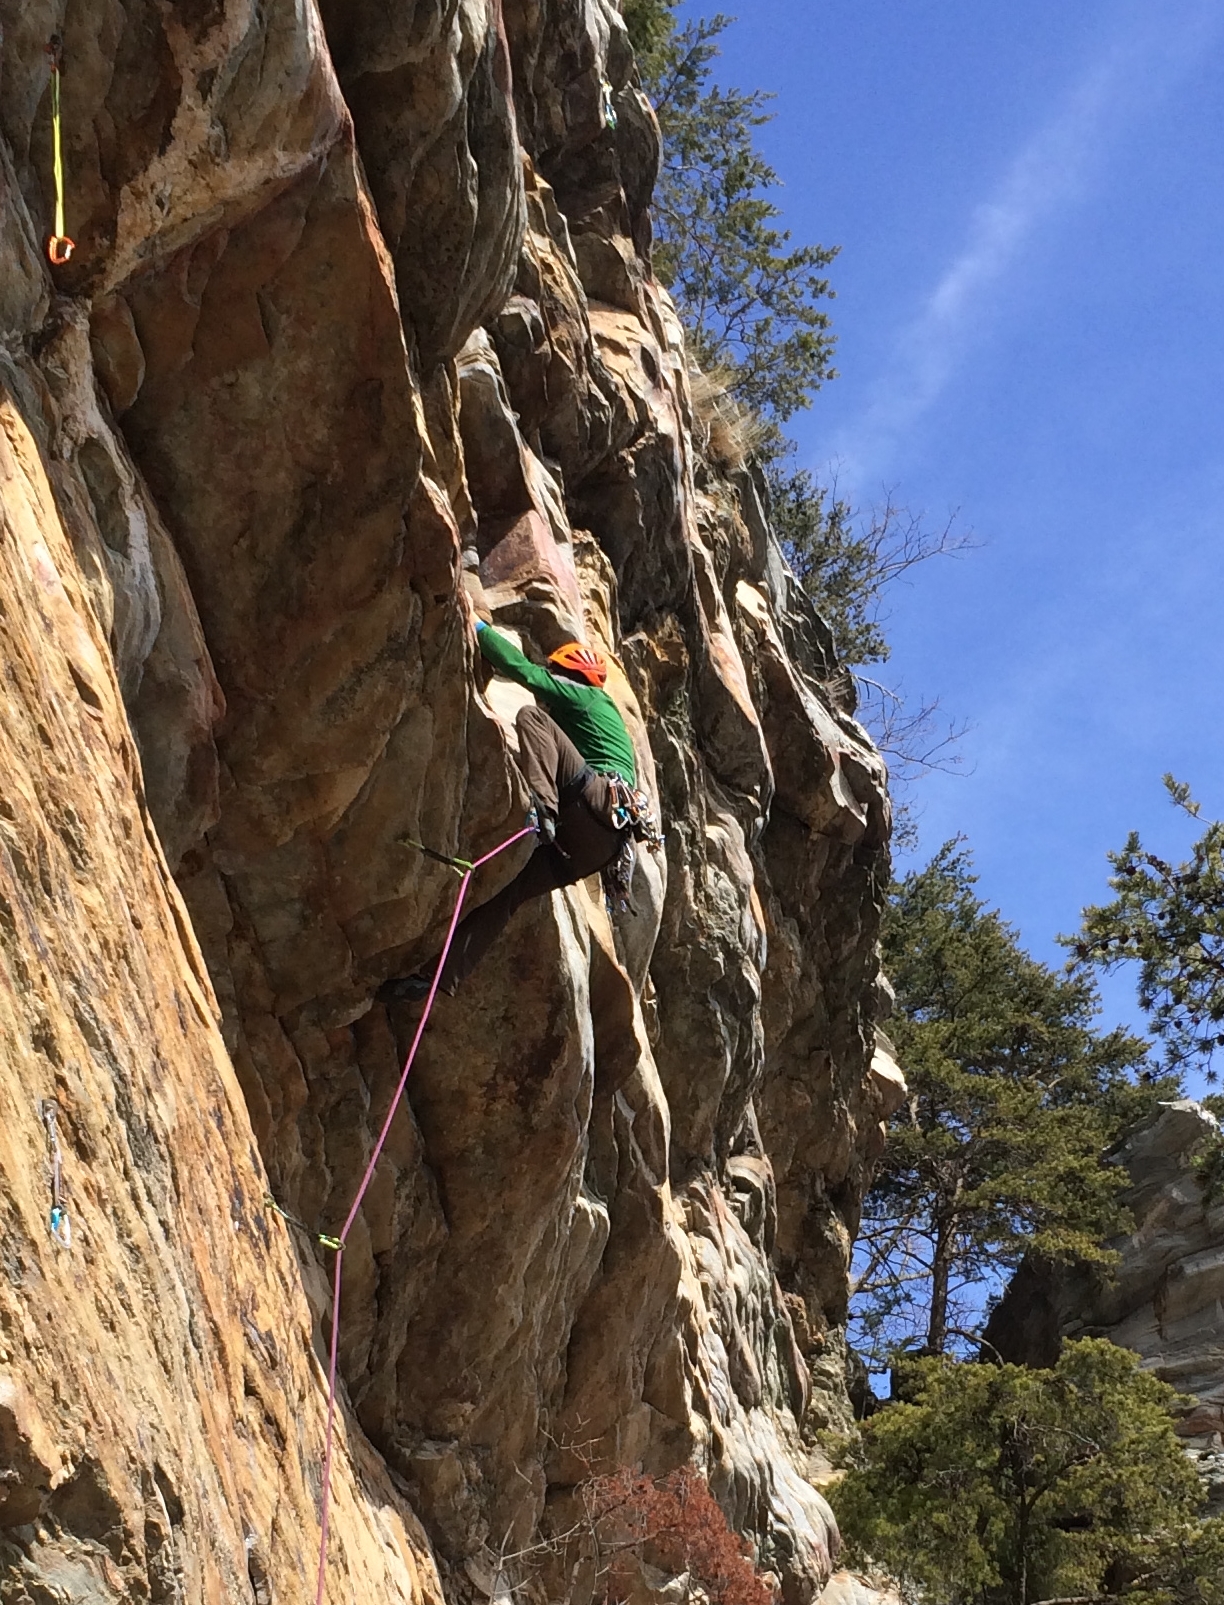
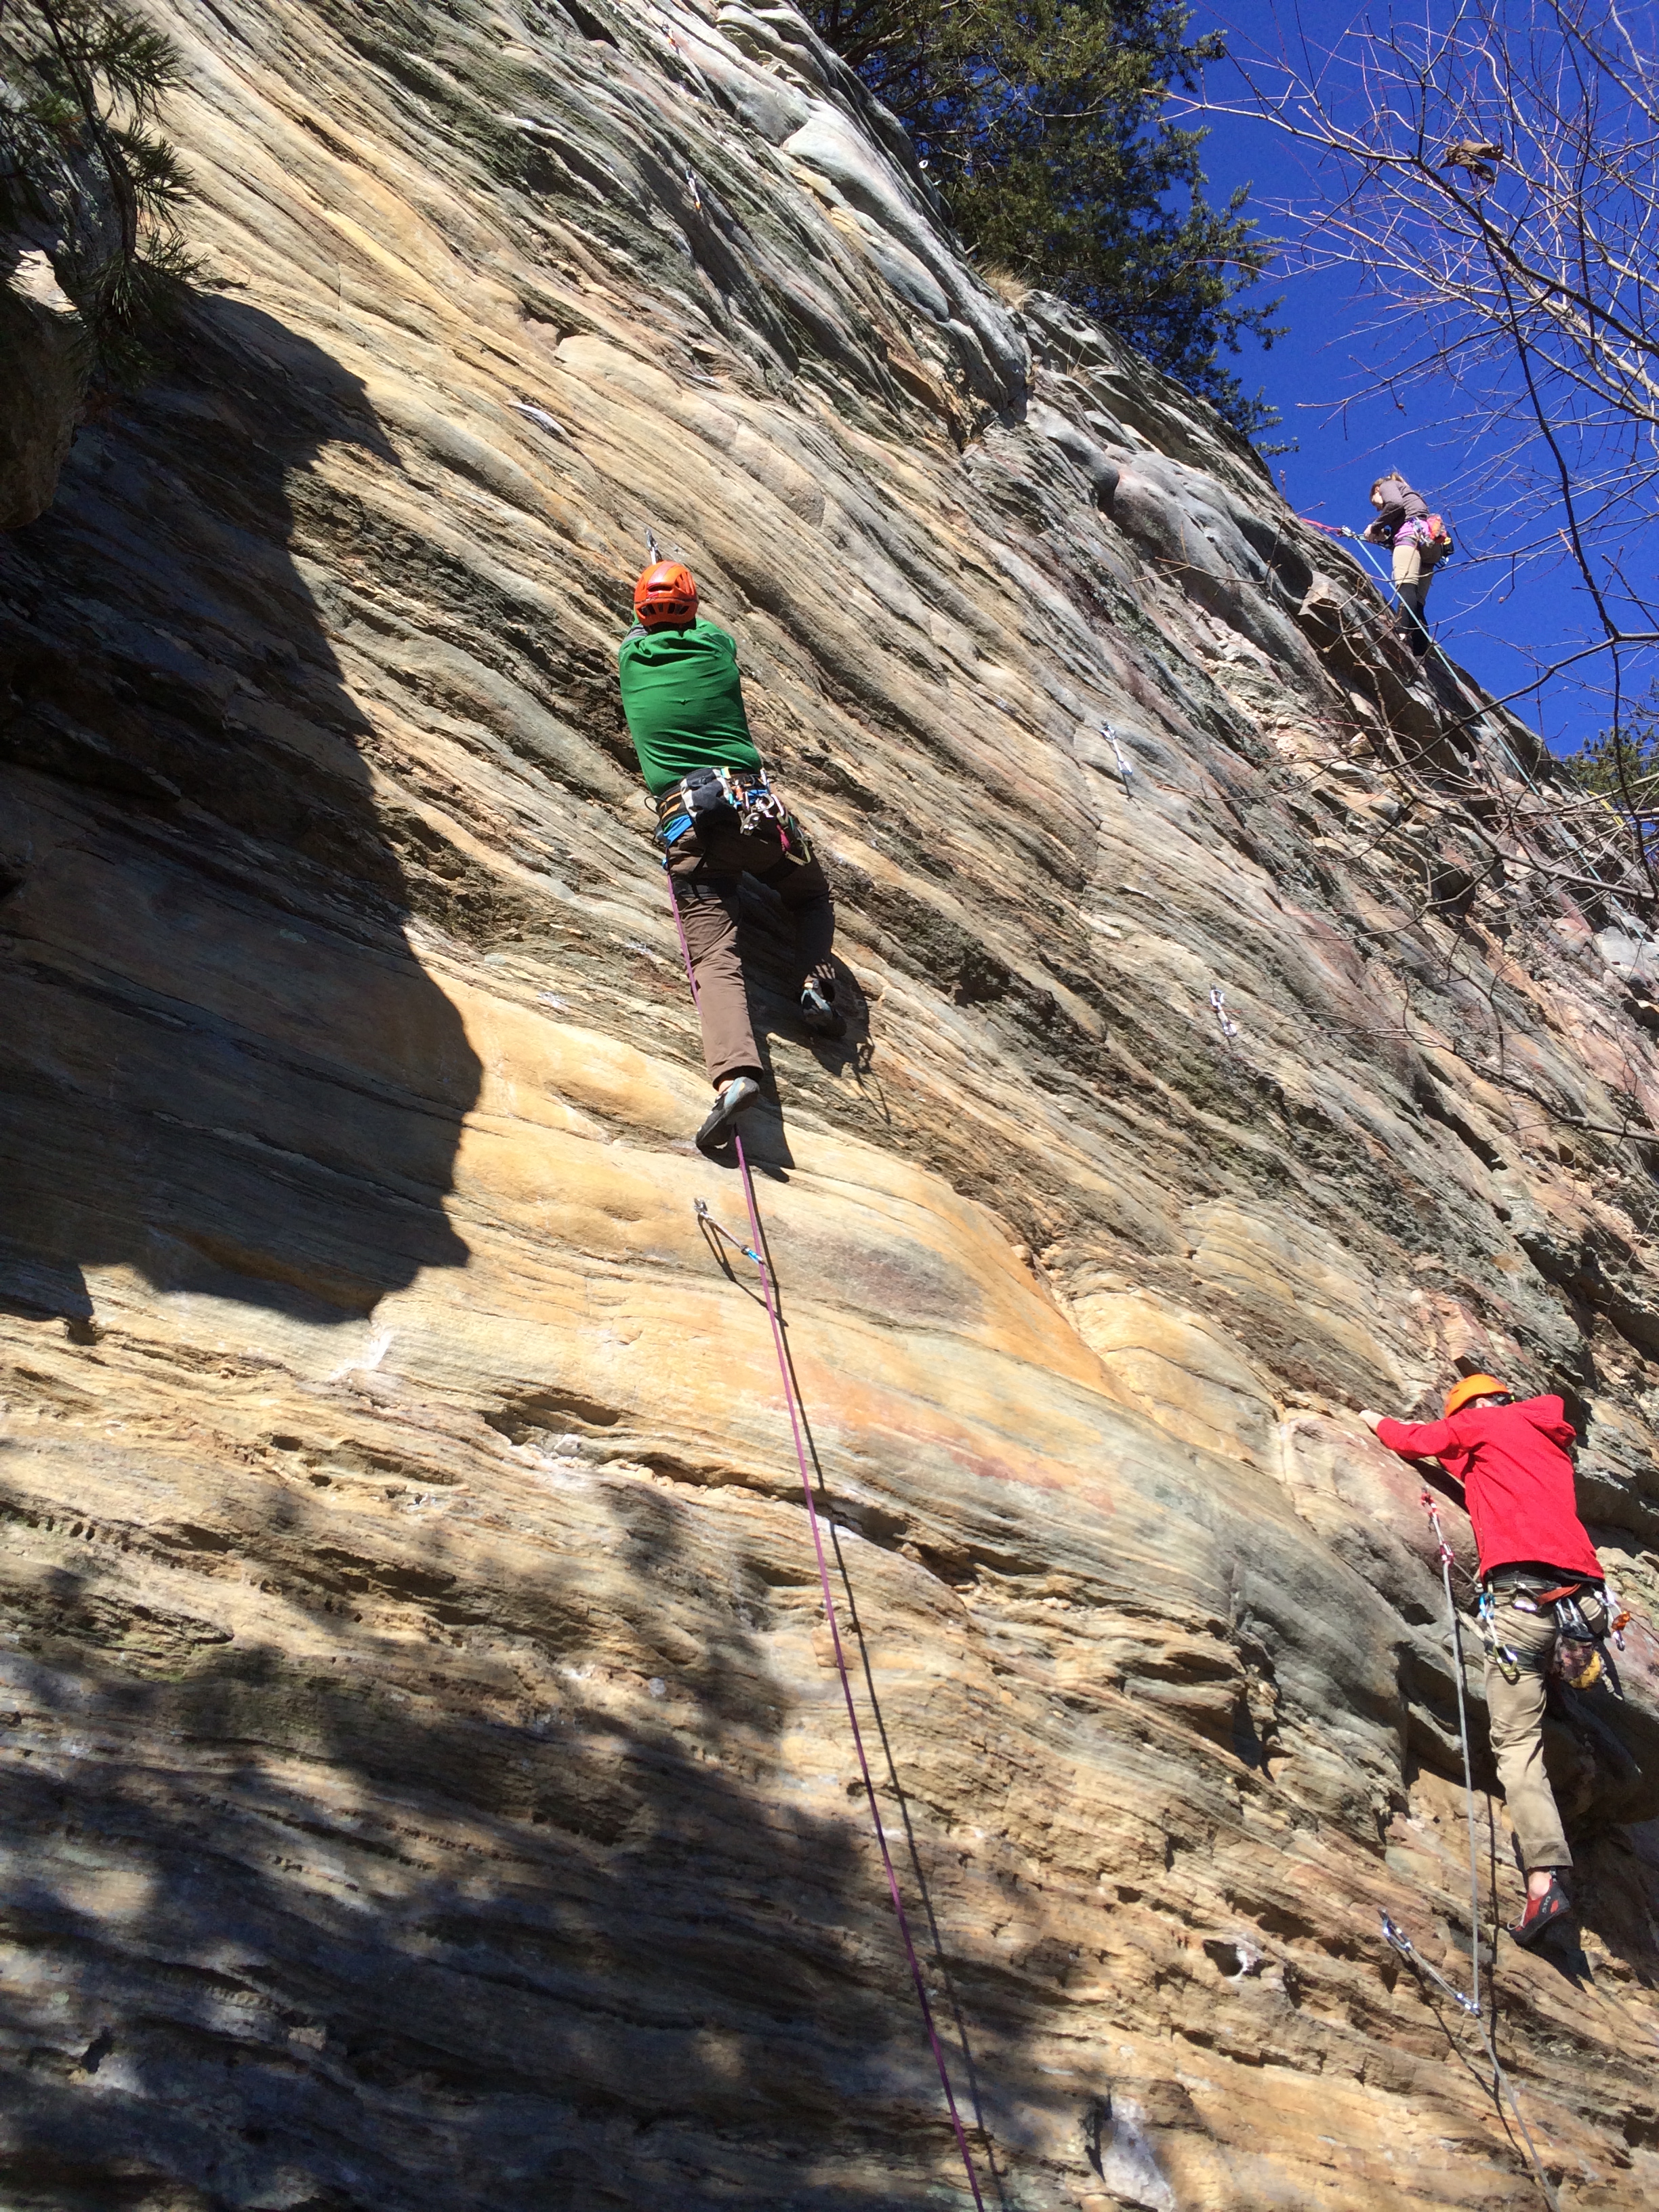
Crag-Daddy pulling hard on the roof of I’ll Be Danned (5.10+)
After hangdogging my way up The Amazing Joe a few weekends ago, I’d been chomping at the bit to get back on it before I forgot all the beta. Thankfully I only had to wait a few weeks, and my patience was rewarded with a beautiful sunny day in the 50’s!
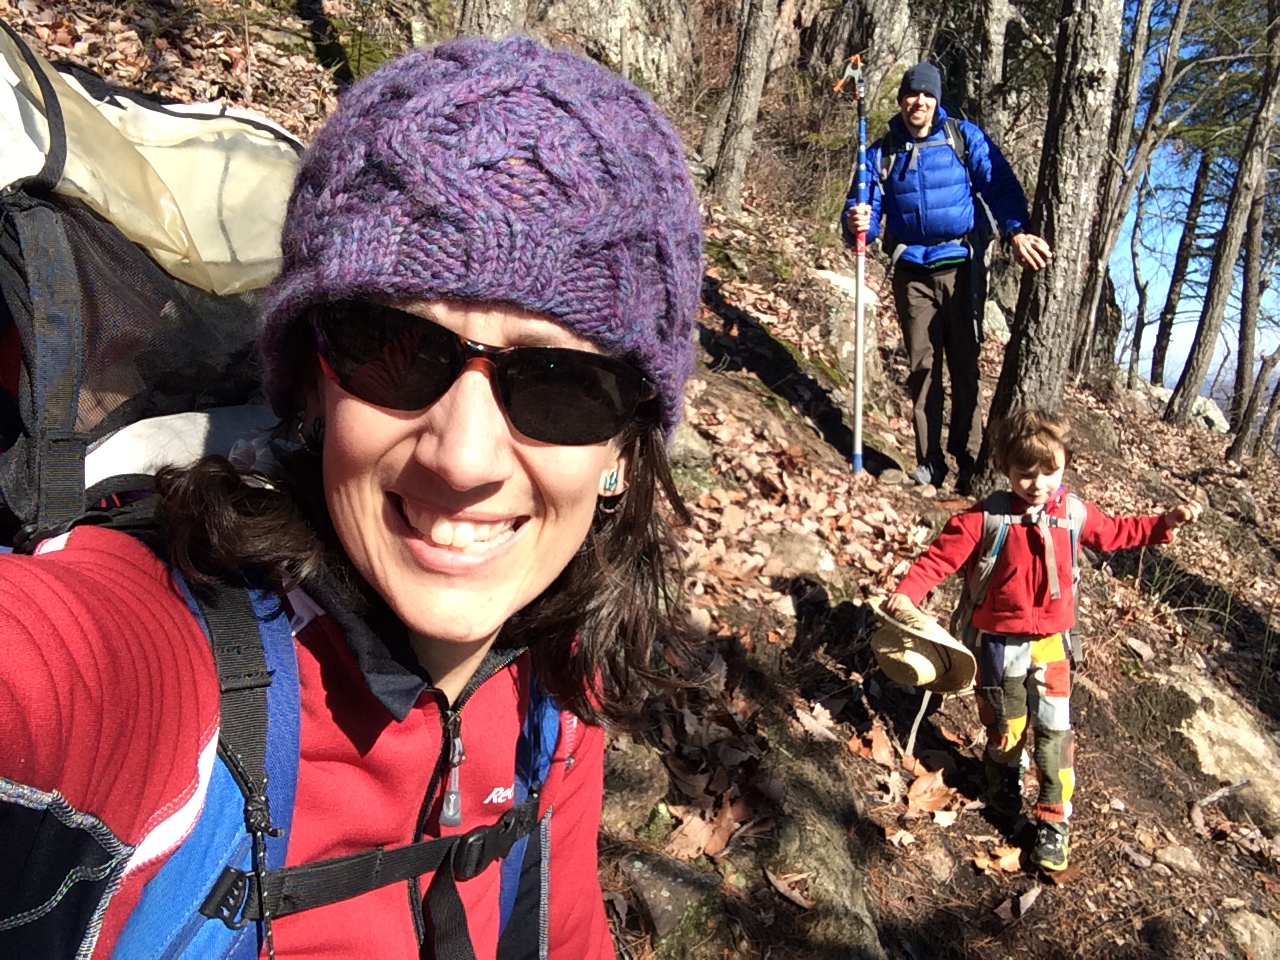
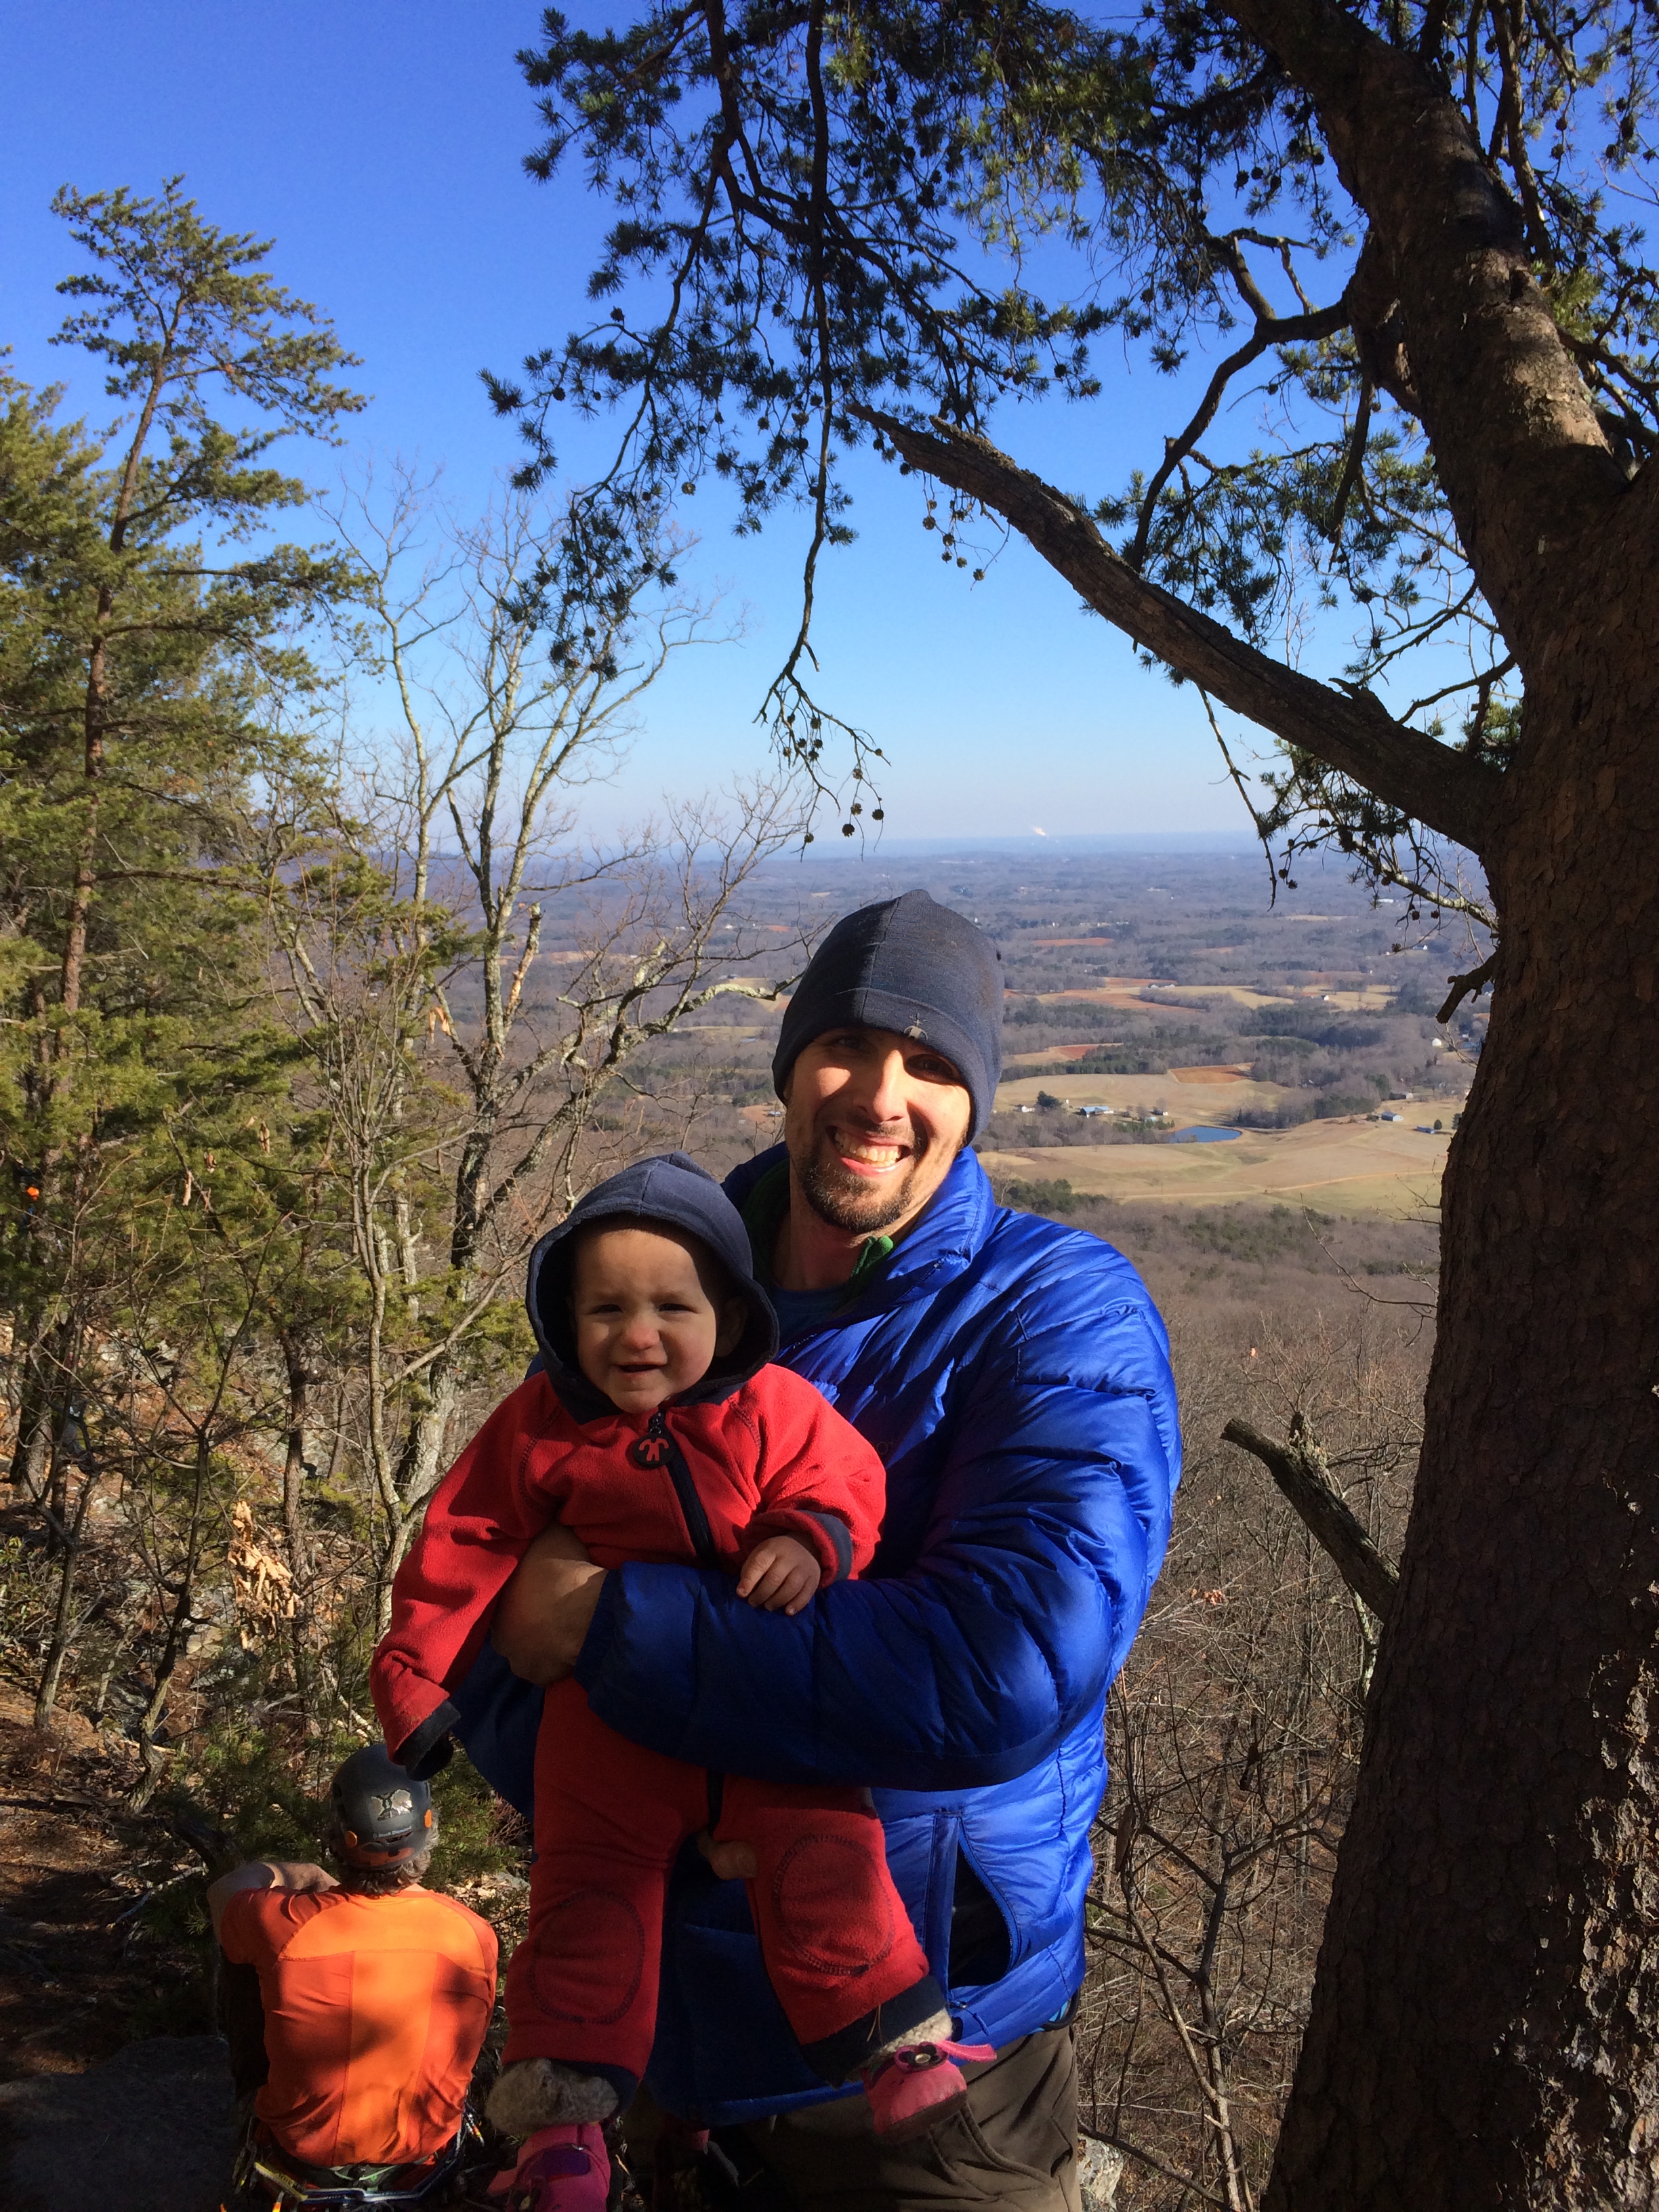
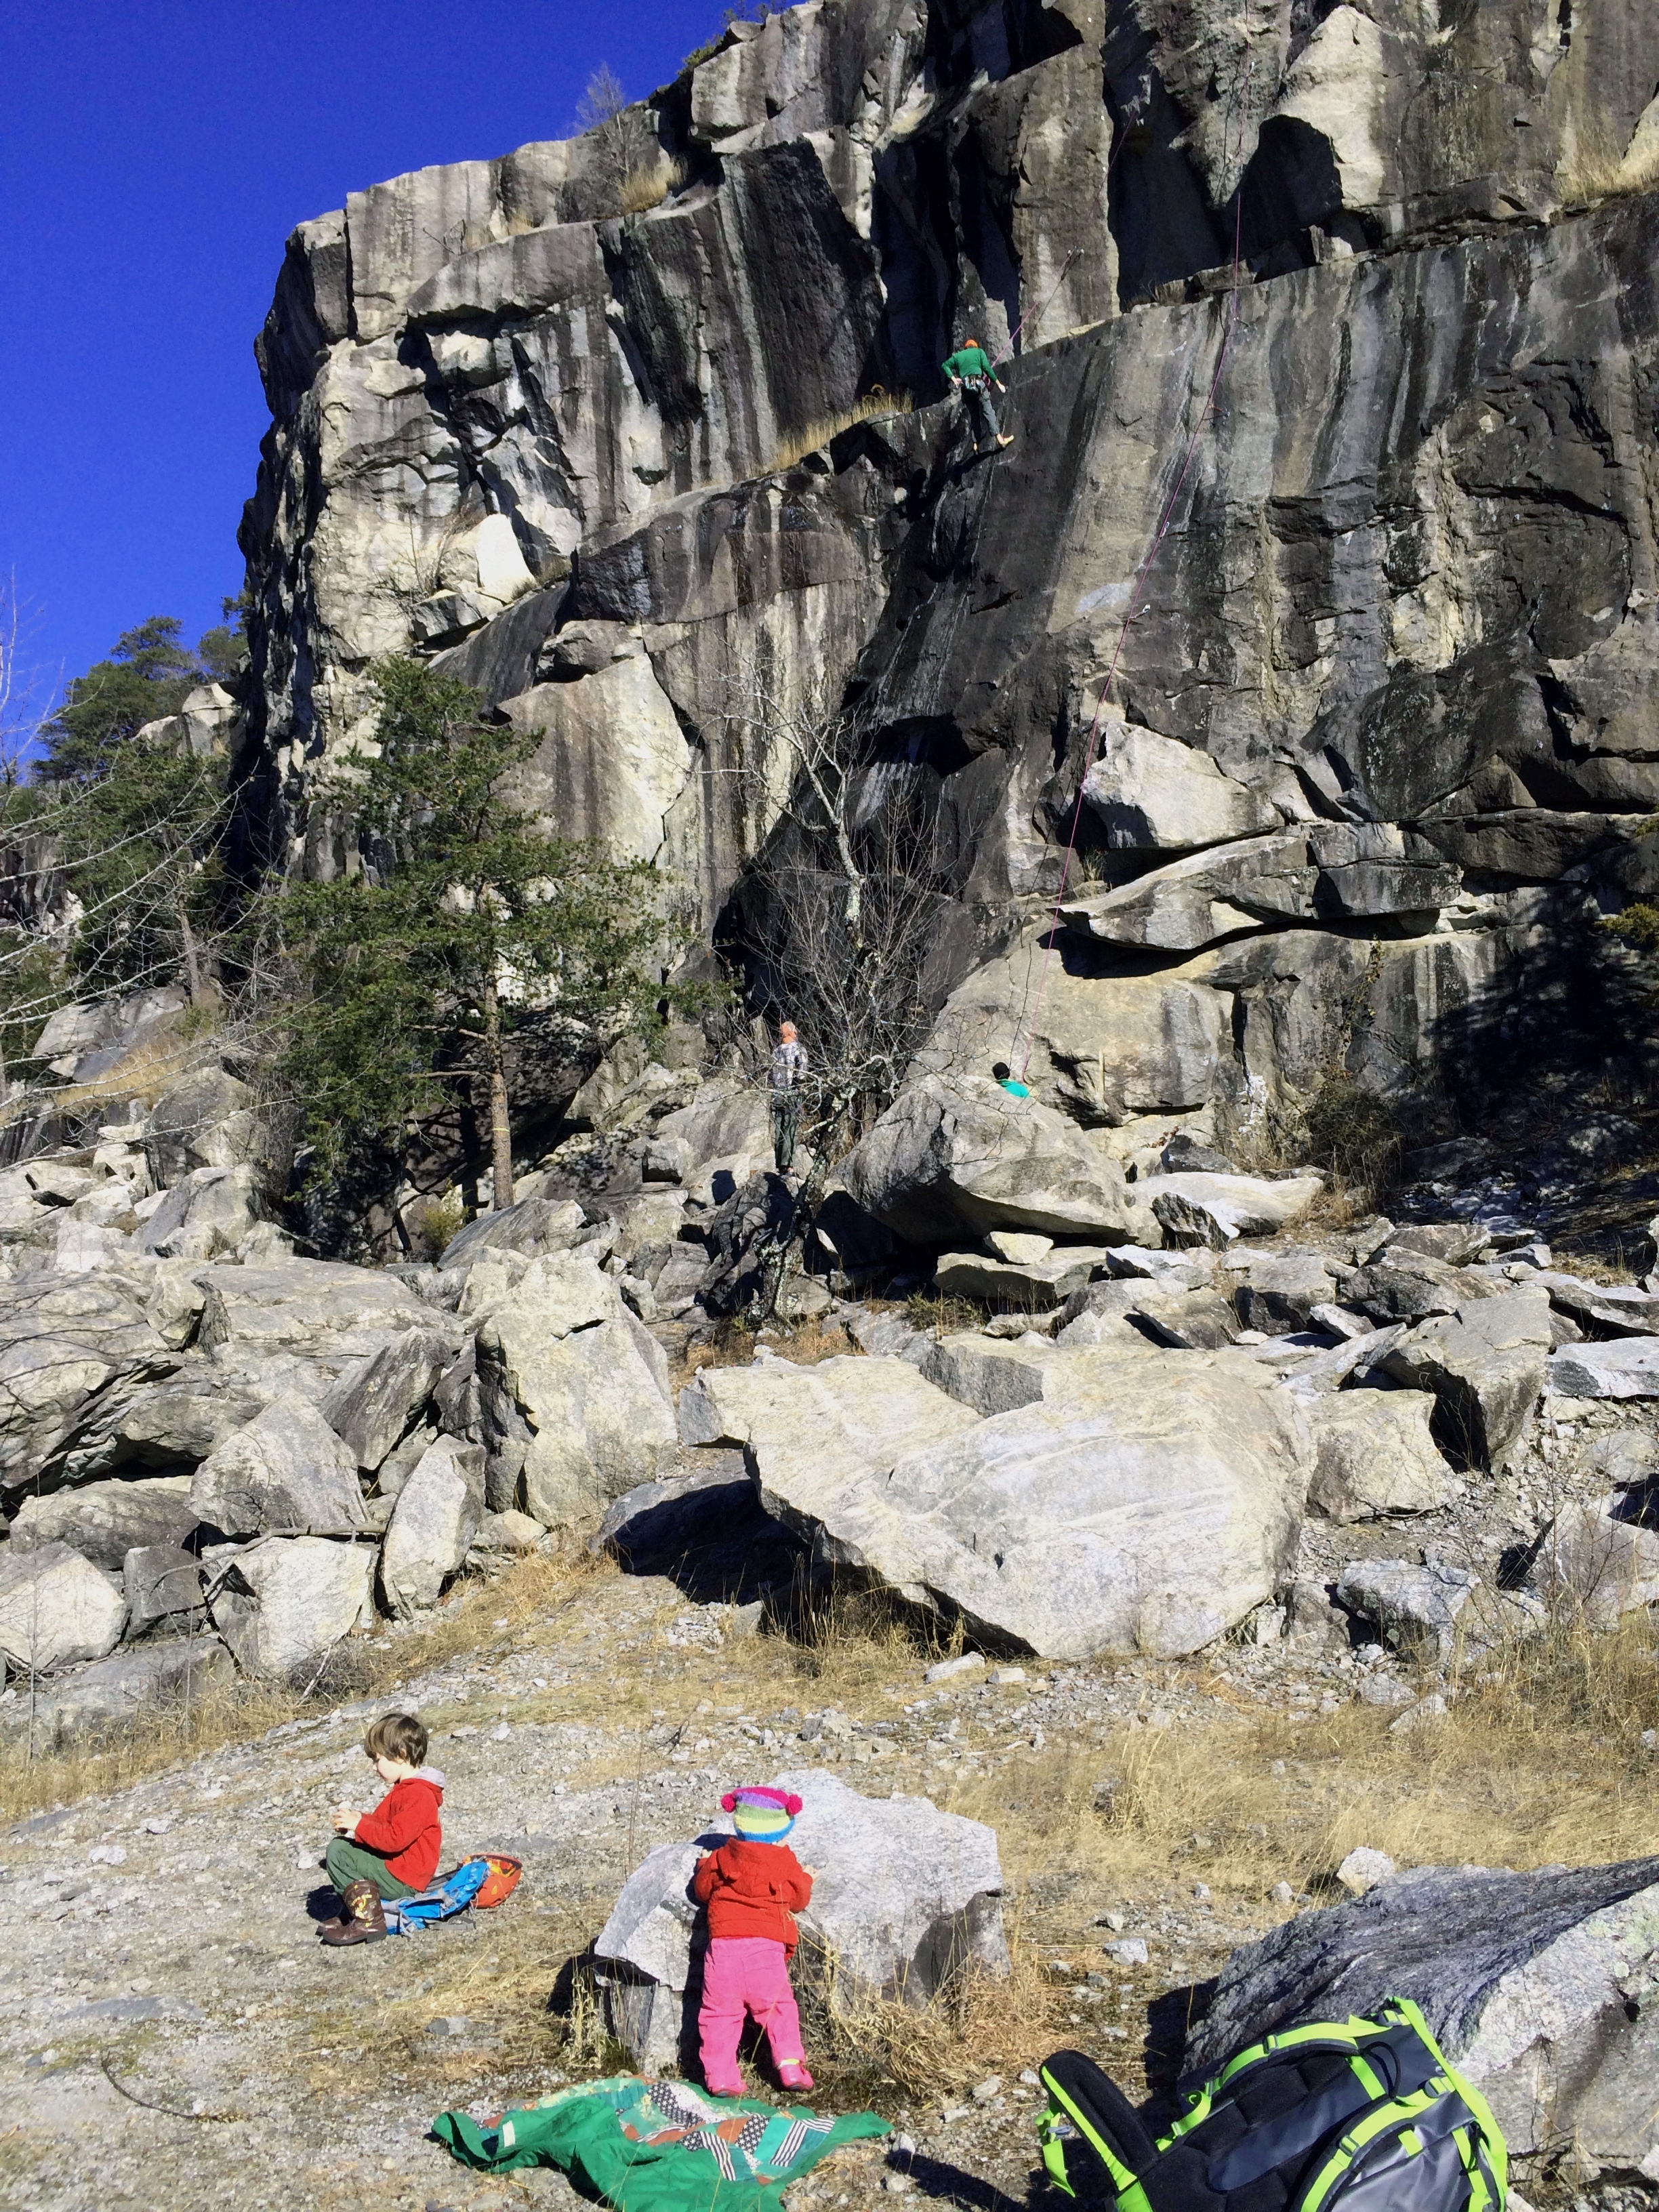
Sauratown is a unique crag in that it is only open for climbing during the months of January and February (click here for more info), and it’s guarded by a hike that i can’t bring myself to make my 4 year old tackle, which means there’s a child care logistic that needs to be factored in whenever we climb there. I knew this might end up being our last day up there until next season, and I didn’t want to get sucked in to throwing myself at a route that was just beyond my capabilities over and over and over, only to hike out sendless…especially when there are plenty of easier climbs that are equally fantastic.
So after a quick warm-up (Leisure Time, 5.10a), I turned my attention to my project du jour. Last time I’d tried it twice, and while I’d done all the moves, I did a LOT of hanging. Also last time I’d had a lot of trouble making the 3rd clip even with the draw already in, so I was thankful that my friend Adam didn’t mind hanging an extended draw on that bolt for me on his way up. My plan was to give it one go to remember the moves, while realistically assessing how doable it seemed for a same-day send.
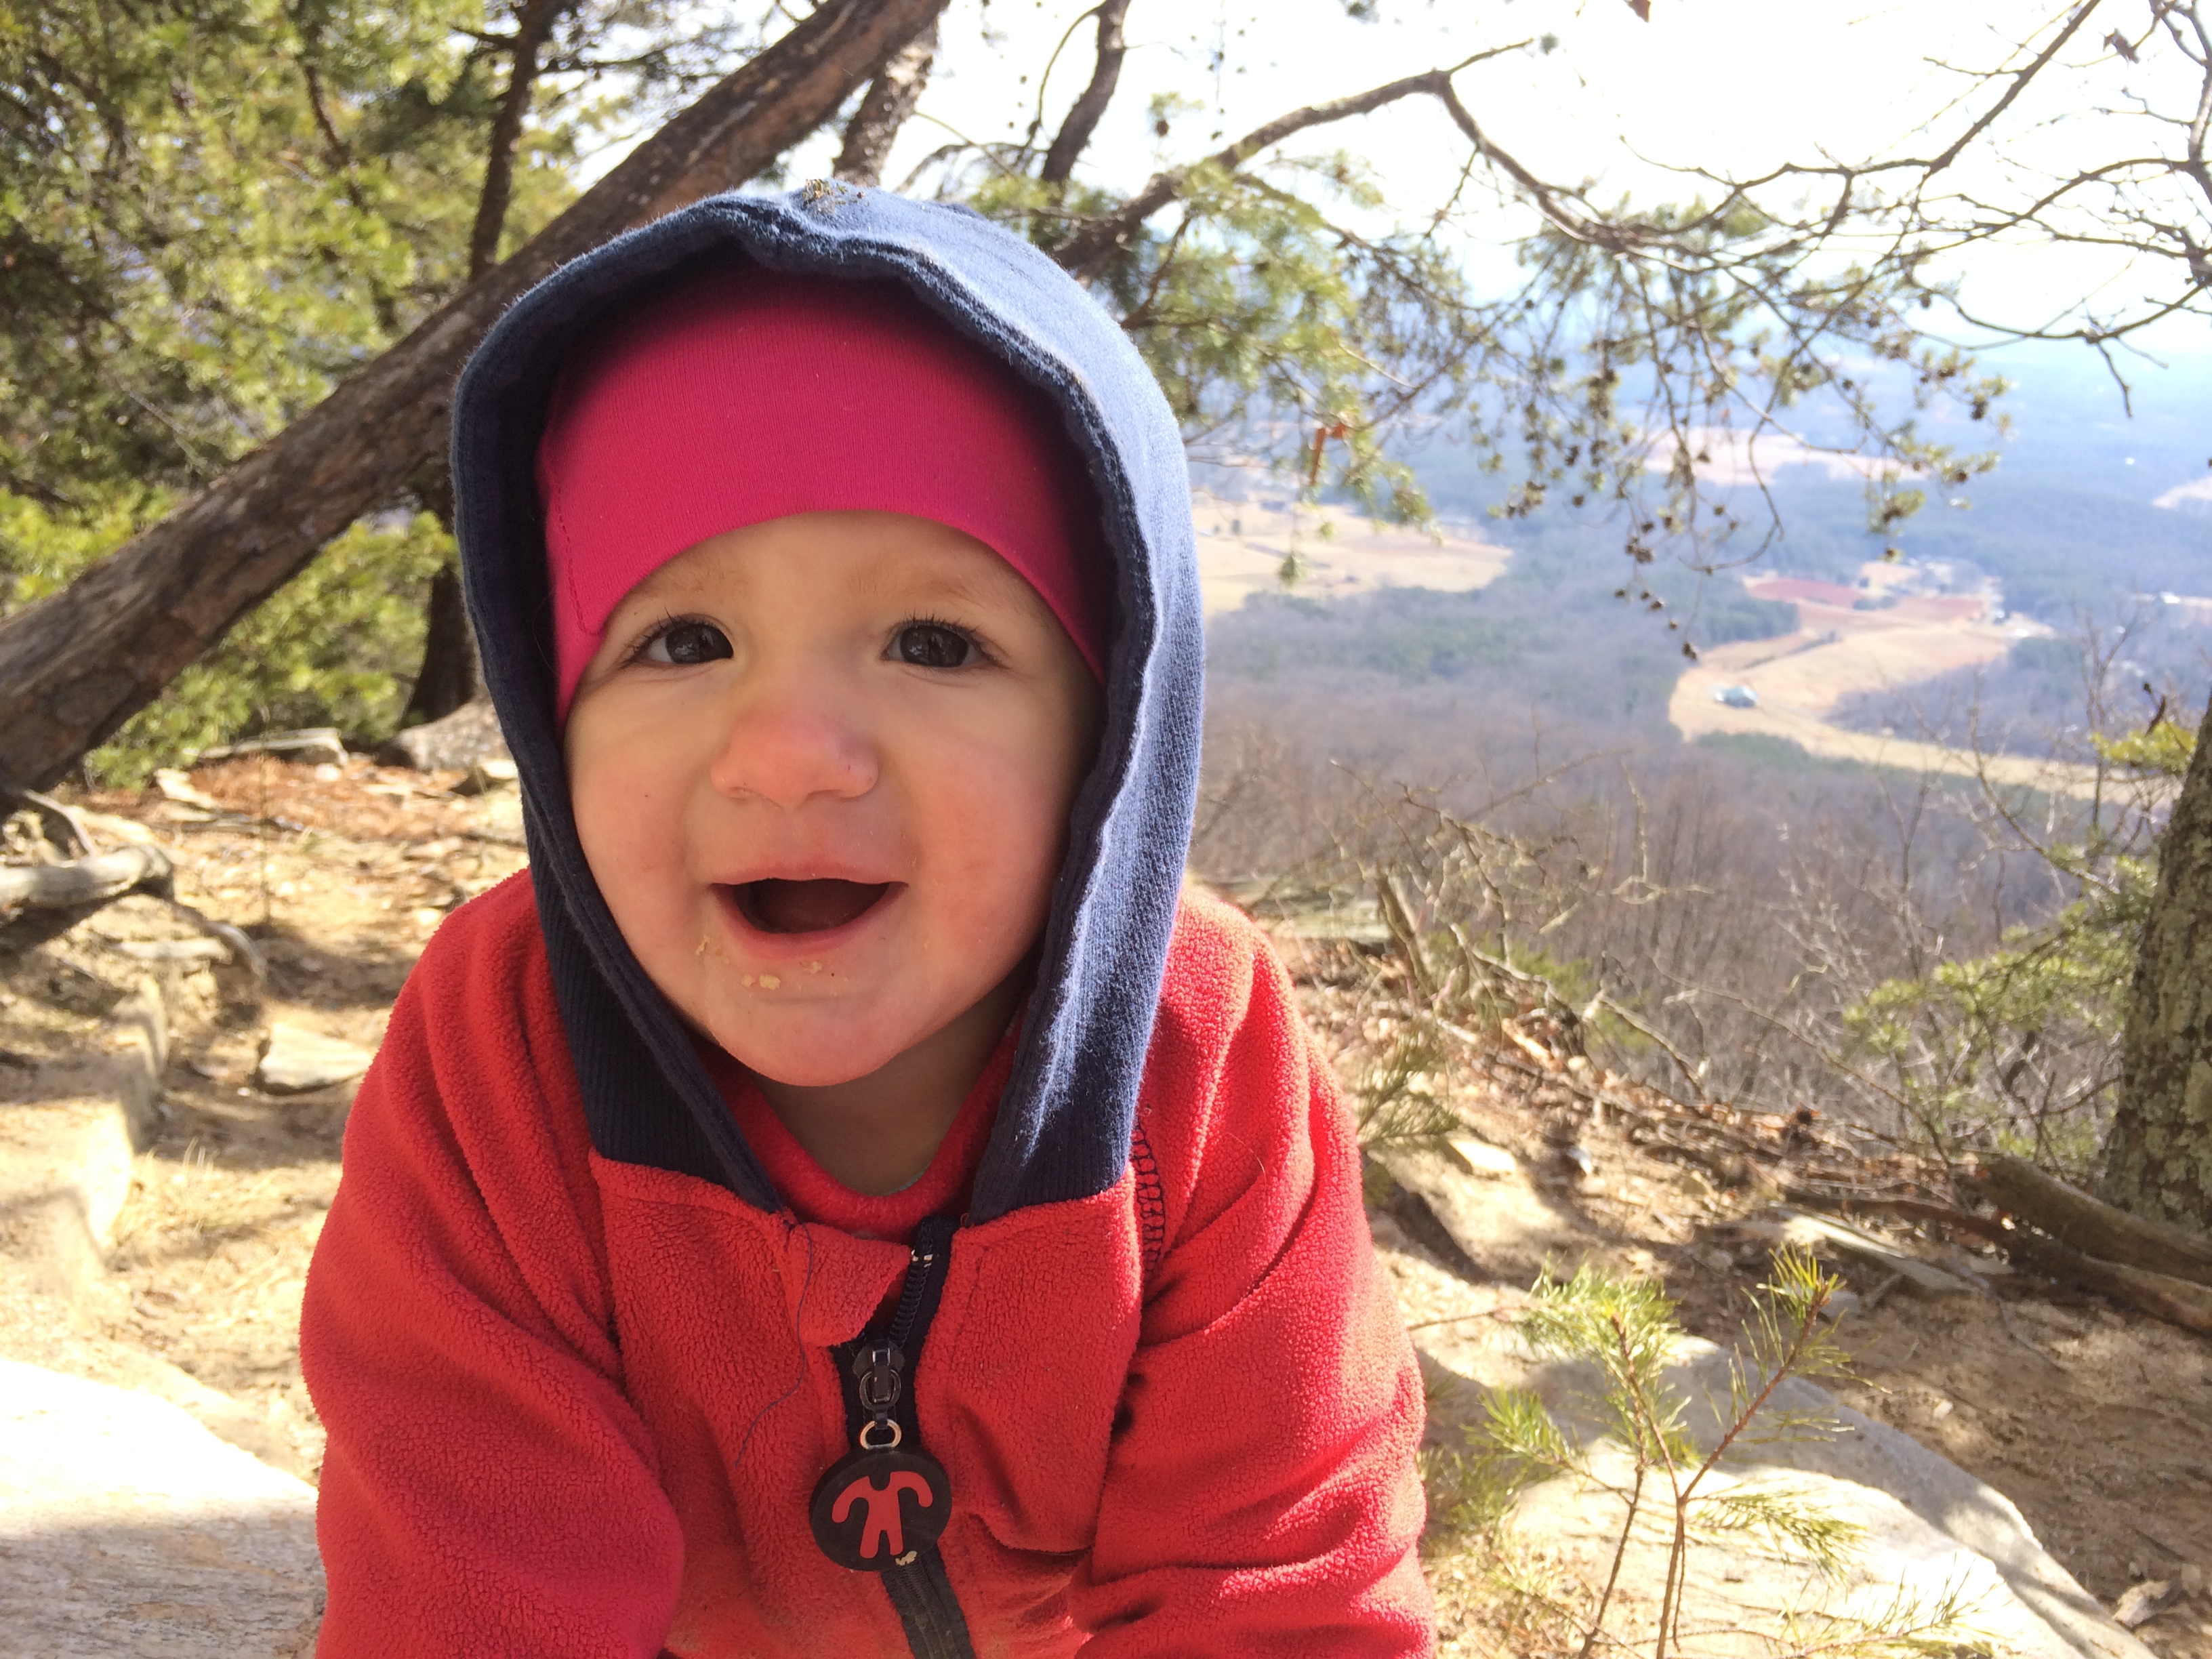
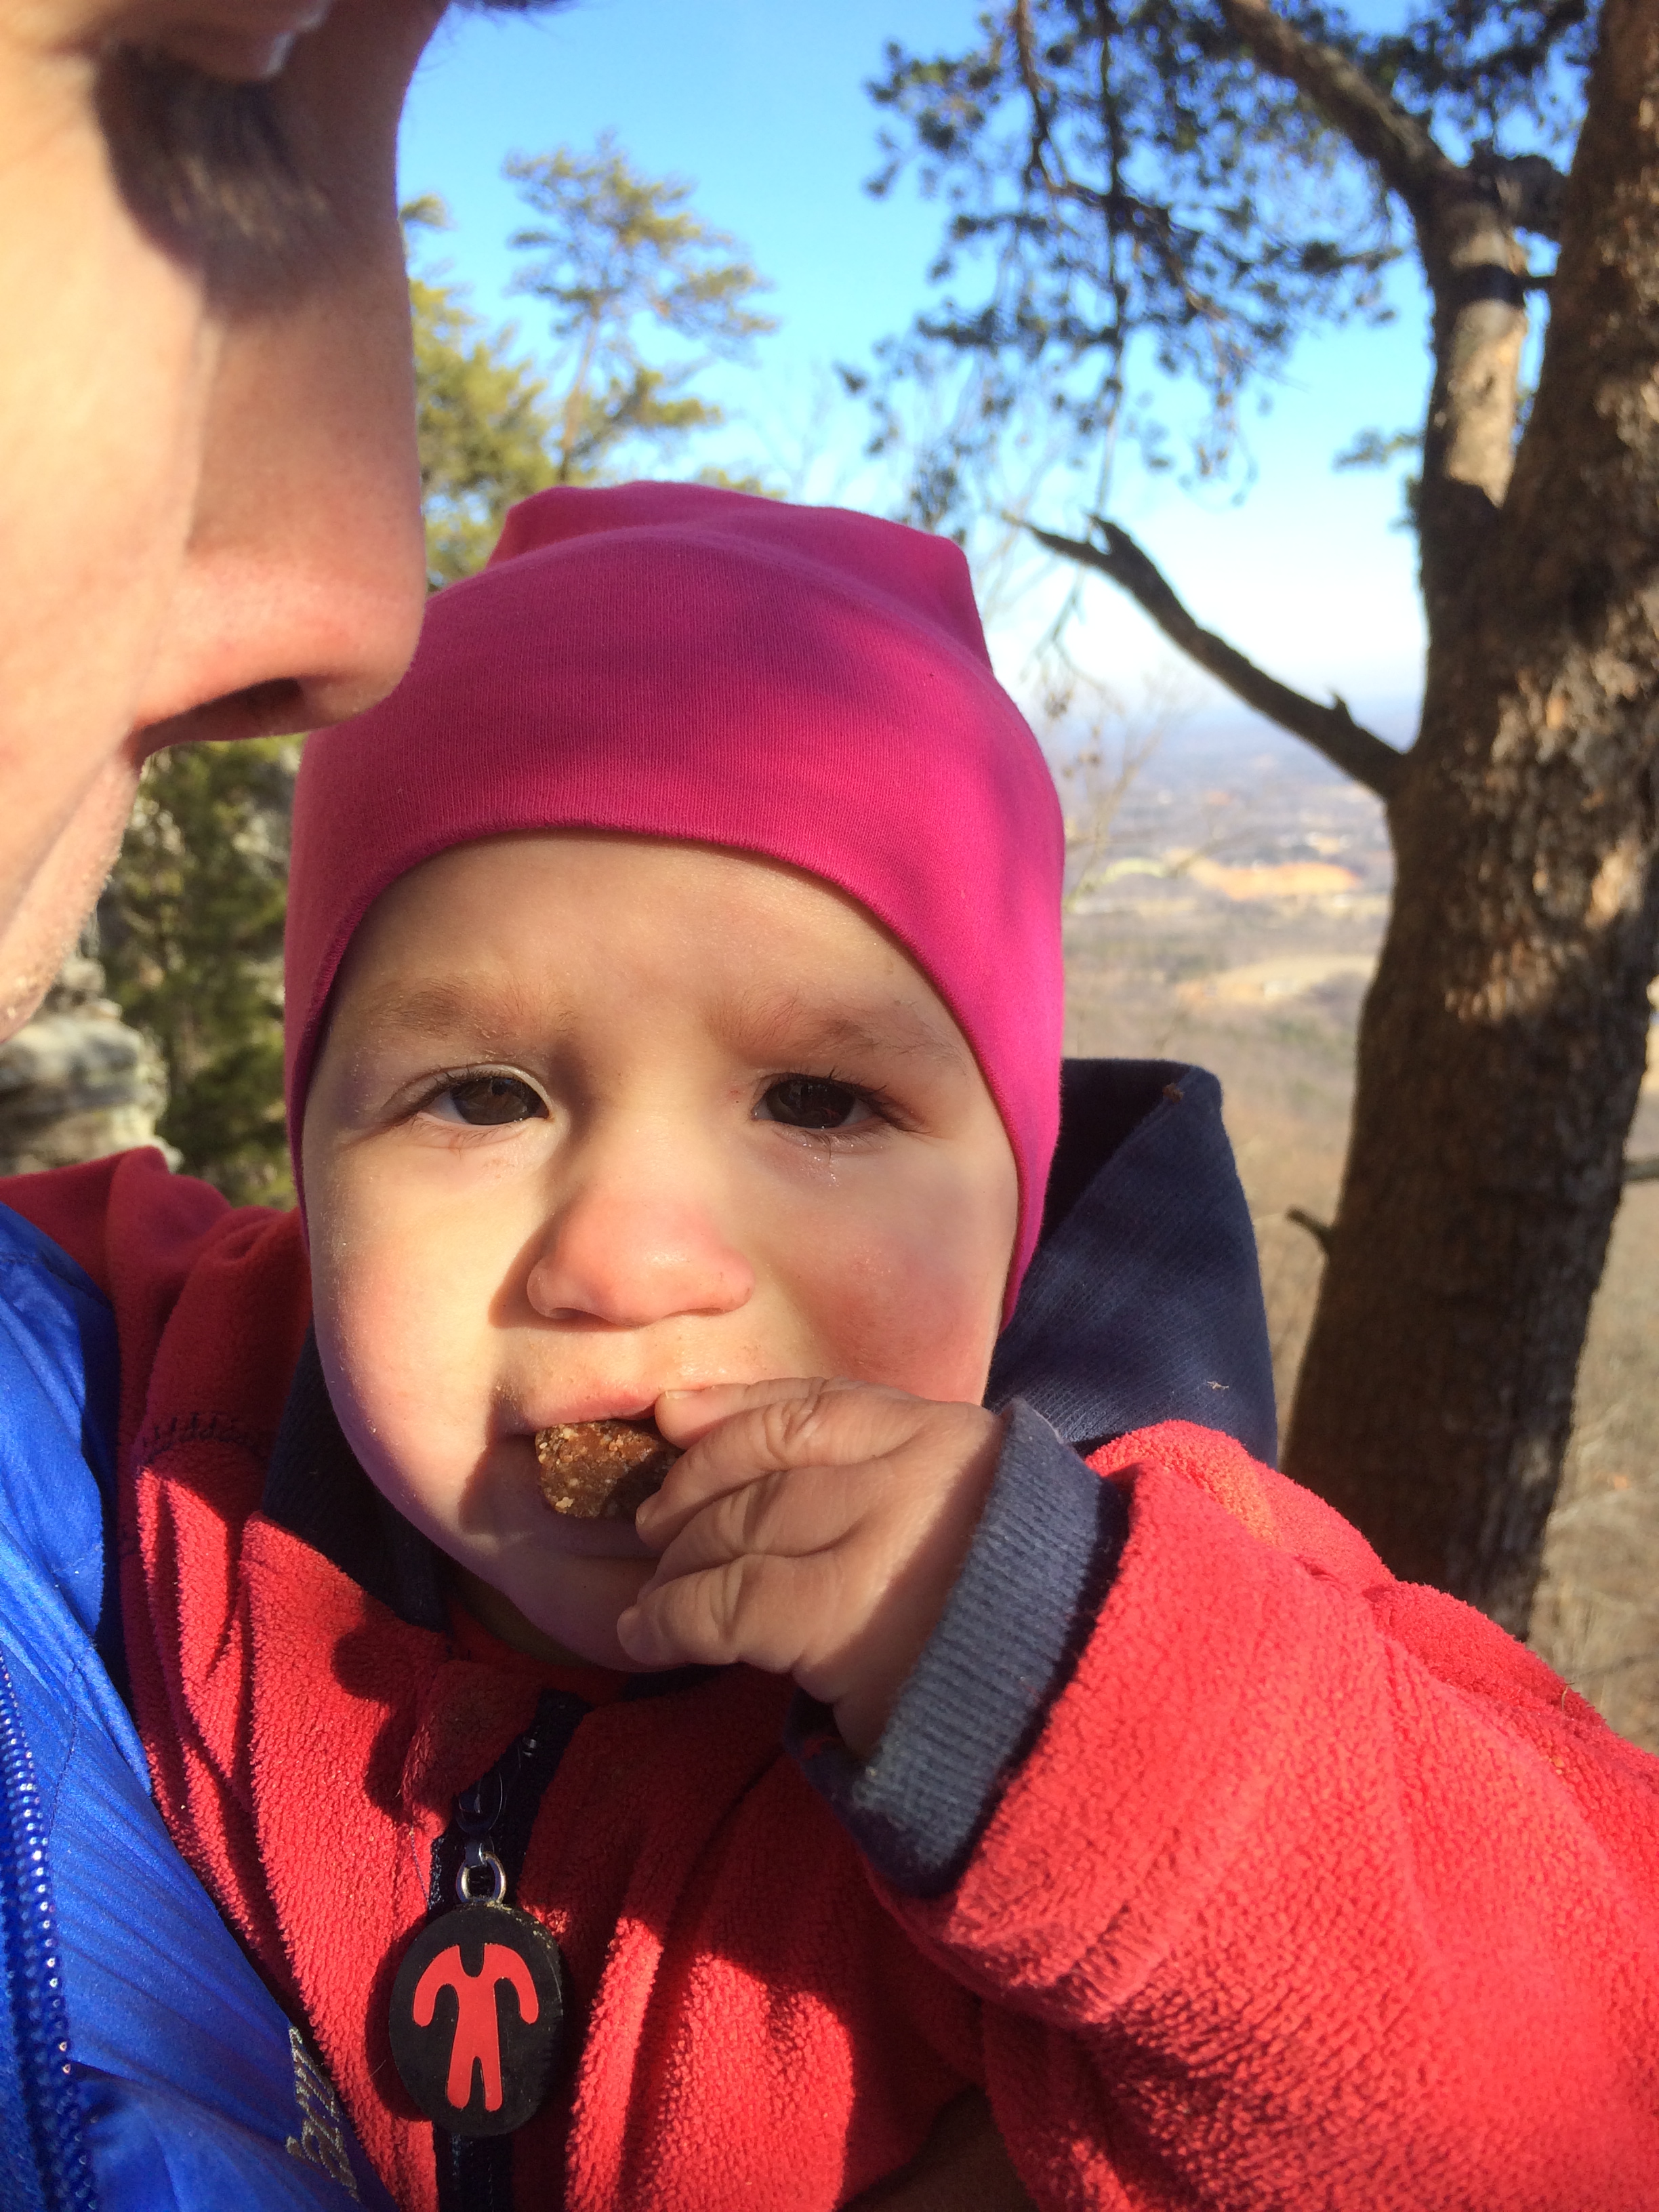
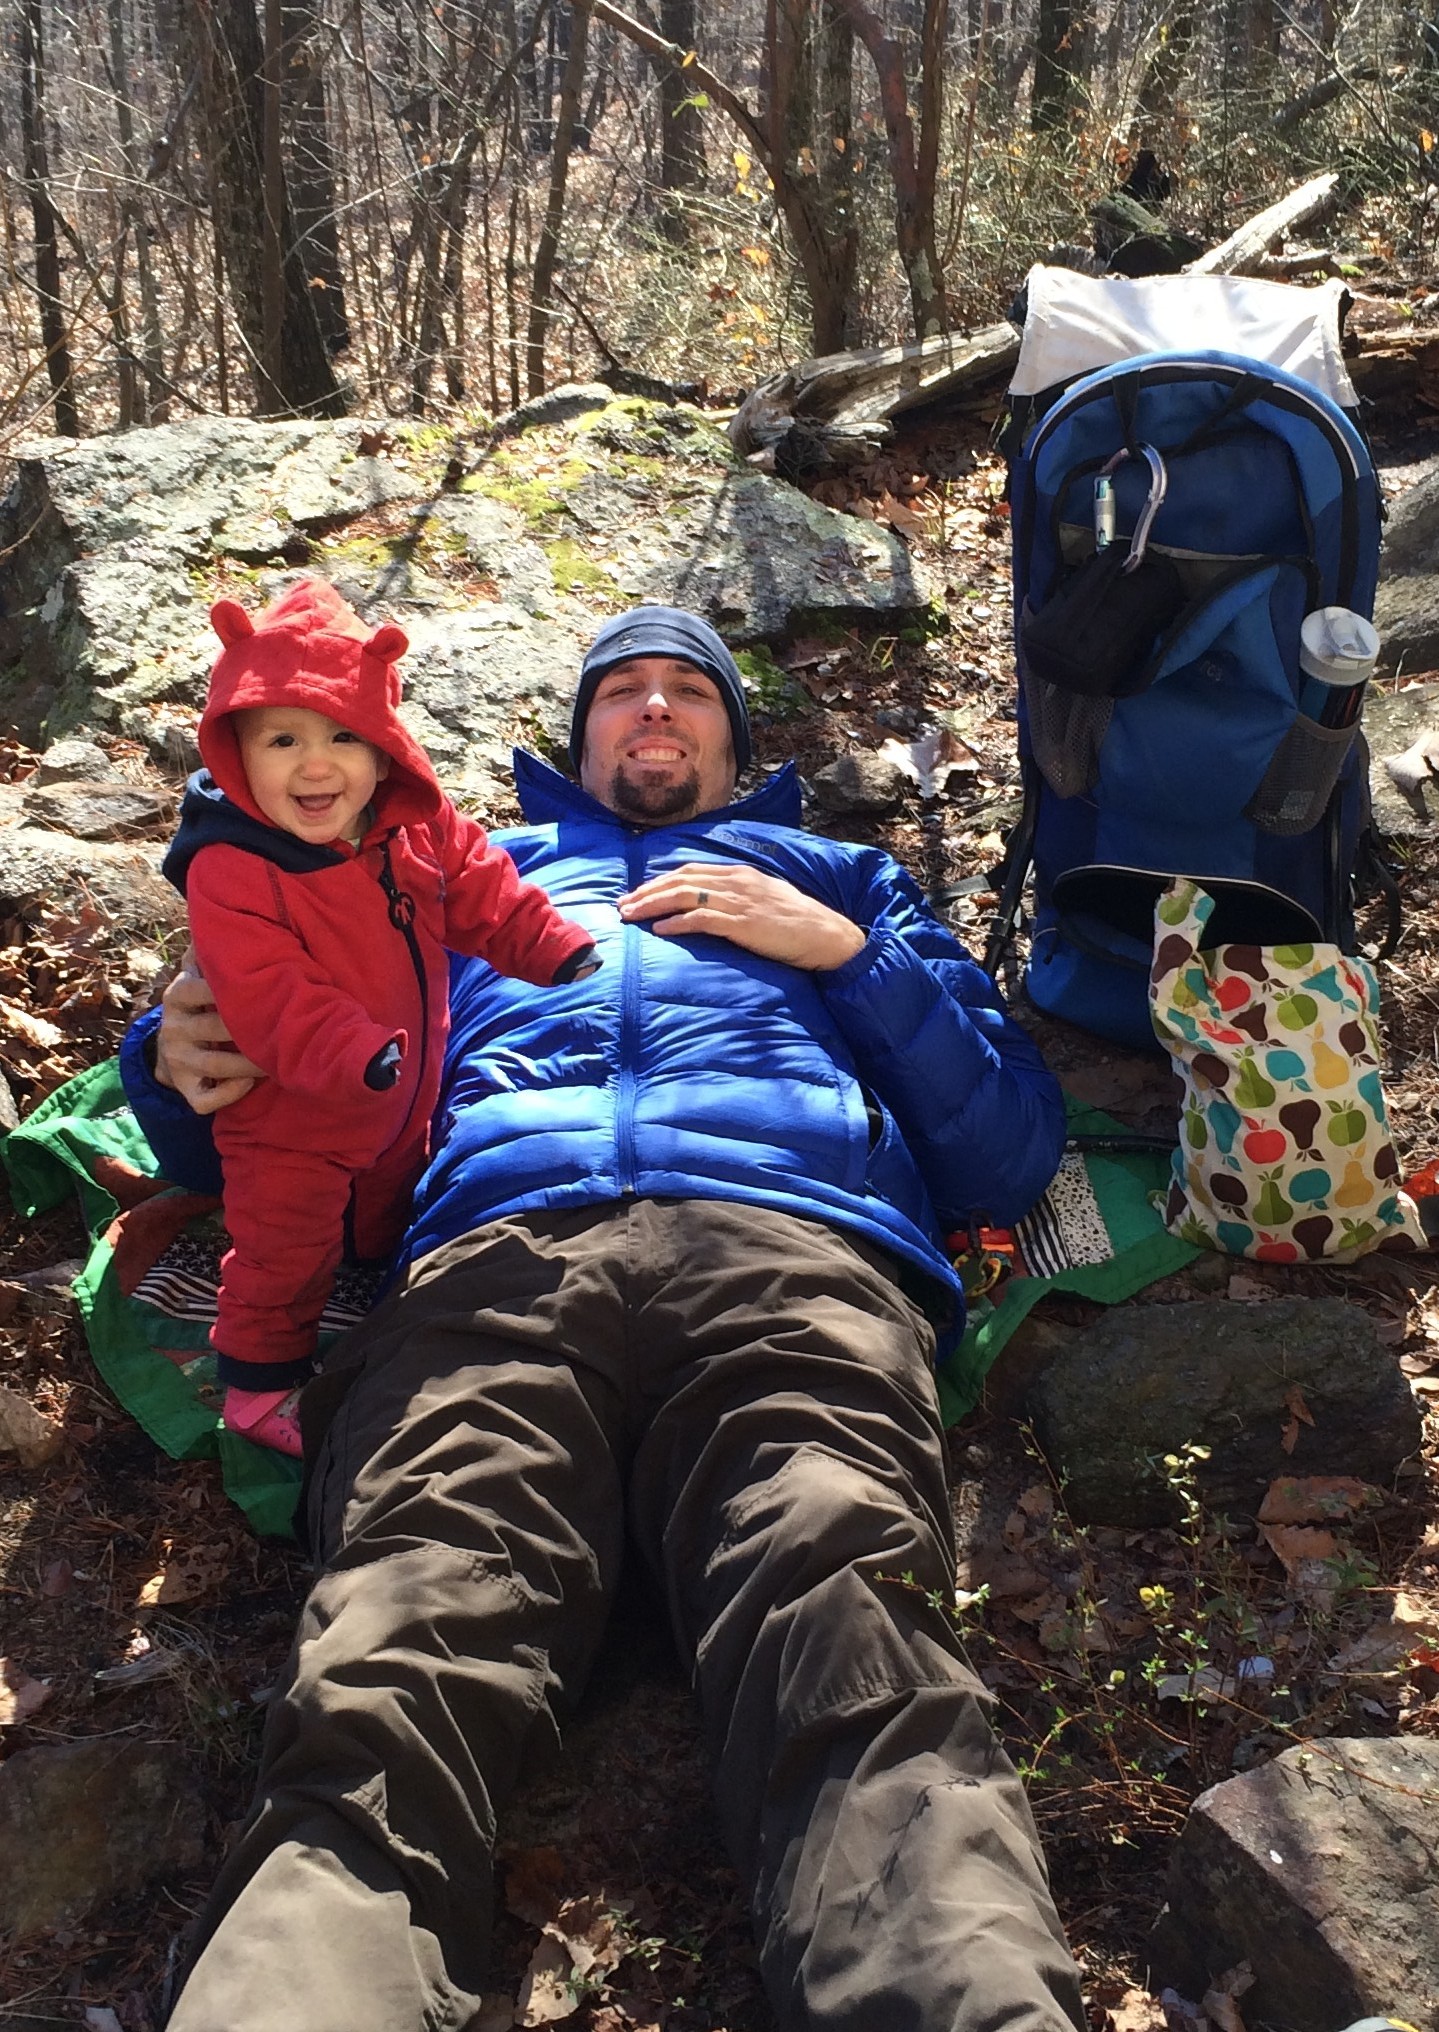
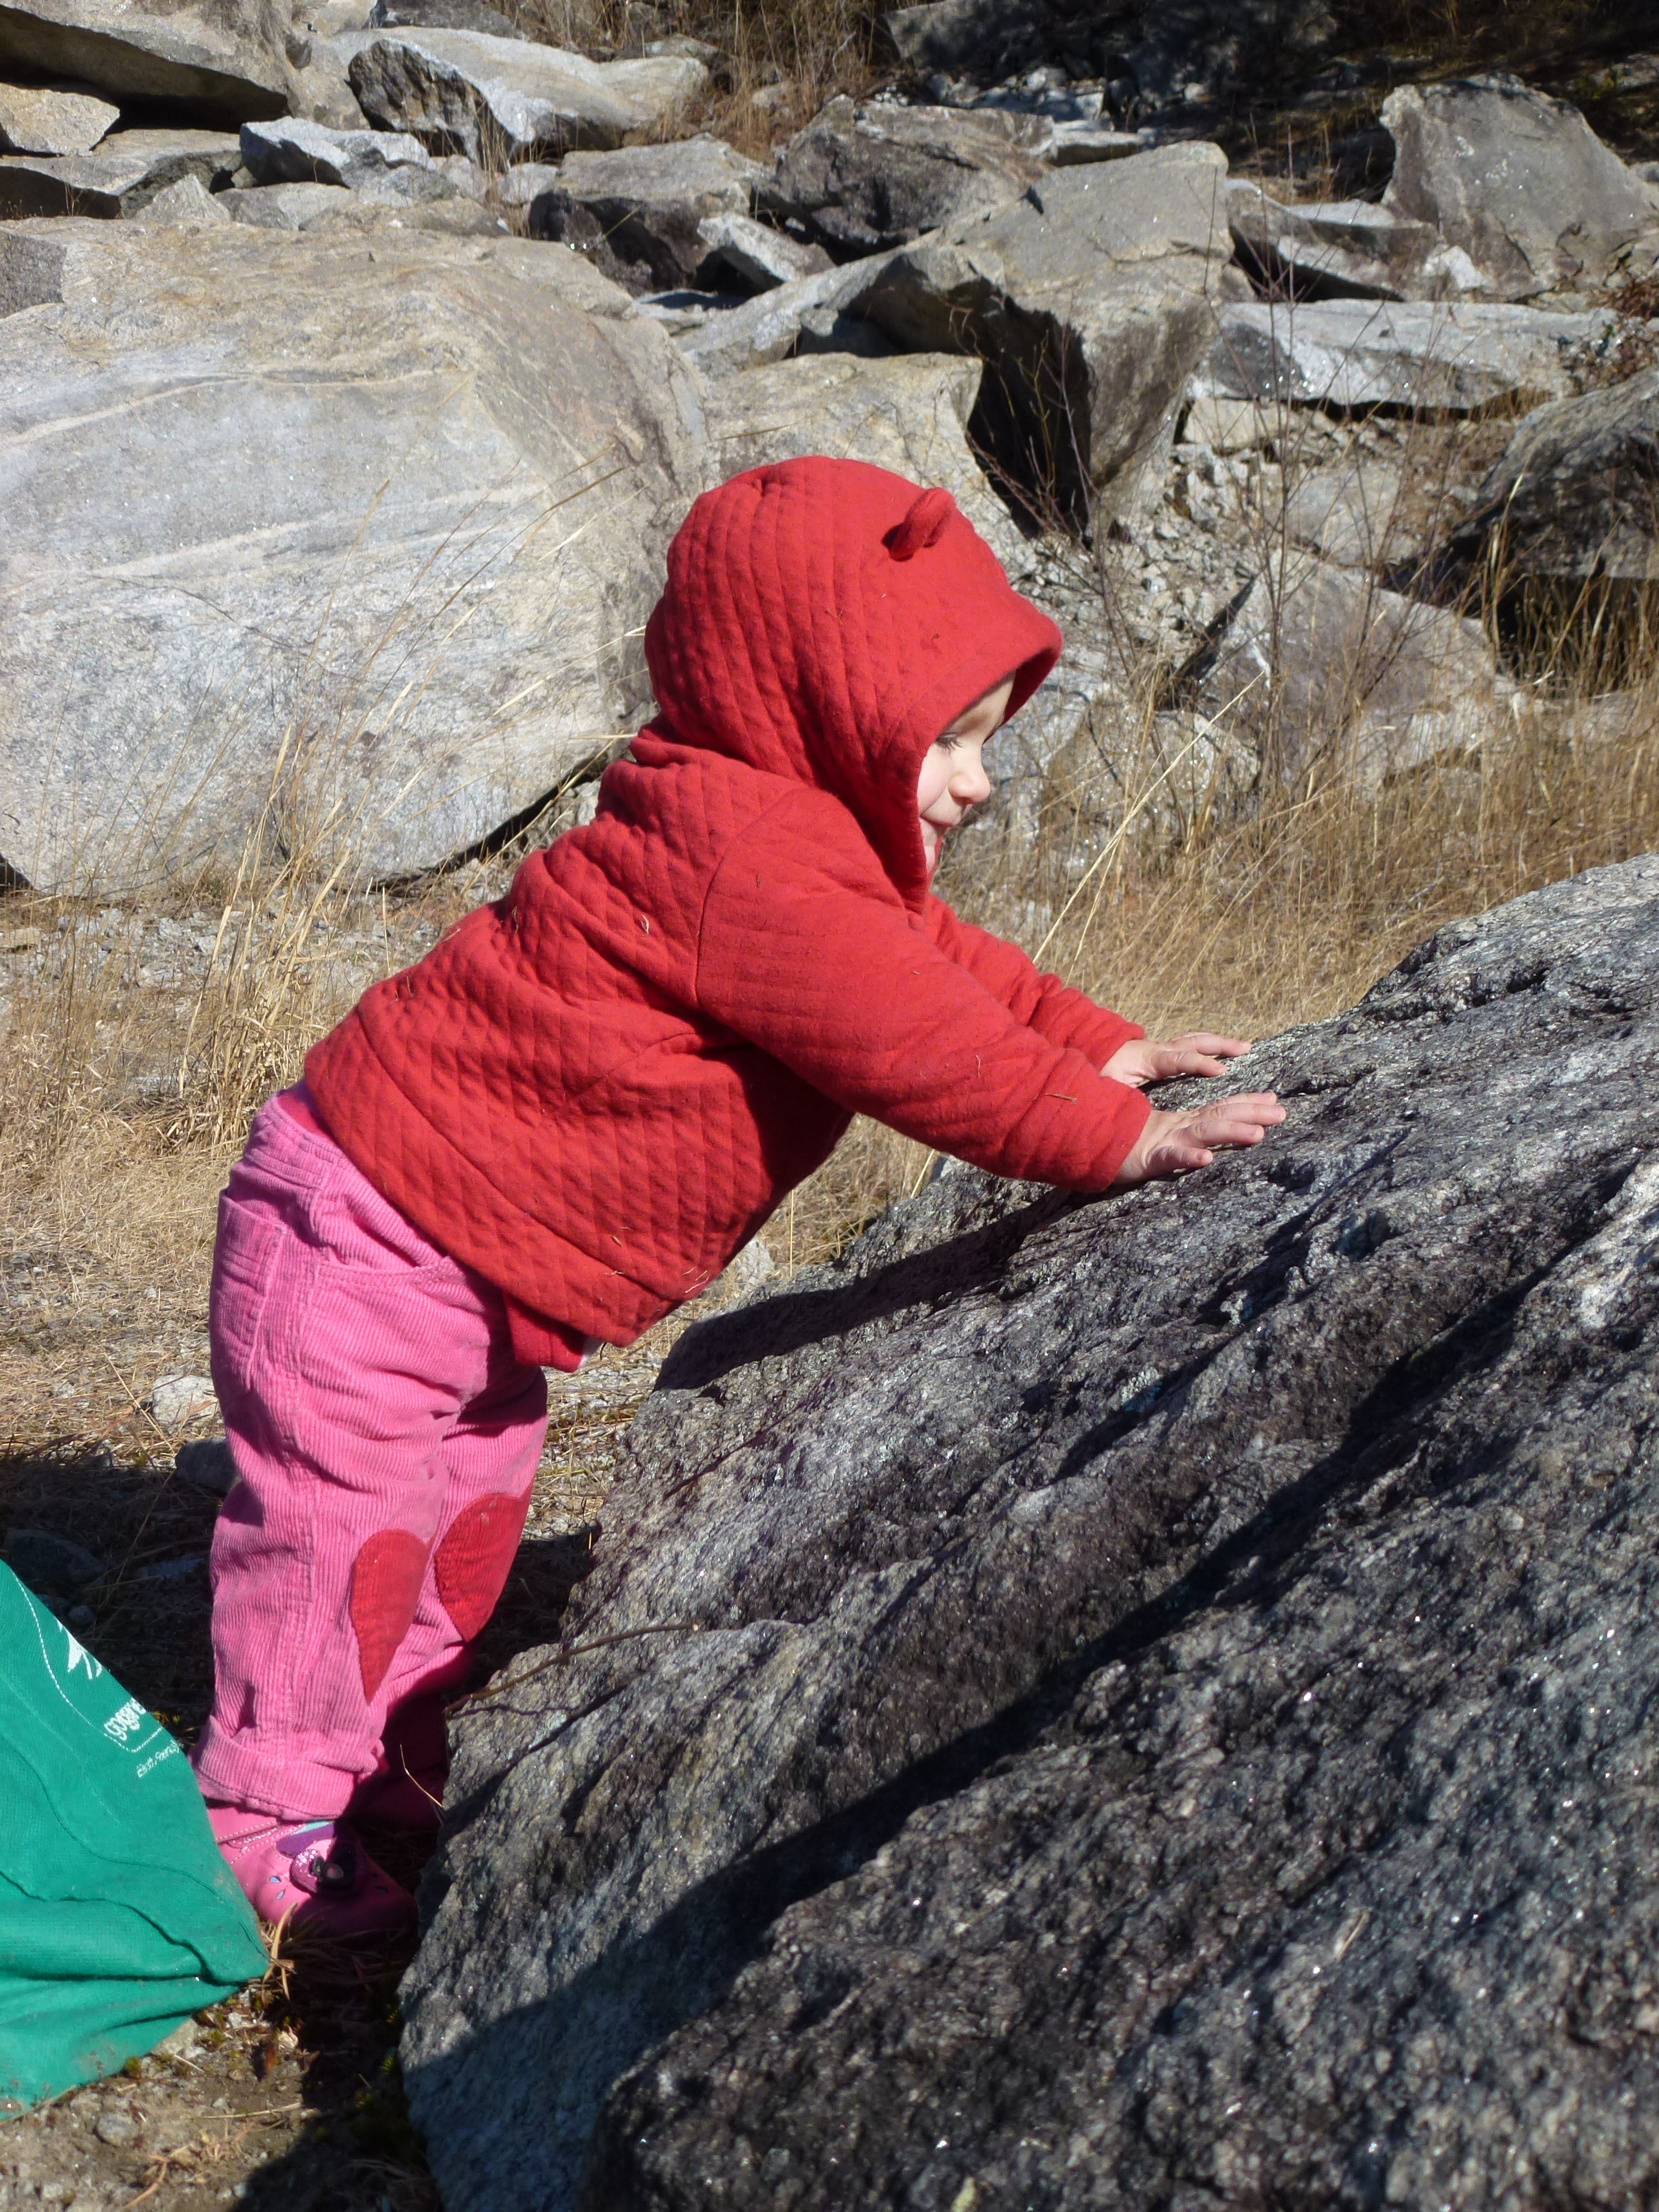
My little Rock Princess
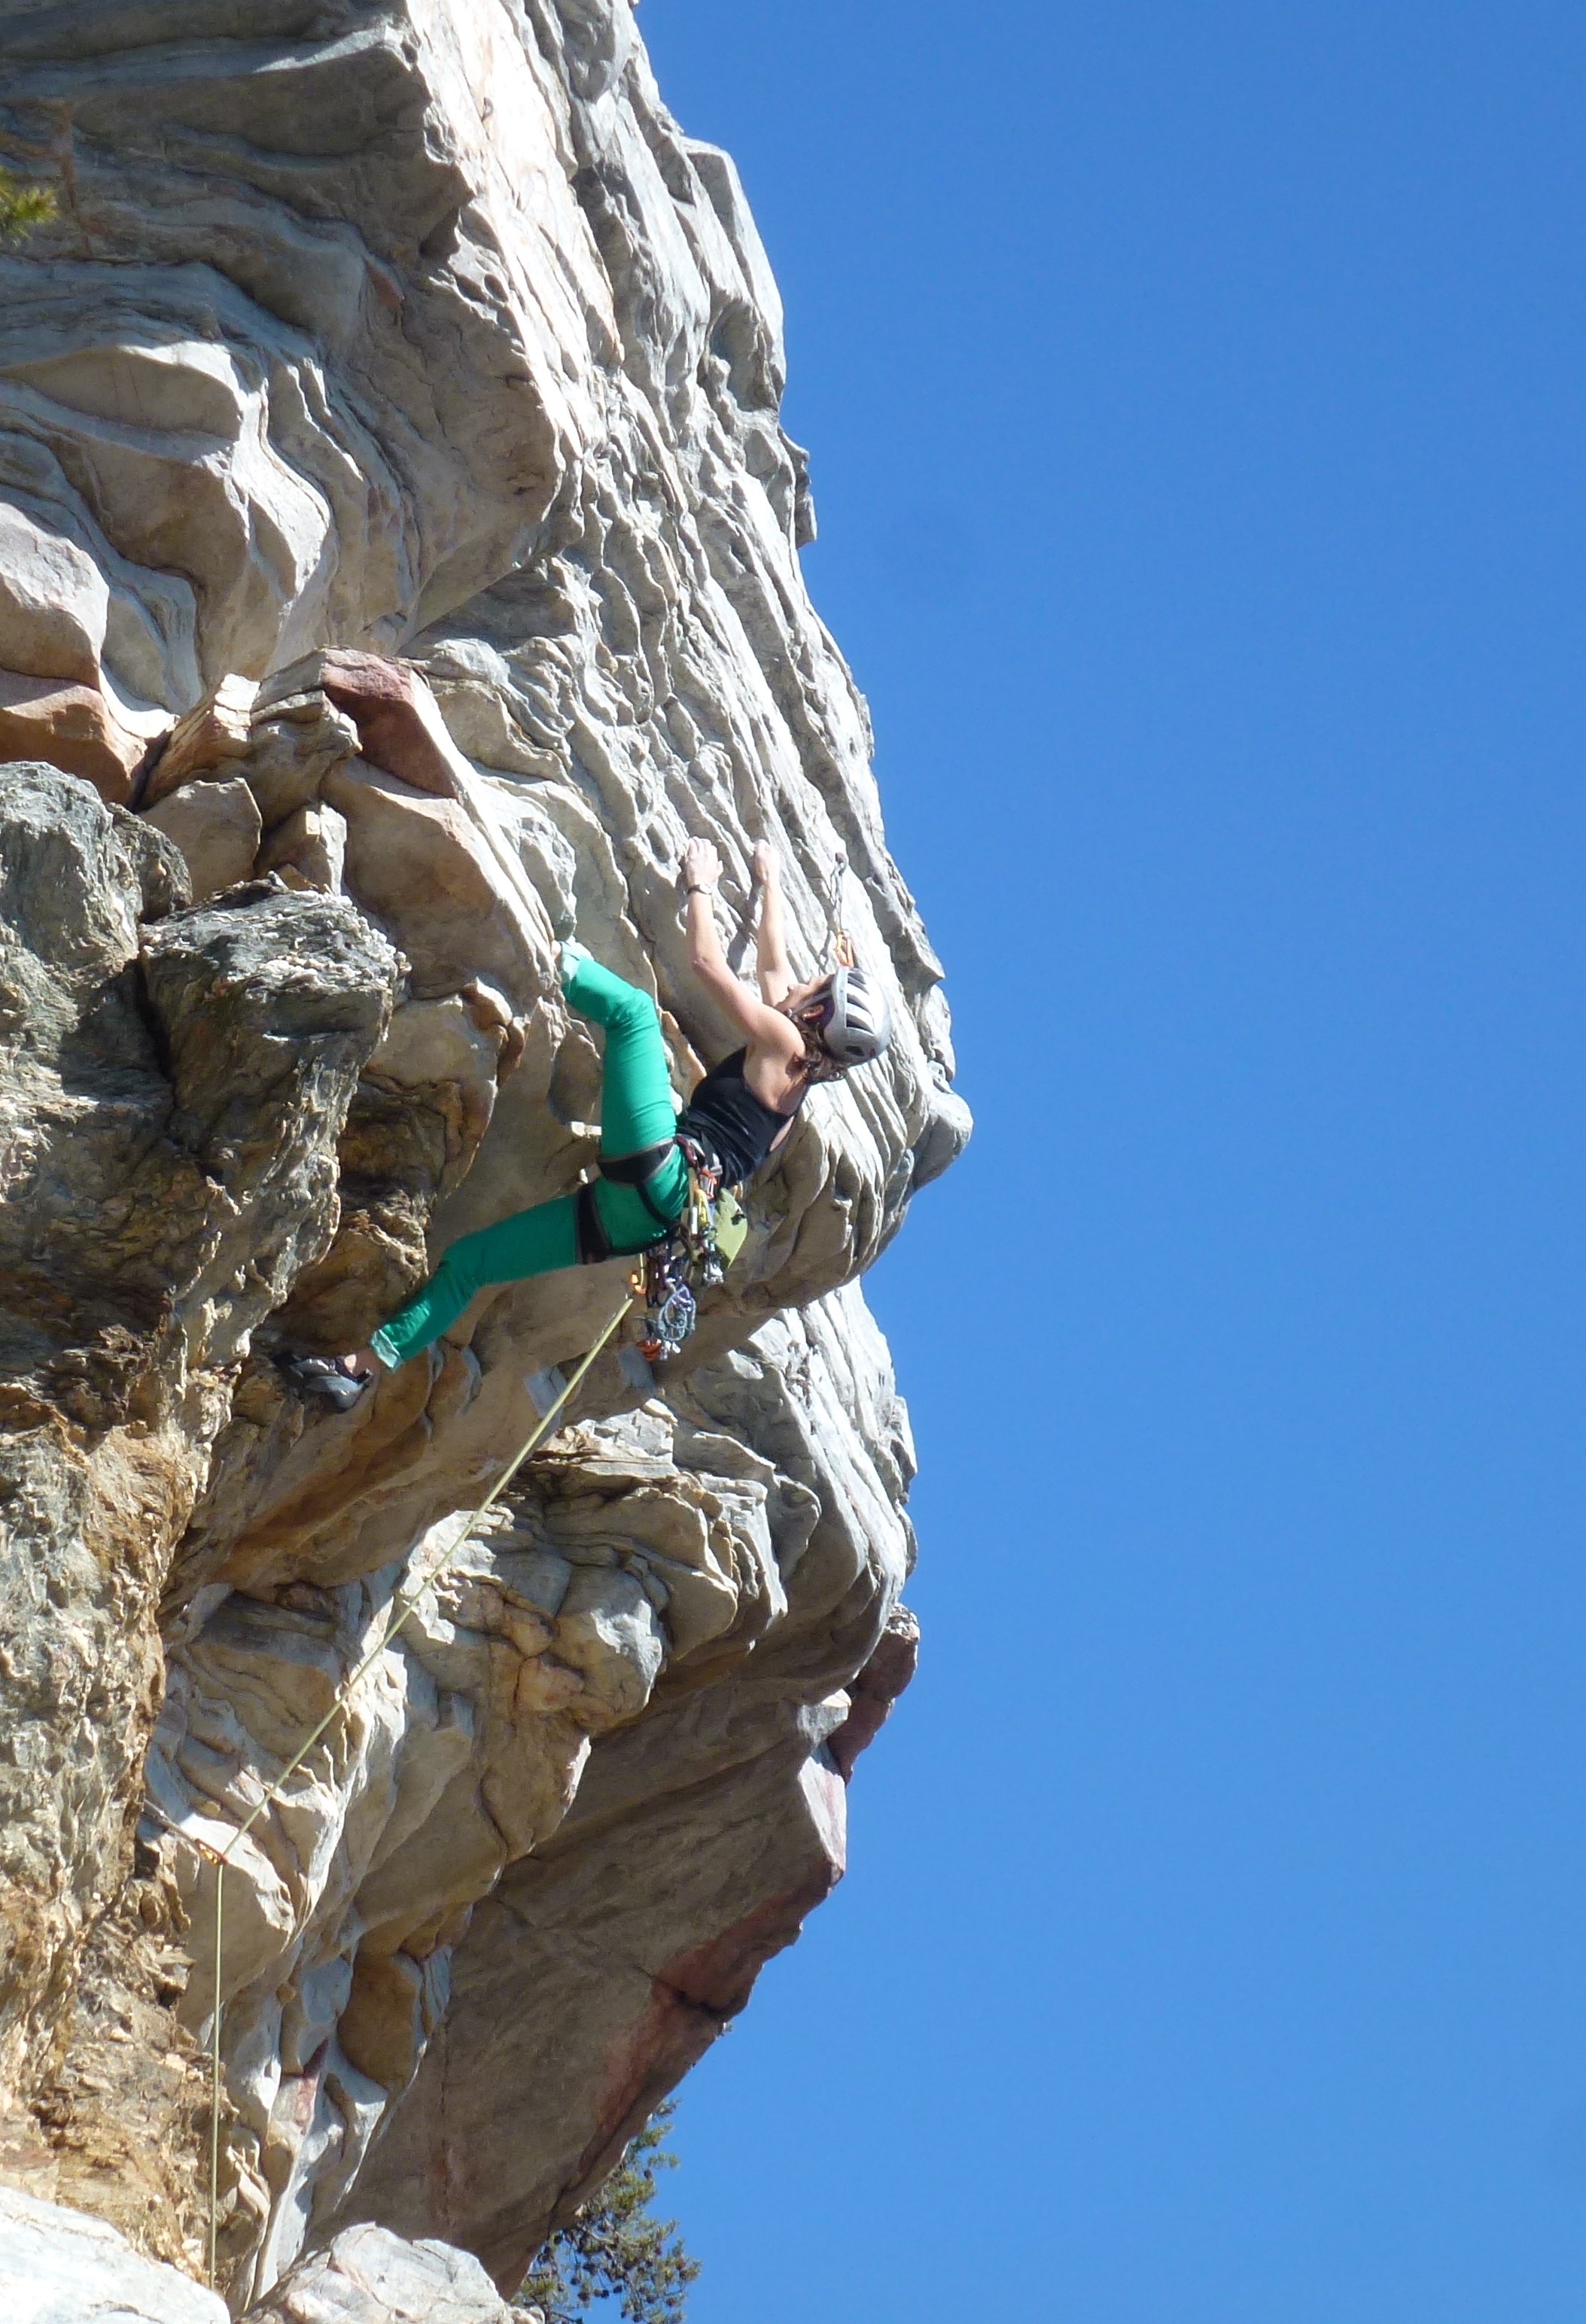
The Amazing Joe is basically two faces (with the upper face being significantly harder than the lower), separated by a roof. The roof itself is not that difficult. The holds are plenty big enough if you just keep moving…and plenty small enough to get you breathing heavy before the crux. The business starts with a big deadpoint move to get established on the upper face. Then the climbing stays pretty in your face for the next couple of bolts – lots of long moves between decent holds, and a couple of sections of sparse feet.
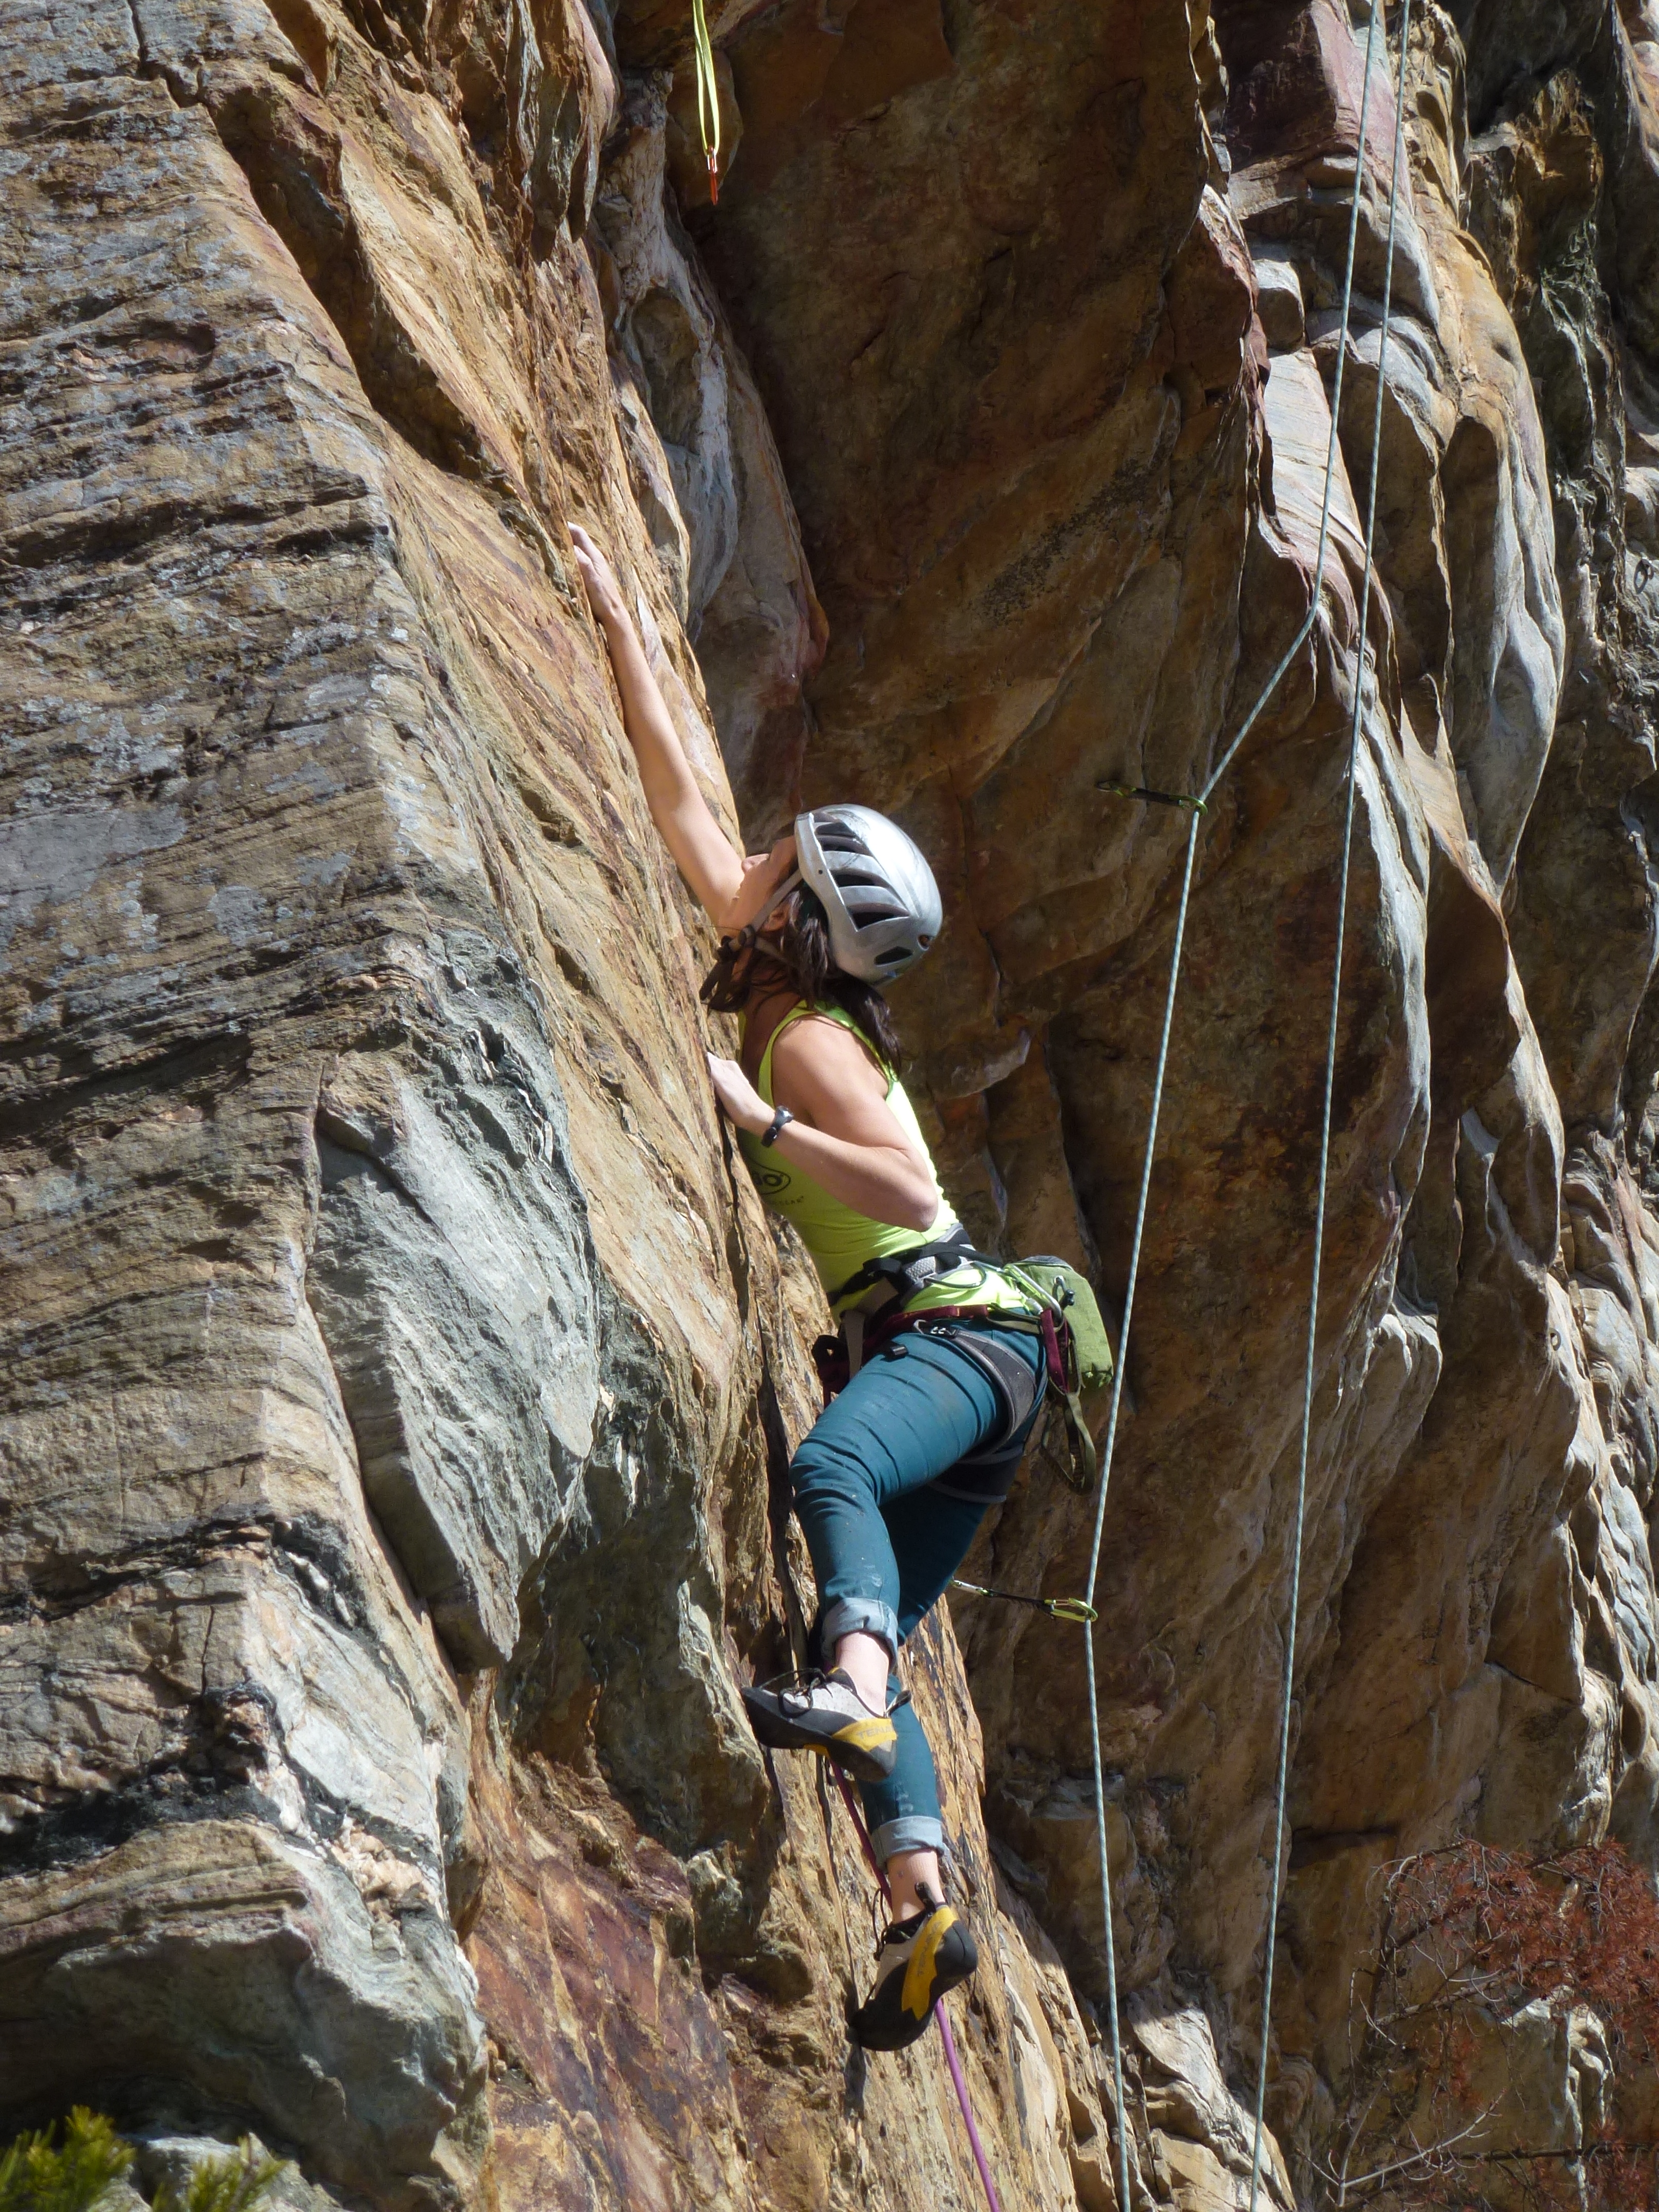
Lower face on The Amazing Joe
My first go this time around also featured a lot of hanging, but I managed to make the crux throw first try, and refined a lot of my beta. However the moves still felt pretty darn hard. I knew it would take a big dose of try hard along with perfectly executed beta for it to go down. I wasn’t feeling very confident about a next-go send, and contemplated just throwing in the towel and moving on. But two of my friends got the send train rolling in fine style, so I decided to give it just one more try.
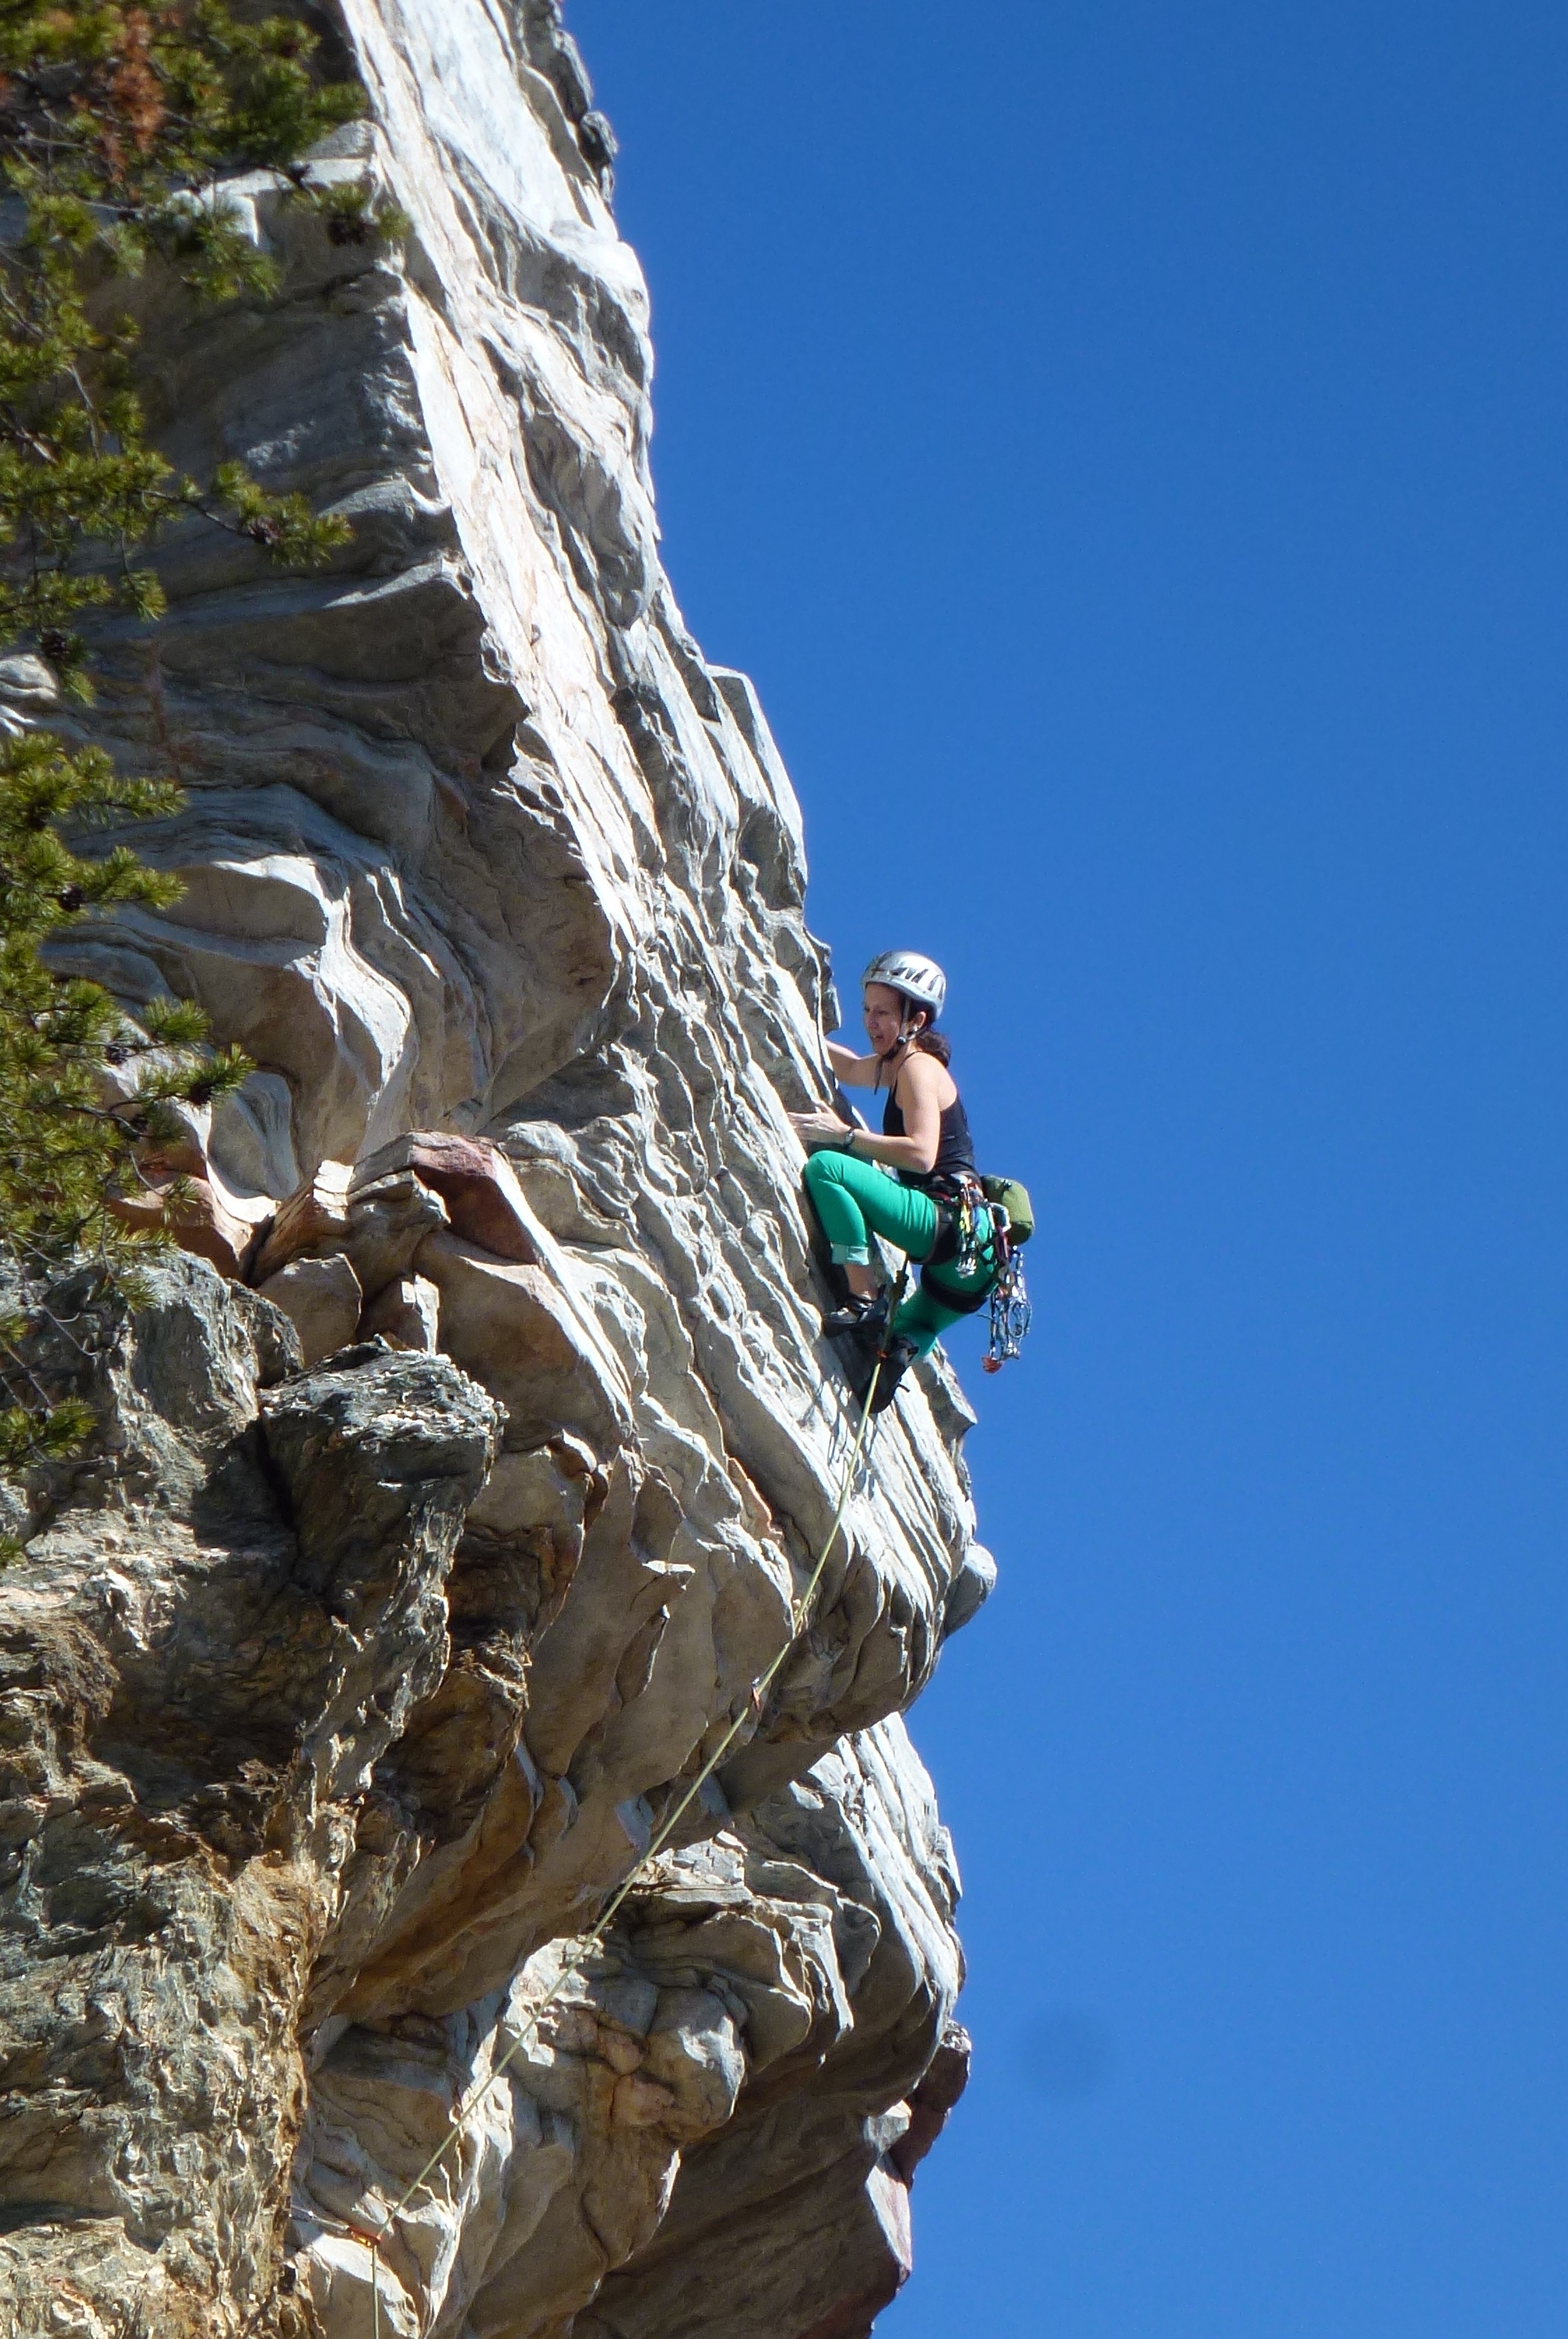
I rested at the roof long enough to visualize the crux as well as the next 15 feet of hard climbing. I successfully made the crux toss, and was delighted (and rather surprised) to make the rock on move onto the face. I stalled out a bit trying to get my foot up to stabilize me for the next clip, but other then that, I motored through the next couple of bolts without any trouble. I paused at the last bolt for a while just to let the adrenaline slow down a bit before doing the last few moves, then the next thing I knew I was at the anchors small-talking with another dude on a neighboring route about how pretty the views were!
So far 2015 is getting off to a great start, as this route gives me a pair of 5.12b’s so far this year. I’m hoping to increase that number substantially this spring, as I’ll be finishing up my first season of the Rock Climber’s Training Manual in mid-April. For now though, I’m happy for this past weekend’s distraction from the monotony of hangboarding…only 4 more sessions left before I can move on to Power Training!
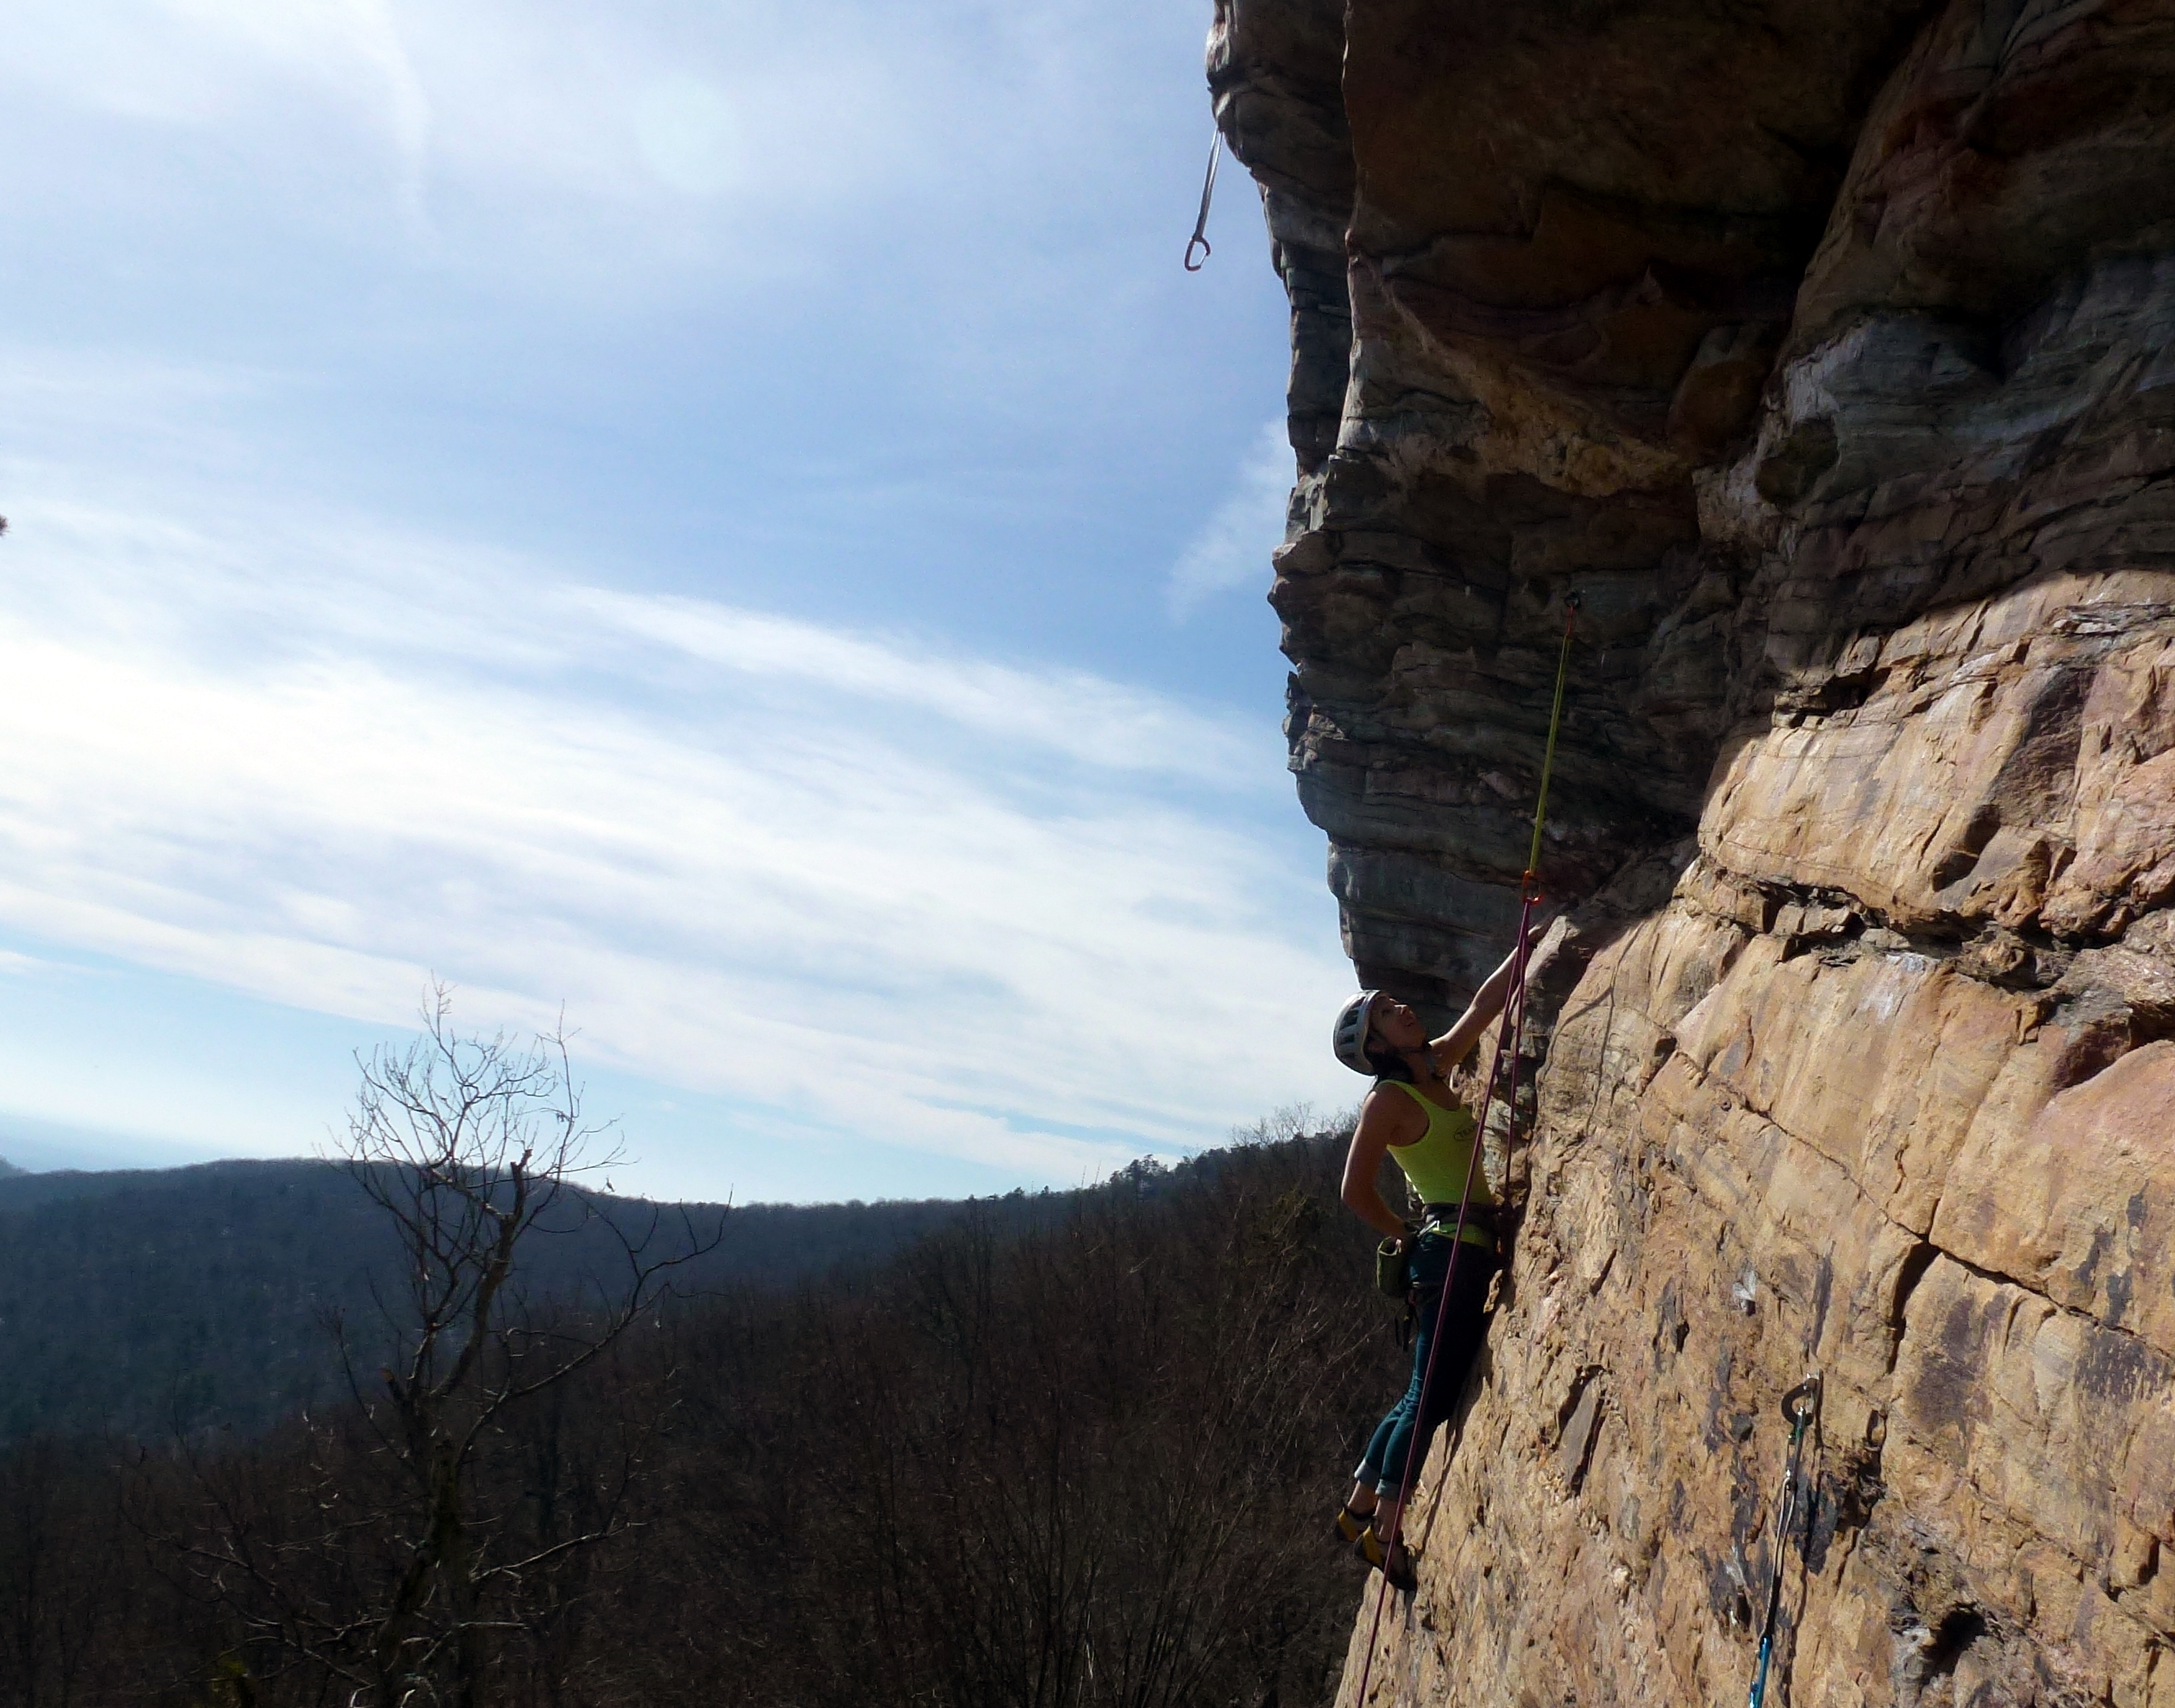
Shaking out and wishing the carabiner on that next draw wasn’t upside down…Photo creds Adam Drain