Cragmama "Not all who wander are lost…" JRR Tolkien

Why Today is TWICE as Special…

March 2 has been a special day in our family for the past 13 years – it’s the day the Crag-Daddy and I said “I Do!”  But in 2014 our beautiful little girl gave us yet another reason to celebrate this day.  Needless to say, last year’s anniversary was a rather unconventional one.  We weren’t exactly expecting to spend the day at the hospital, but it was certainly worth it!

315144

March 2, 2002


So today on this day, hubby and I celebrate not only our love for each other, but also the love we have for our sweet baby girl.  I found this quote recently, and it seemed appropriate to share on a day like today…

P1000086

March 2, 2014

“And every day, the world will drag you by the hand, yelling:

“This is important! And this is important! And this is important!  You need to worry about this!  And this! And this!’

And each day it’s up to you to yank your hand back, put it on your heart, and say:

‘No. THIS is important.'”

– Iain Thomas

IMG_9890

March 2, 2015

Cling to what’s important today, and don’t sweat the small stuff!

Share

Snowtubing at Jonas Ridge

I can’t believe this is the second post in a row that I’ve written about snow!  It might lead you to believe that our family lives somewhere that actually sees a true winter.  But this is North Carolina everyone, which means those single digit temps from Snowpocalypse 2015 were quickly followed up with highs in the mid 50’s.

5

Photo: Jonas Ridge Snowtubing


But last week’s snow and freezing temps combined with comparatively spring-like temperatures over the weekend made for great snowtubing conditions!  While it had been on our radar for a while now, we decided to go somewhat on a whim.  It was Big C’s first time, and had literally been about 20 years since the Crag-Daddy and I had tubed together on a ski trip (gosh, that makes us seem so old!!!) Baby Zu had to stay on the sidelines, of course, but she had a lot of fun people watching and exploring her surroundings.

IMG_9710 IMG_9691

There are a few places in North Carolina that offer snowtubing, and we chose Jonas Ridge, which is just north of Morganton (near Table Rock/Linville Gorge area, for all the climbers.)  We’d heard good things about it, but the primary selling point for us was that it was a good deal closer than some of the other locations in the High Country, making for an easy day trip.  It’s a little smaller than some of the other ones, but supposedly not as crowded.

11

Photo: Jonas Ridge Snowtubing


How it Works:

Each rider purchases a ticket for $25.  (Bring cash, they don’t accept credit cards.)

A tickets gets you 2 hours of riding time.  The staff was kind enough to let us start our time AFTER we got all of our snow clothes on (which those of you with small children know can easily take 30 minutes…)  After you grab a tube, a “magic carpet” takes you to the top of the hill, where you can choose from one of six lanes to ride on.  Each lane had different terrain and features, so some were faster than others.  After a “warm-up” on the slower lanes, Big C discovered his need for speed and never looked back.

8

Photo: Jonas Ridge Snowtubing


Though it wasn’t cheap, I definitely feel like it was worth the money.  The Crag-Daddy and I alternated after every 4 runs to take turns watching Baby Zu, and we still got in 12 runs a piece.  Big C only stopped for a brief water/snack break, and managed to get in a whopping 22 slides down the hill!  There weren’t very many people there when we first started, but towards the end of our session the crowds were really starting to build.  That being said, we still never had to wait more than a minute or two, even for the “fast lane,” which got way more action than any of the others.

17

Photo: Jonas Ridge Snowtubing


Overall we had a great experience, although it will be even more fun once Baby Zu is big enough to join in the fun.  We will definitely be back next year!  For my fellow North Carolinians thinking of heading up there- do it!  But do it soon, as they will probably only be open for another couple of weeks.

3

Photo: Jonas Ridge Snowtubing


Any other snowtubers out there?  Give a shout out to your local snowtubing hill!


Share

DIY Nut Butters

If you are a frequent reader of this blog, it probably means your one of those outdoorsy types.  And if you’re one of those outdoorsy types, you’ve probably consumed more than your fair share of peanut butter and jelly sandwiches over the years.  Or maybe by now you prefer a more “grown-up” substitute, like almond or cashew butter.  Or perhaps you go for one of the seemingly contradictory “nut-free” options, like sunflower seed butter.  But whether you reach for something fancy and exotic, or just plain ole PB, this post is for you!

One of the things I was most excited about when I got my new food processor for Christmas was making my own nut butters. They are good for you, easy to make, and cheaper than storebought! Not to mention that once you’ve had a taste of freshly ground peanut butter, you’ll never be able to look at JIF the same way…

IMG_9440

How to Make Your Own

Making your own nut butter is as easy as tossing some nuts into your food processor, turning it on, and then walking away.  Come back every few minutes or so to scrape down the sides.  You can use whatever sort of combination of nuts/seeds you like.  Some folks prefer to dry-roast the nuts first to enhance the flavor.  I personally haven’t noticed a huge difference – so if I have time I’ll pop ’em in the oven for a few minutes, but if not I just toss them in raw.  Your nuts will go through many different stages before they turn into butter. The length of time depends on the type of nut used and the strength of your food processor – don’t worry, they’ll all get there!  When you first start processing, you’ll see a dusty flour turn into a coarse meal, then to a pasty dough ball until finally…drum roll please – a smoooooth and delicious butter!  Some people also add a teaspoon or two of oil to help get the perfect consistency, but I generally haven’t found a need to do that.

Homemade Nutella...you know you want it!

Homemade Nutella…you know you want it!

Flavorings

Adding your own mix-ins might be the tastiest part about homemade nut butters.  It’s easy to take a “plain jane” nut butter (which is delicious in its own right), and turn it into a delectable, exotic tasting variation.  Possible options include cinnamon, vanilla, maple syrup, honey, cocoa, coconut, and even dark chocolate for all you nutella lovers out there!  Some of our favorites have been “Snickerdoodle Almond” (recipe adapted from here), Salted Maple Pecan (recipe adapted from here), and even our very own concoction of Pumpkin Walnut!  Next on list to try is White Chocolate Macadamian Nut  (if I can ever find those on sale!)

About the Savings

If you’re family goes through nut butter the way mine does, the savings can really add up, especially if you are able to find nuts in bulk.  Generally I’ve found that the more expensive the nut, the more money you’d save making your own nut butter.  For example, I can make a pint of basic PB for around $2 – much cheaper than other “all natural” brands, but not a lot of savings compared to a mainstream brand like JIF or Skippy (made wth hydrogenated oils and other questionable ingredients.) But I can make almond butter (flavored with cinnamon and vanilla) for half the price of our local plain grocery store version.  Even JIF’s cashew butter is $8 per 12 oz…whereas the homemade option rings in just over $5 for 16 oz.  And the fancy ones? Well, I’ve never seen pecan or pistachio butter in the store, but I imagine it’d be more than $4-6 per pint!

It sounds to good to be true, but it’s not!  Trust me, if you are a PB fan, you have only hit the tip of the iceberg…can I get an “Amen” from anyone else out there that makes their own nut butters?  I’d love to compare favorite flavors!

Share

Ice, Ice, Baby in the Southeast…

IMG_9624

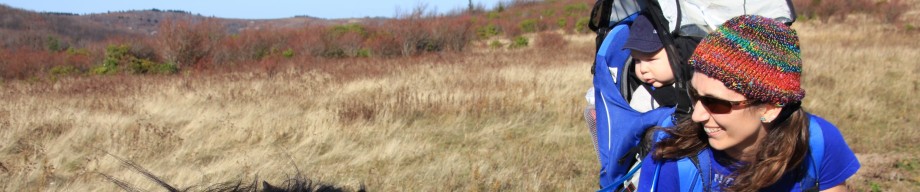
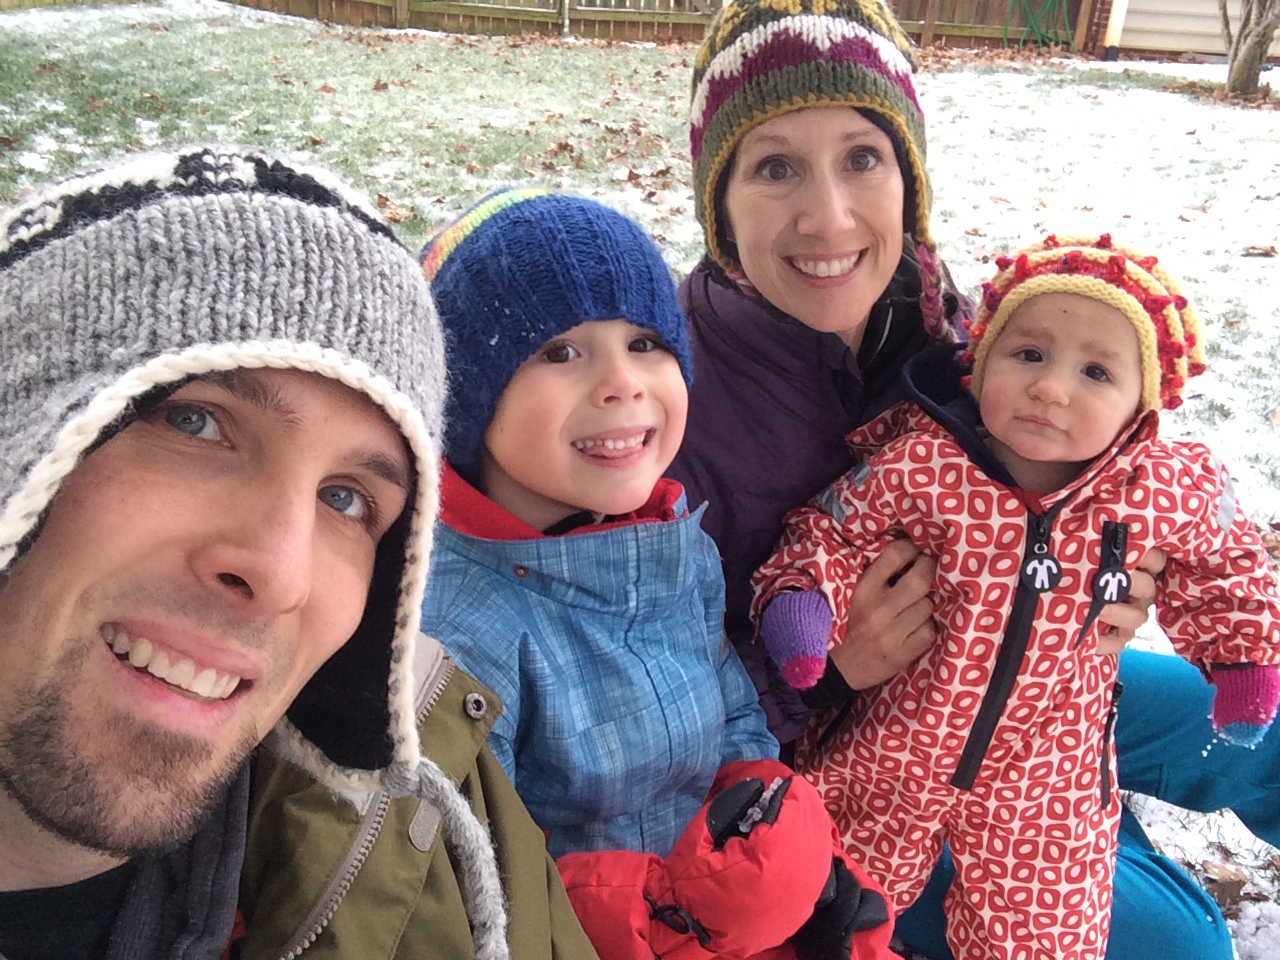
Snowy family selfie…

Earlier this week we Southerners got pelted with our annual “snow storm.”  Every now and then (like last year) we actually get a little bit of snow out of it.  This year was more typical, in that a few inches of snow were initially predicted…which of course led to frenetic grocery store runs for bread and milk…and then all we ended up with was about an inch of sleet and freezing rain.  But to kids (and grown-ups..) who only see snow once a year, any white stuff that attempts to cover the ground is considered snow, no matter how crunchy (and slippery!)

"I'm rockin' big brother's gloves on my feet!"

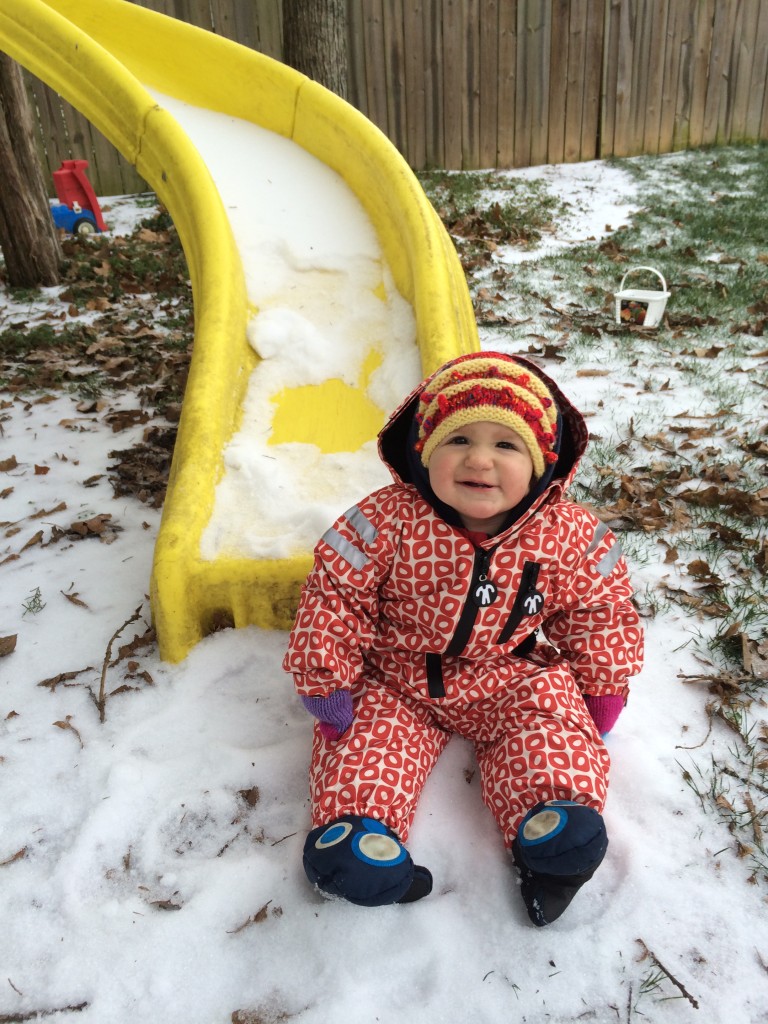
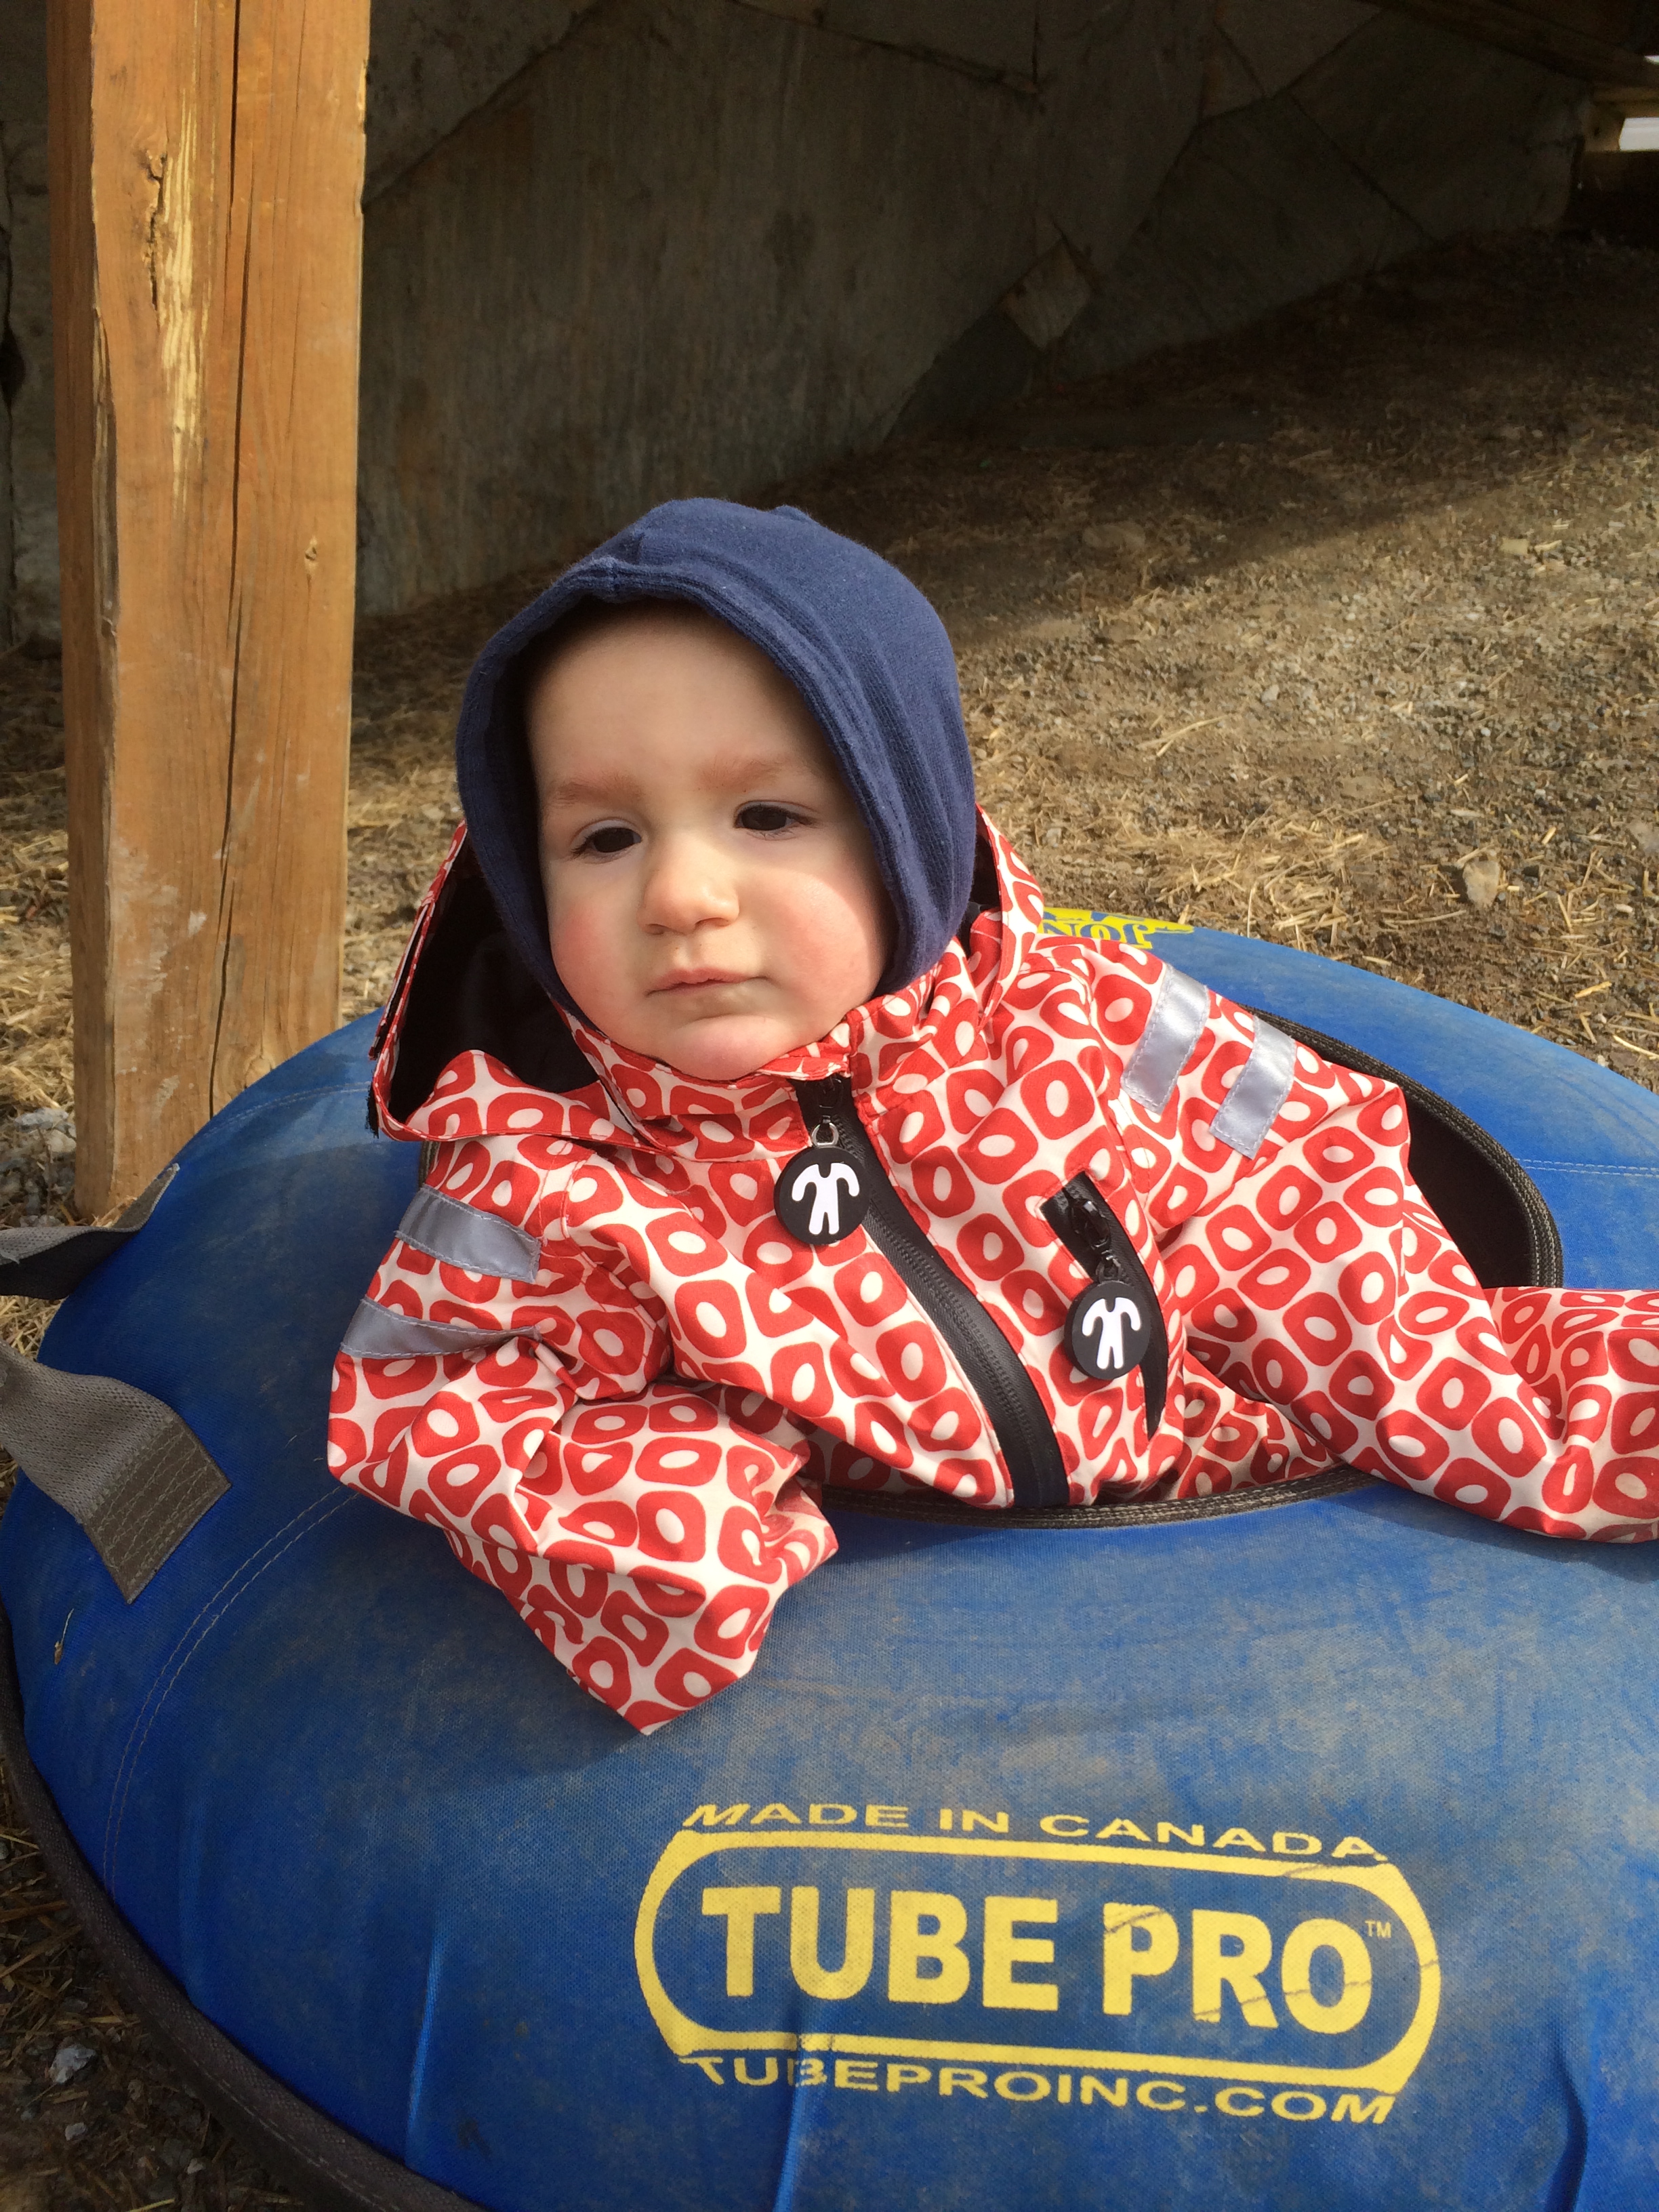
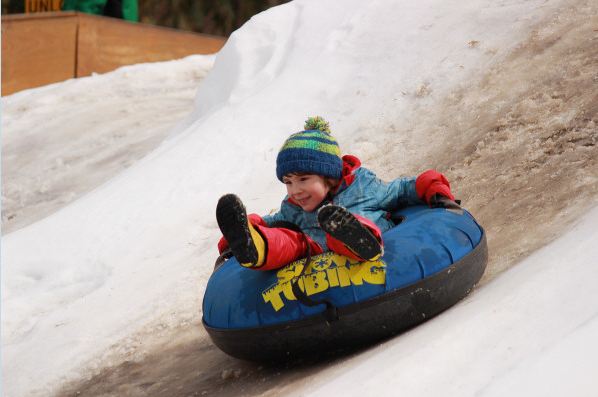
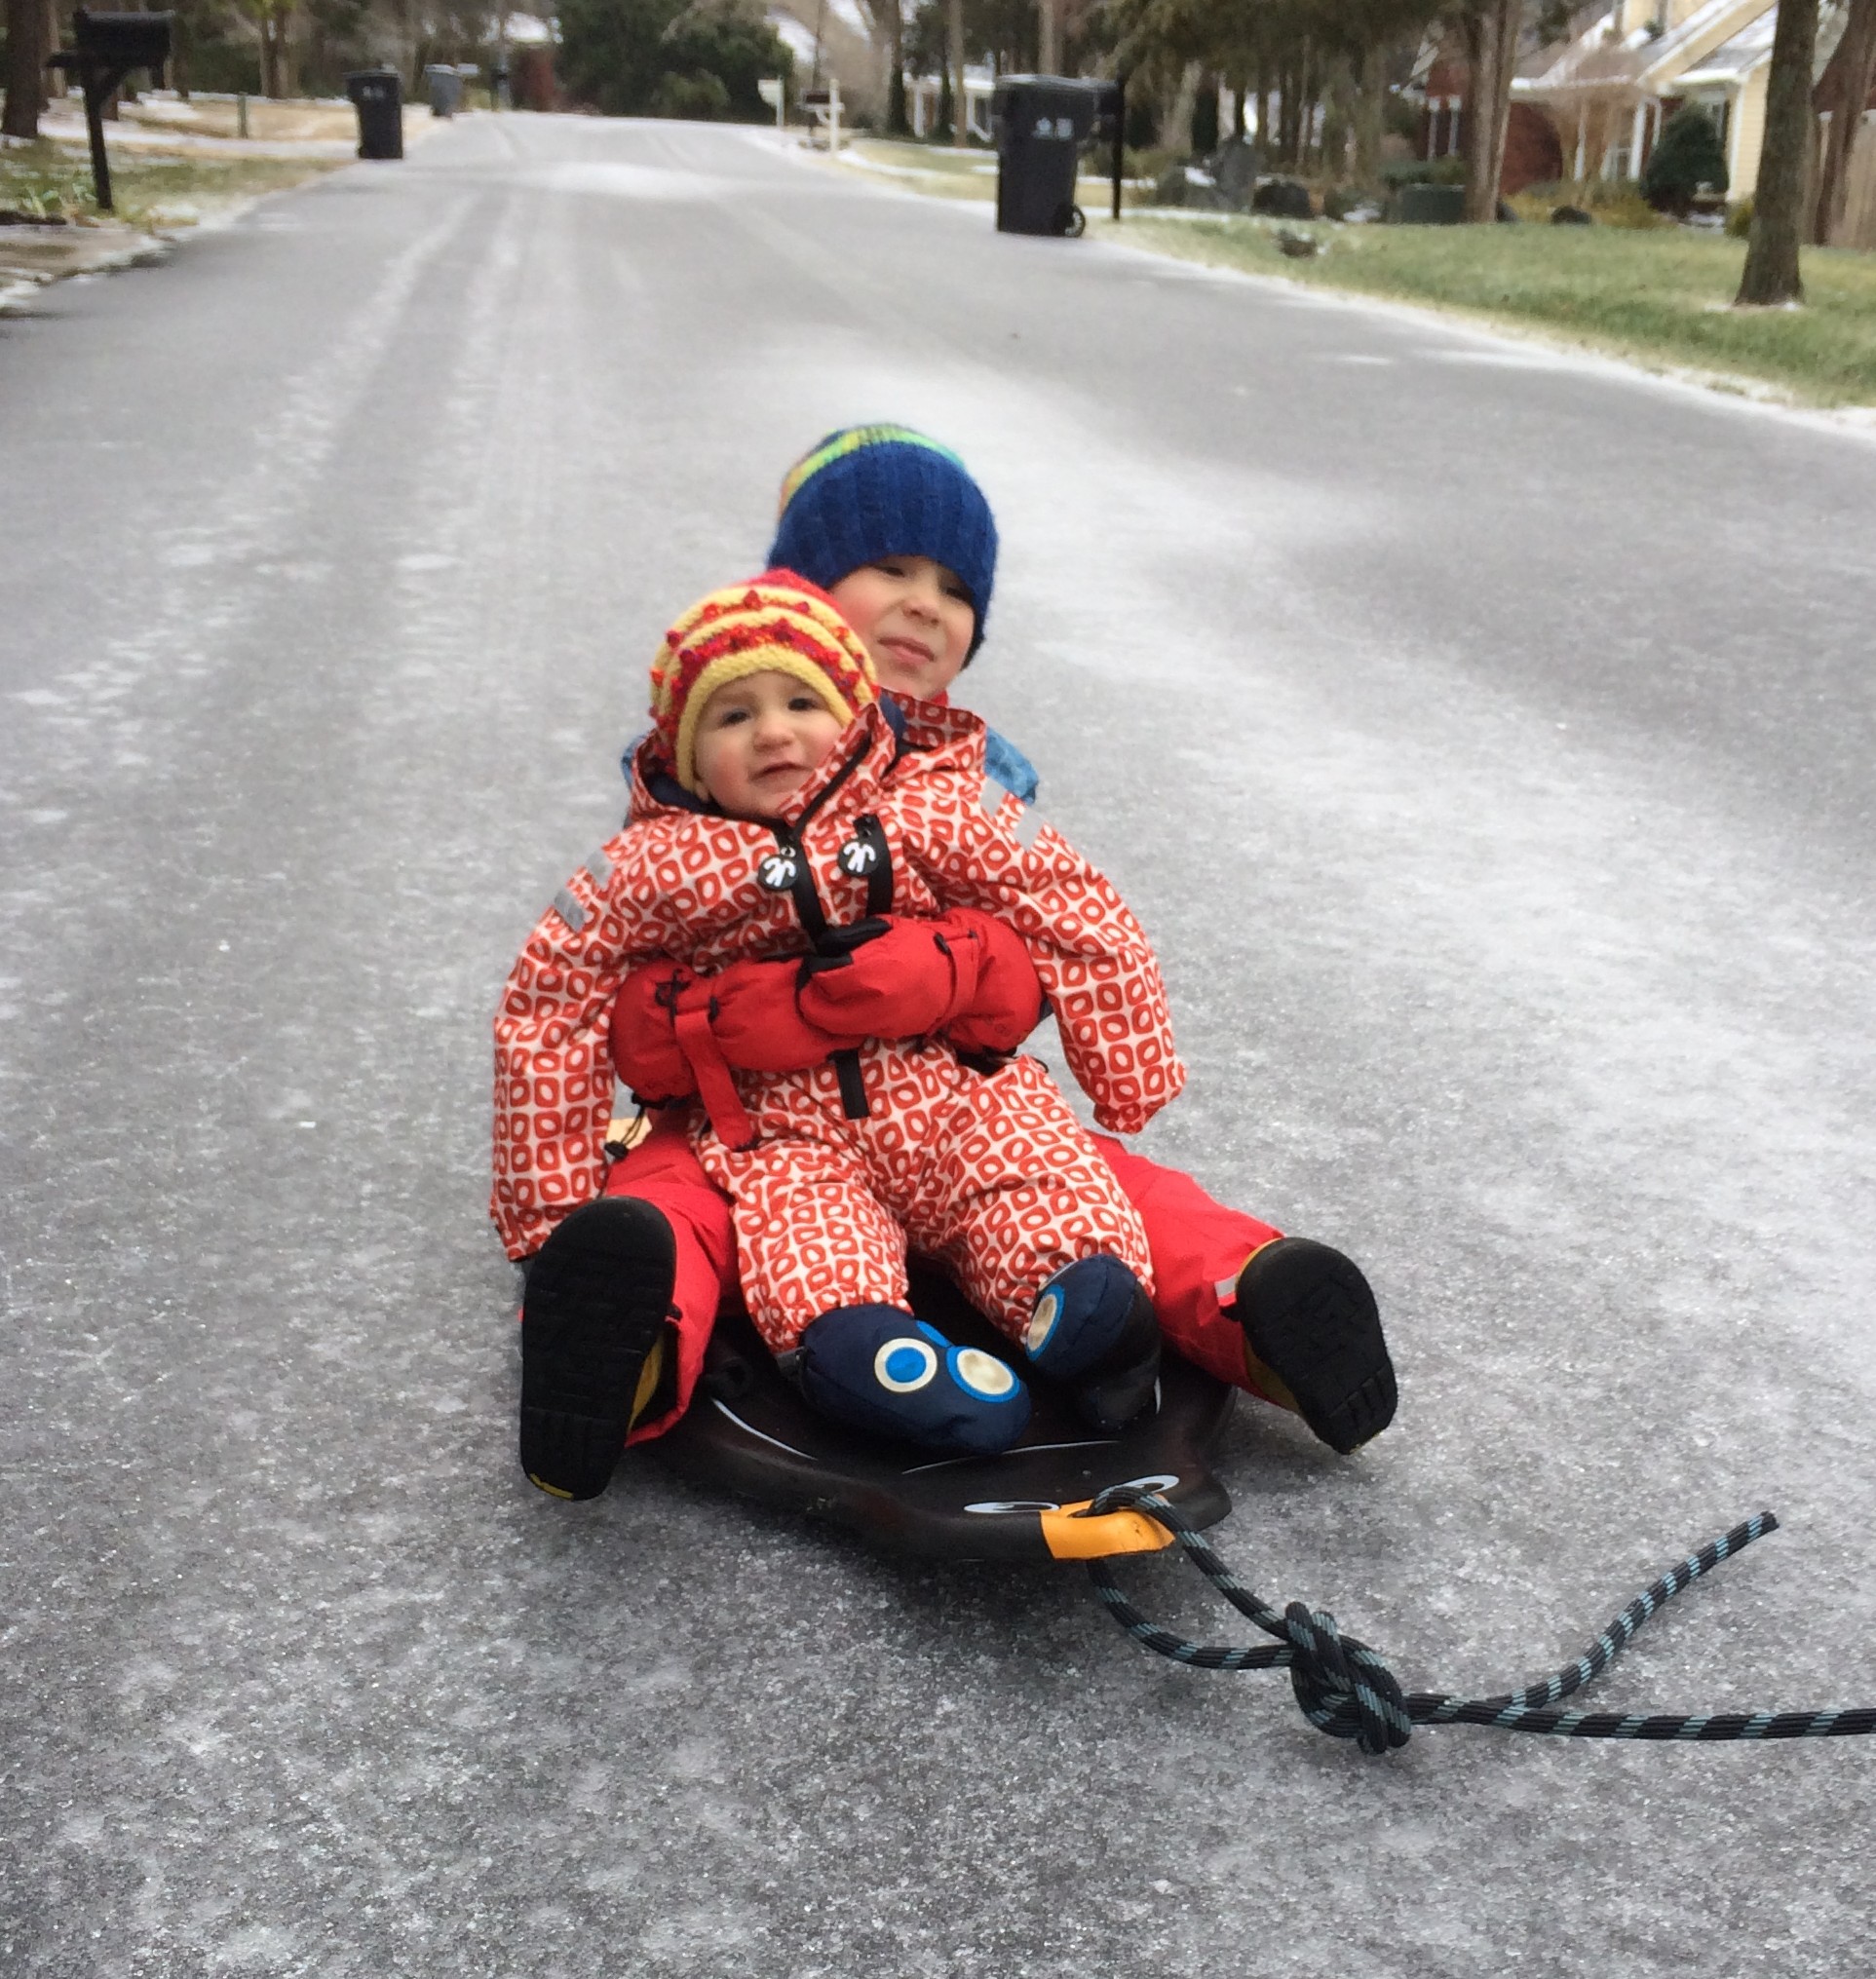
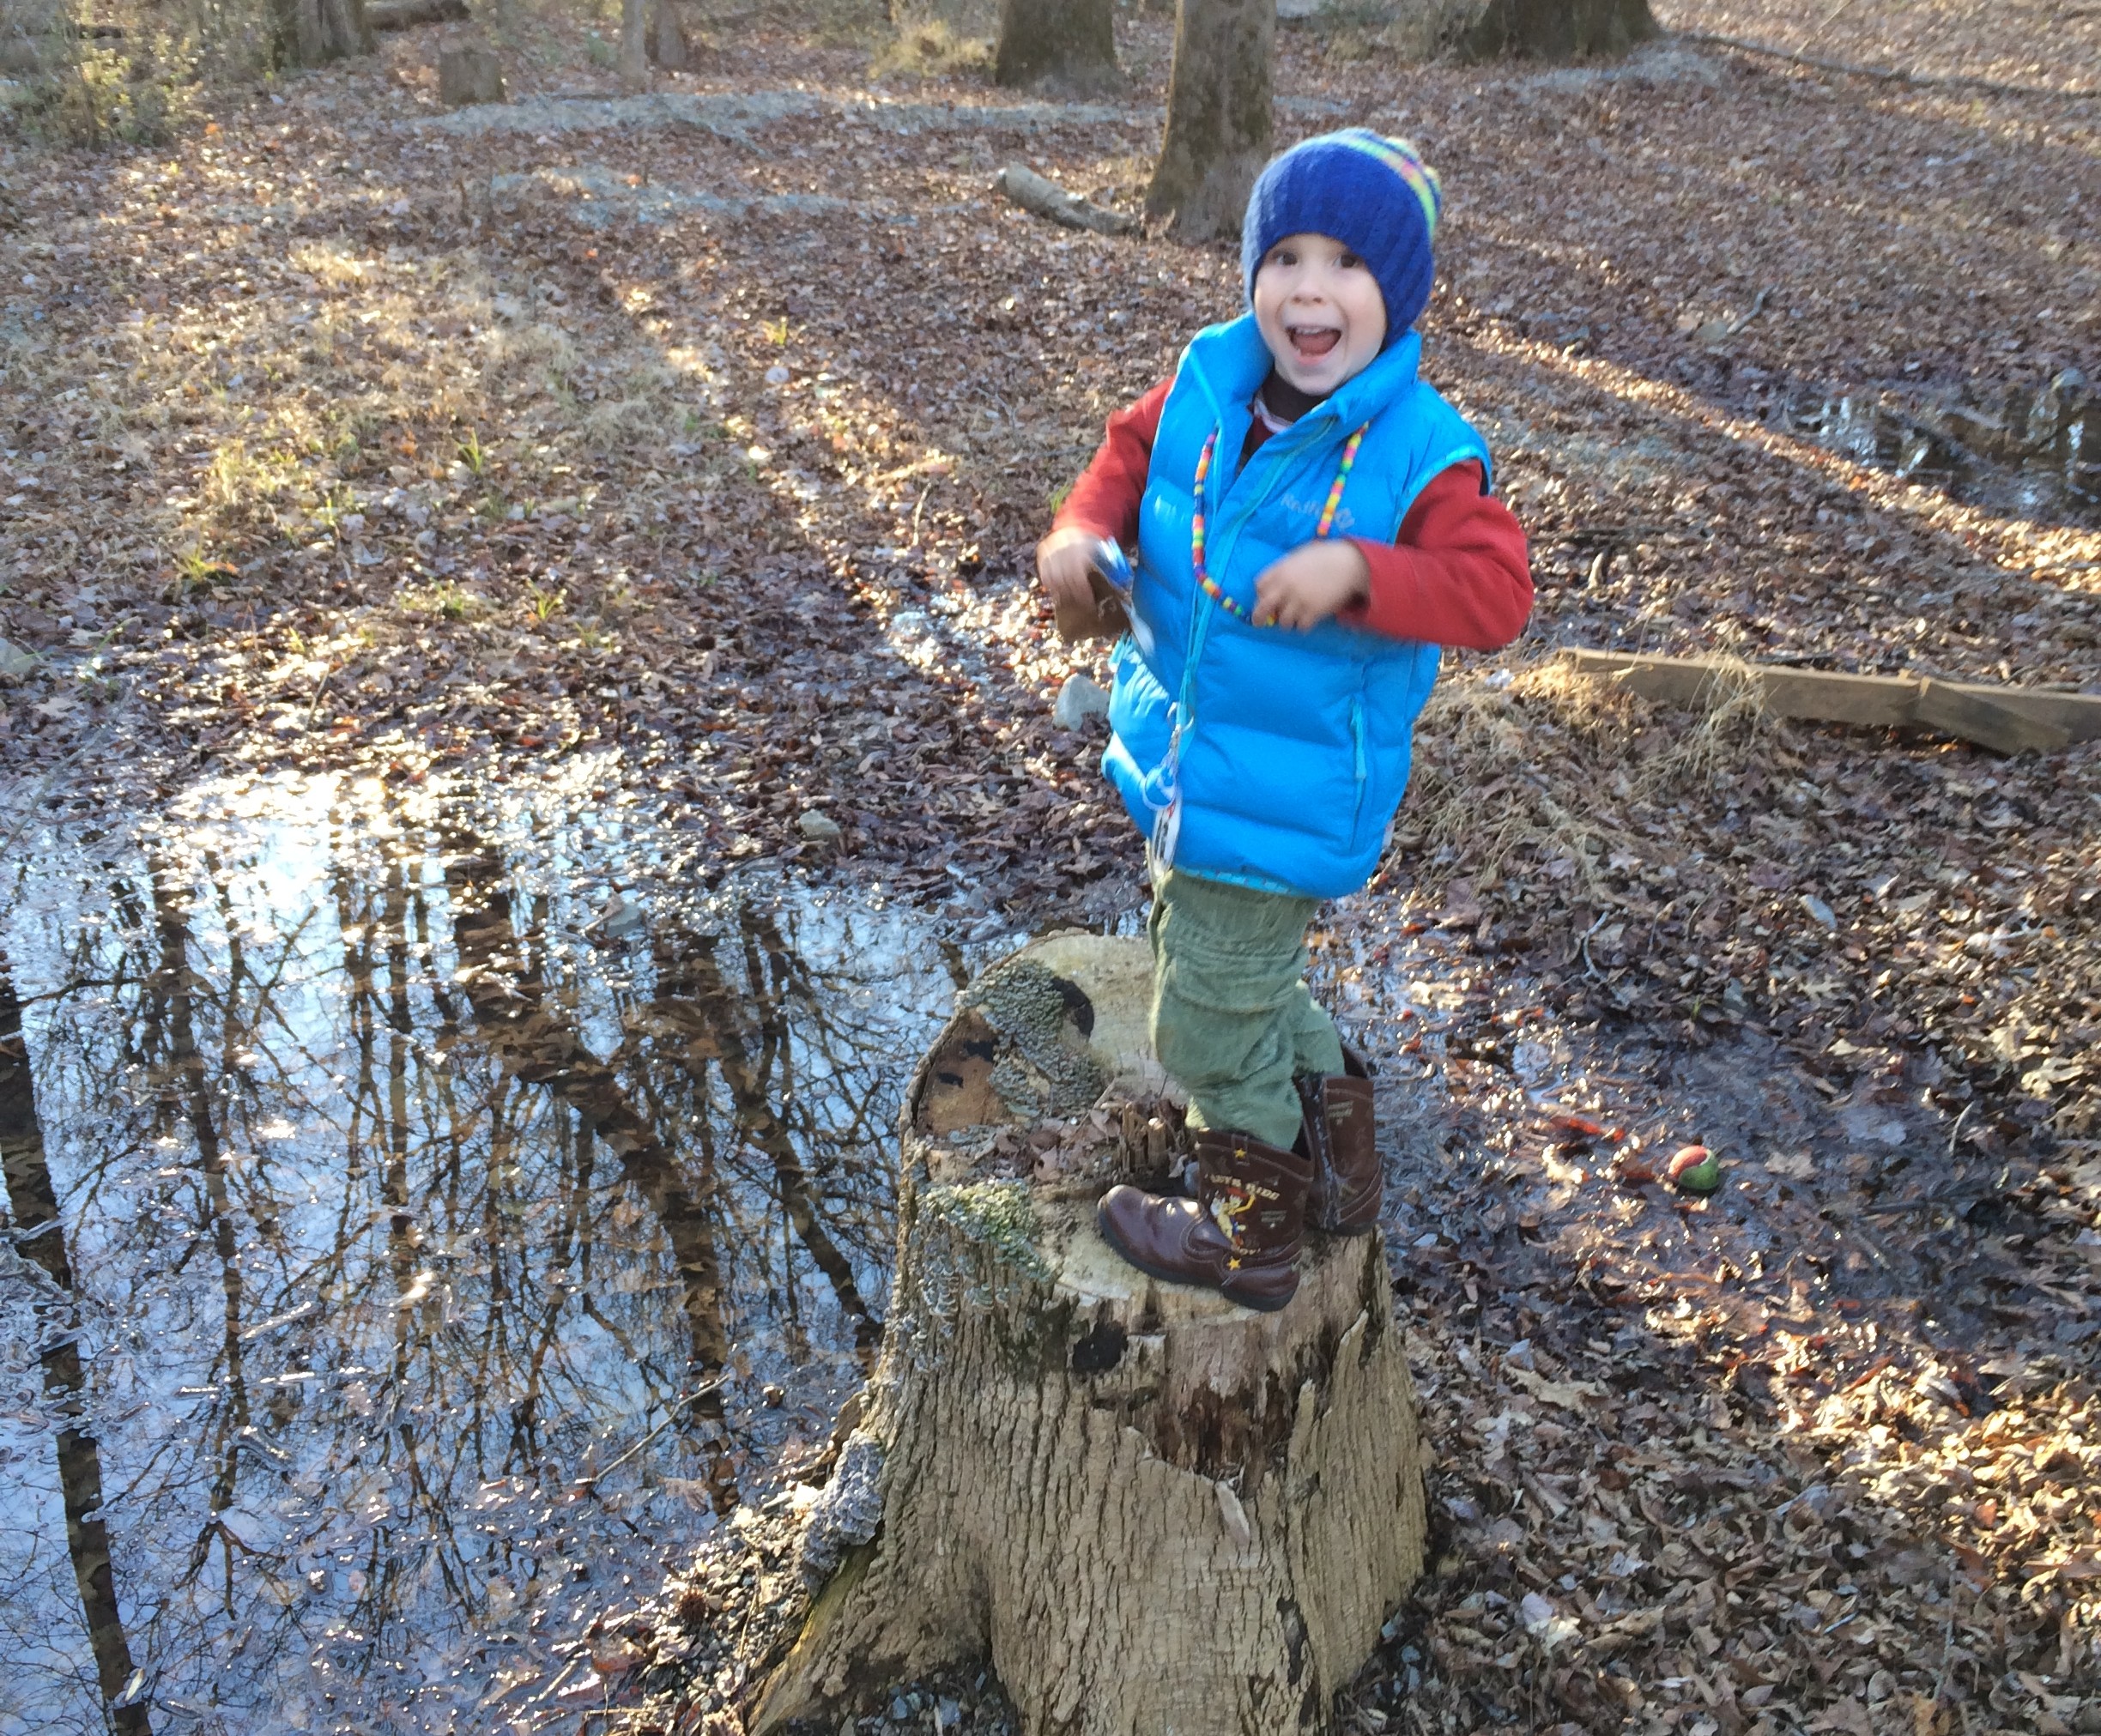
“I’m rockin’ big brother’s gloves on my feet!”

So after breakfast the first order of business was to put on our snow clothes and head outside to play. (Because once the sun comes up those roads melt away faster than butter in a frying pan.) The roads and grass were solid ice, but what conditions lacked in snowman-make-ability, were made up for in slip-sliding around.  It sure was a happy day – the Crag-Daddy was happy he was working from home and could join in some of the fun, and Big C was happy he got to dust off his sled.  Baby Zu was happy about her new wintry experiences, and I was just happy to not be 8.5 months preggo like I was for the 2014 storm!

Although Baby Zu was all decked out for the occasion in her finest Ducksday gear just like her brother (our hands down fave brand for winter gear – reviewed here, here and here), she was a bit lacking in the glove/boot department.  All we had for her hands were some knit mittens (ie, not waterproof), and for her feet we had some fleece booties, which although warm, were also not waterproof. (We’ve also got a bunting suit that can cover feet and hands…but it’s goose down and can’t get wet…)  Our solution for her hands was just to keep her little mitts tucked away inside her Ducksday gear, which was pretty easy since the sleeves were long anyway.  For her feet we actually used a pair of Big C’s mittens – and it worked out surprisingly well!  Not only did it keep her feet dry, but it also added some insulation.  (Another popular thing to do in the South is the old plastic bags and rubberband trick over regular boots, which is what we were about to resort to until we had the mittens idea.)

I love it when they are sweet to each other.

I love it when they are sweet to each other.

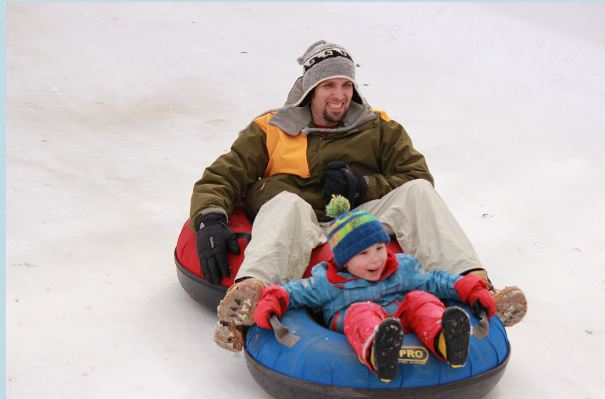
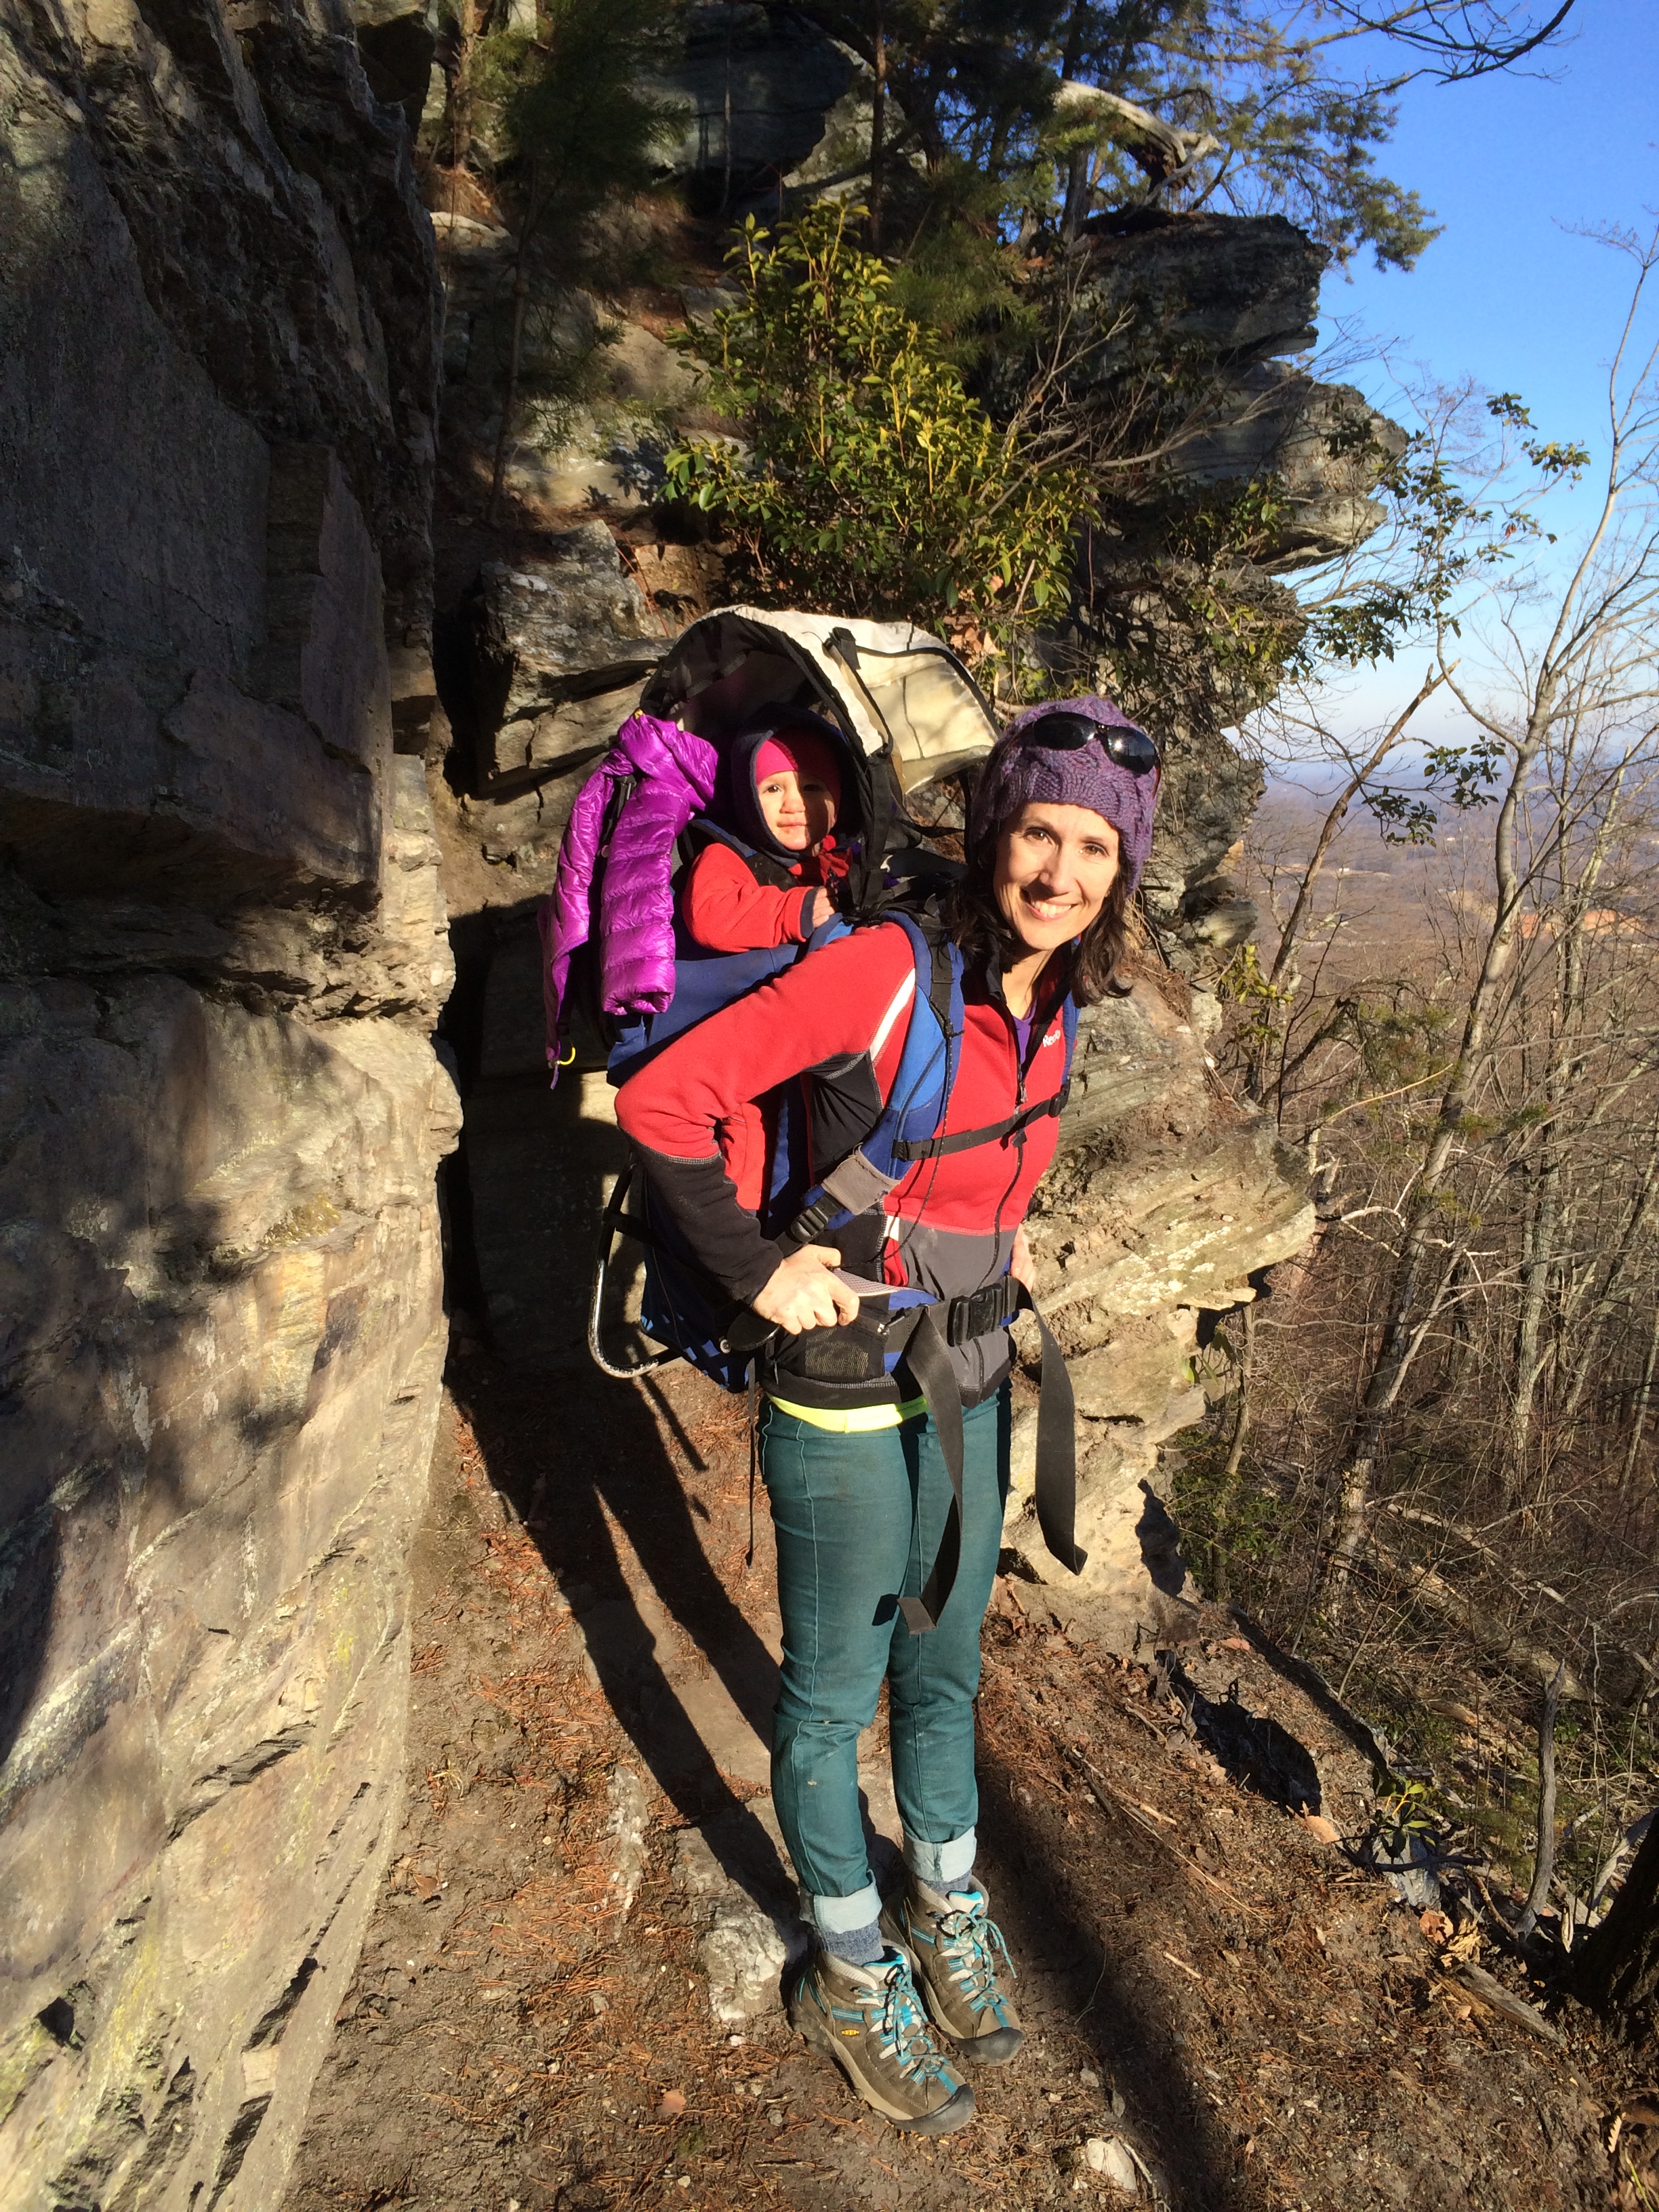
She seemed happy as a clam with the arrangement (once we got outside that is!), but I was a little worried about frostbite and those little hands, so we came back in after about 30 minutes of cruising in the sled with big brother and riding on Mommy’s back in the Boba.  It worked out great that the Crag-Daddy was working from home, because once she went down for her morning nap Big C and I took off for the local sled hill (aka golf course adjacent to our neighborhood.)

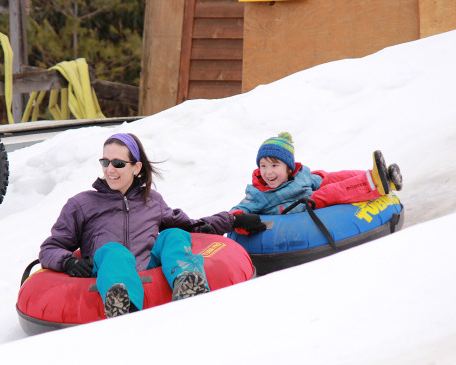
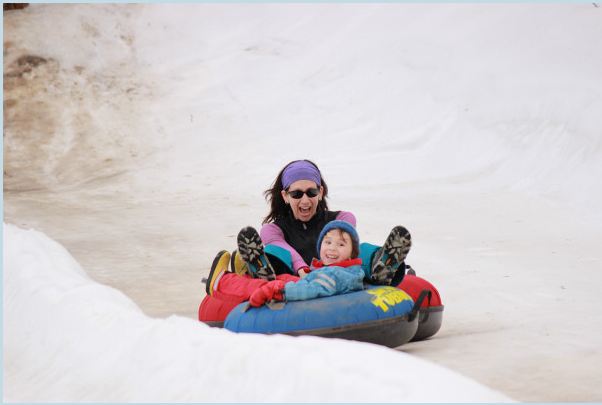
We weren’t the only family with the idea, which was helpful because the ice was FAST (and difficult to slow down on) so we needed a couple of grown-ups stationed at the bottom of the biggest hill to keep everyone out of the pond (which of course was not frozen over in the least.)  Big C wasn’t too keen on riding by himself with the water hazard in play, but he was psyched on the tandem idea, which meant I was able to get my sled on.  It was a blast, especially since I my giant belly prevented me from enjoying the previous year’s winter weather to the fullest.

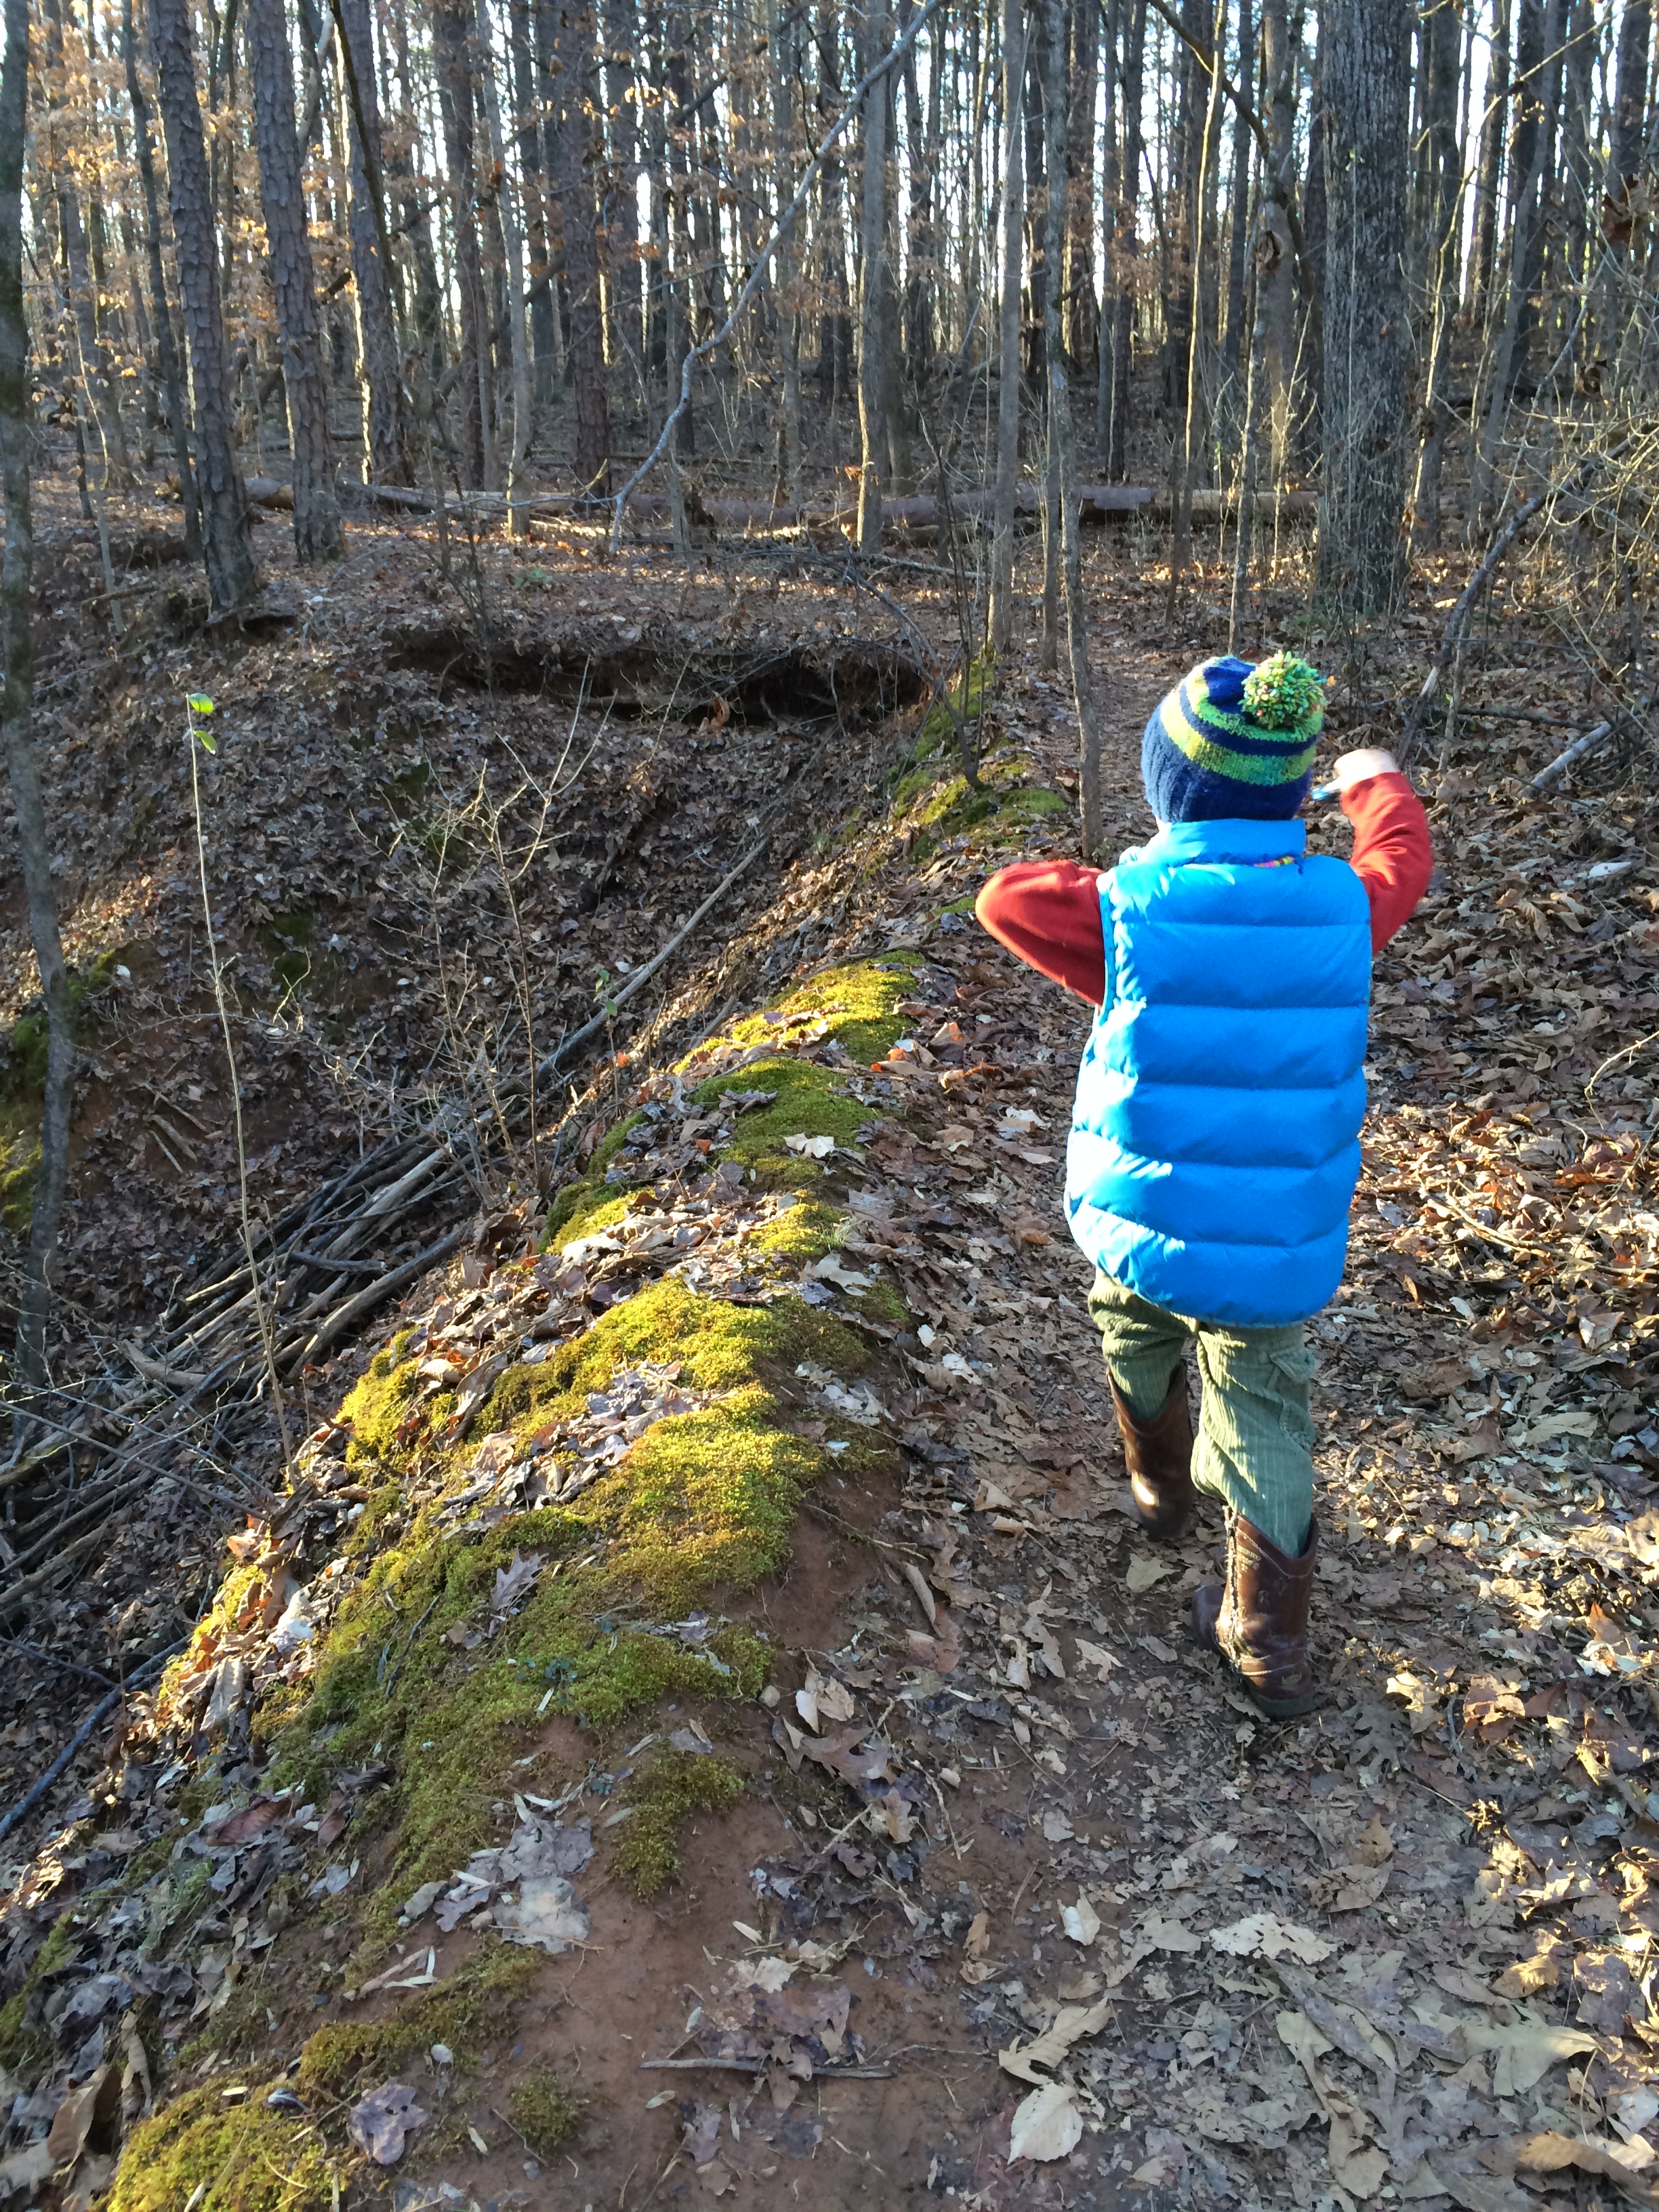
On the way back we stopped to check out all the deer tracks.  Even though we live in a fairly urban area, I love that we have so many signs of wildlife in our neighborhood!

I think this might be his "deer impression?!?"

I think this might be his “deer impression?!?”

By the next morning the ice was almost completely gone (although school was of course still cancelled…but that’s another blog post entirely.)  But we patrolled the neighborhood all afternoon looking for “snow mounds,” ensuring that we squeezed every last drop out of our annual winter weather.
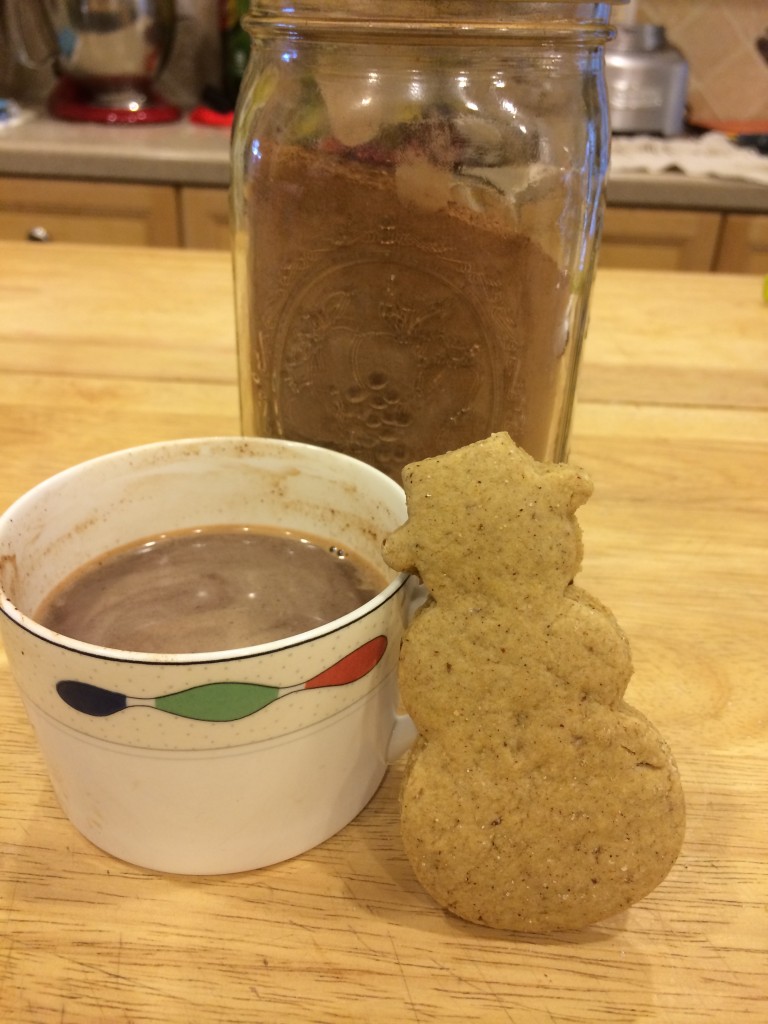
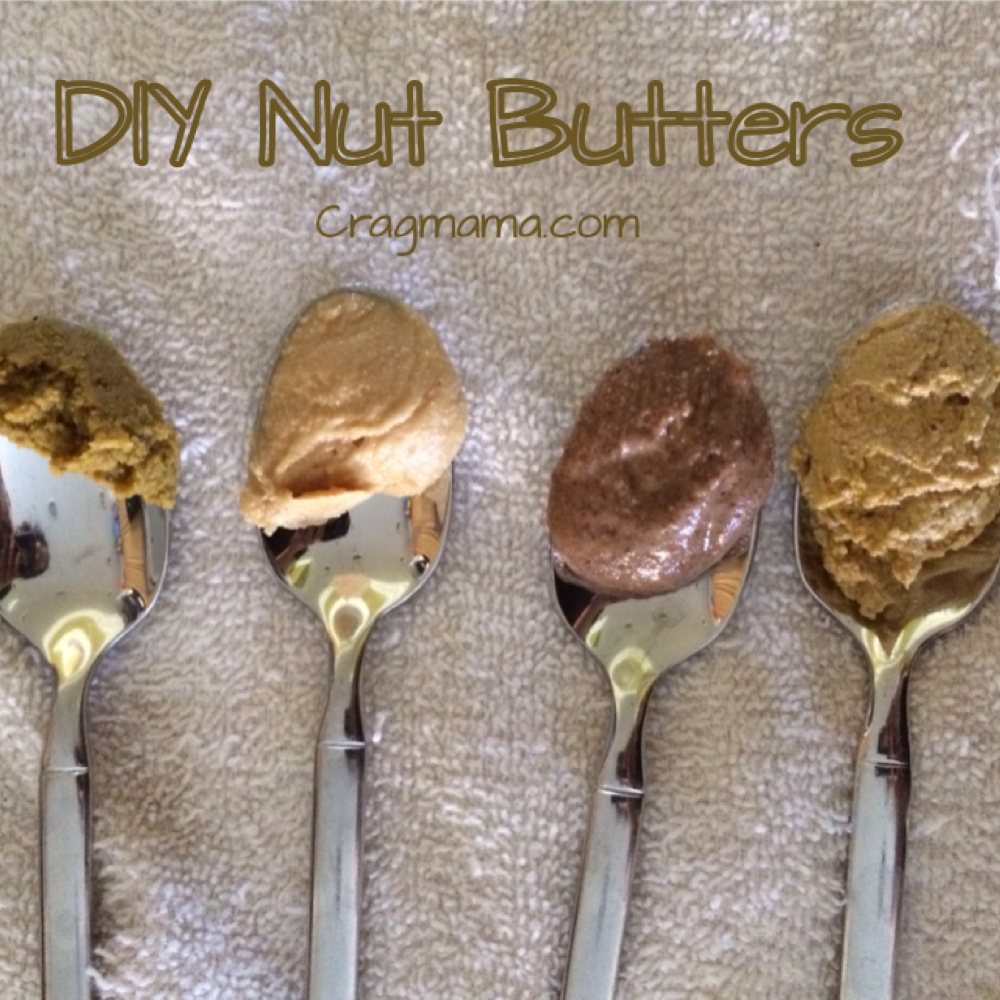
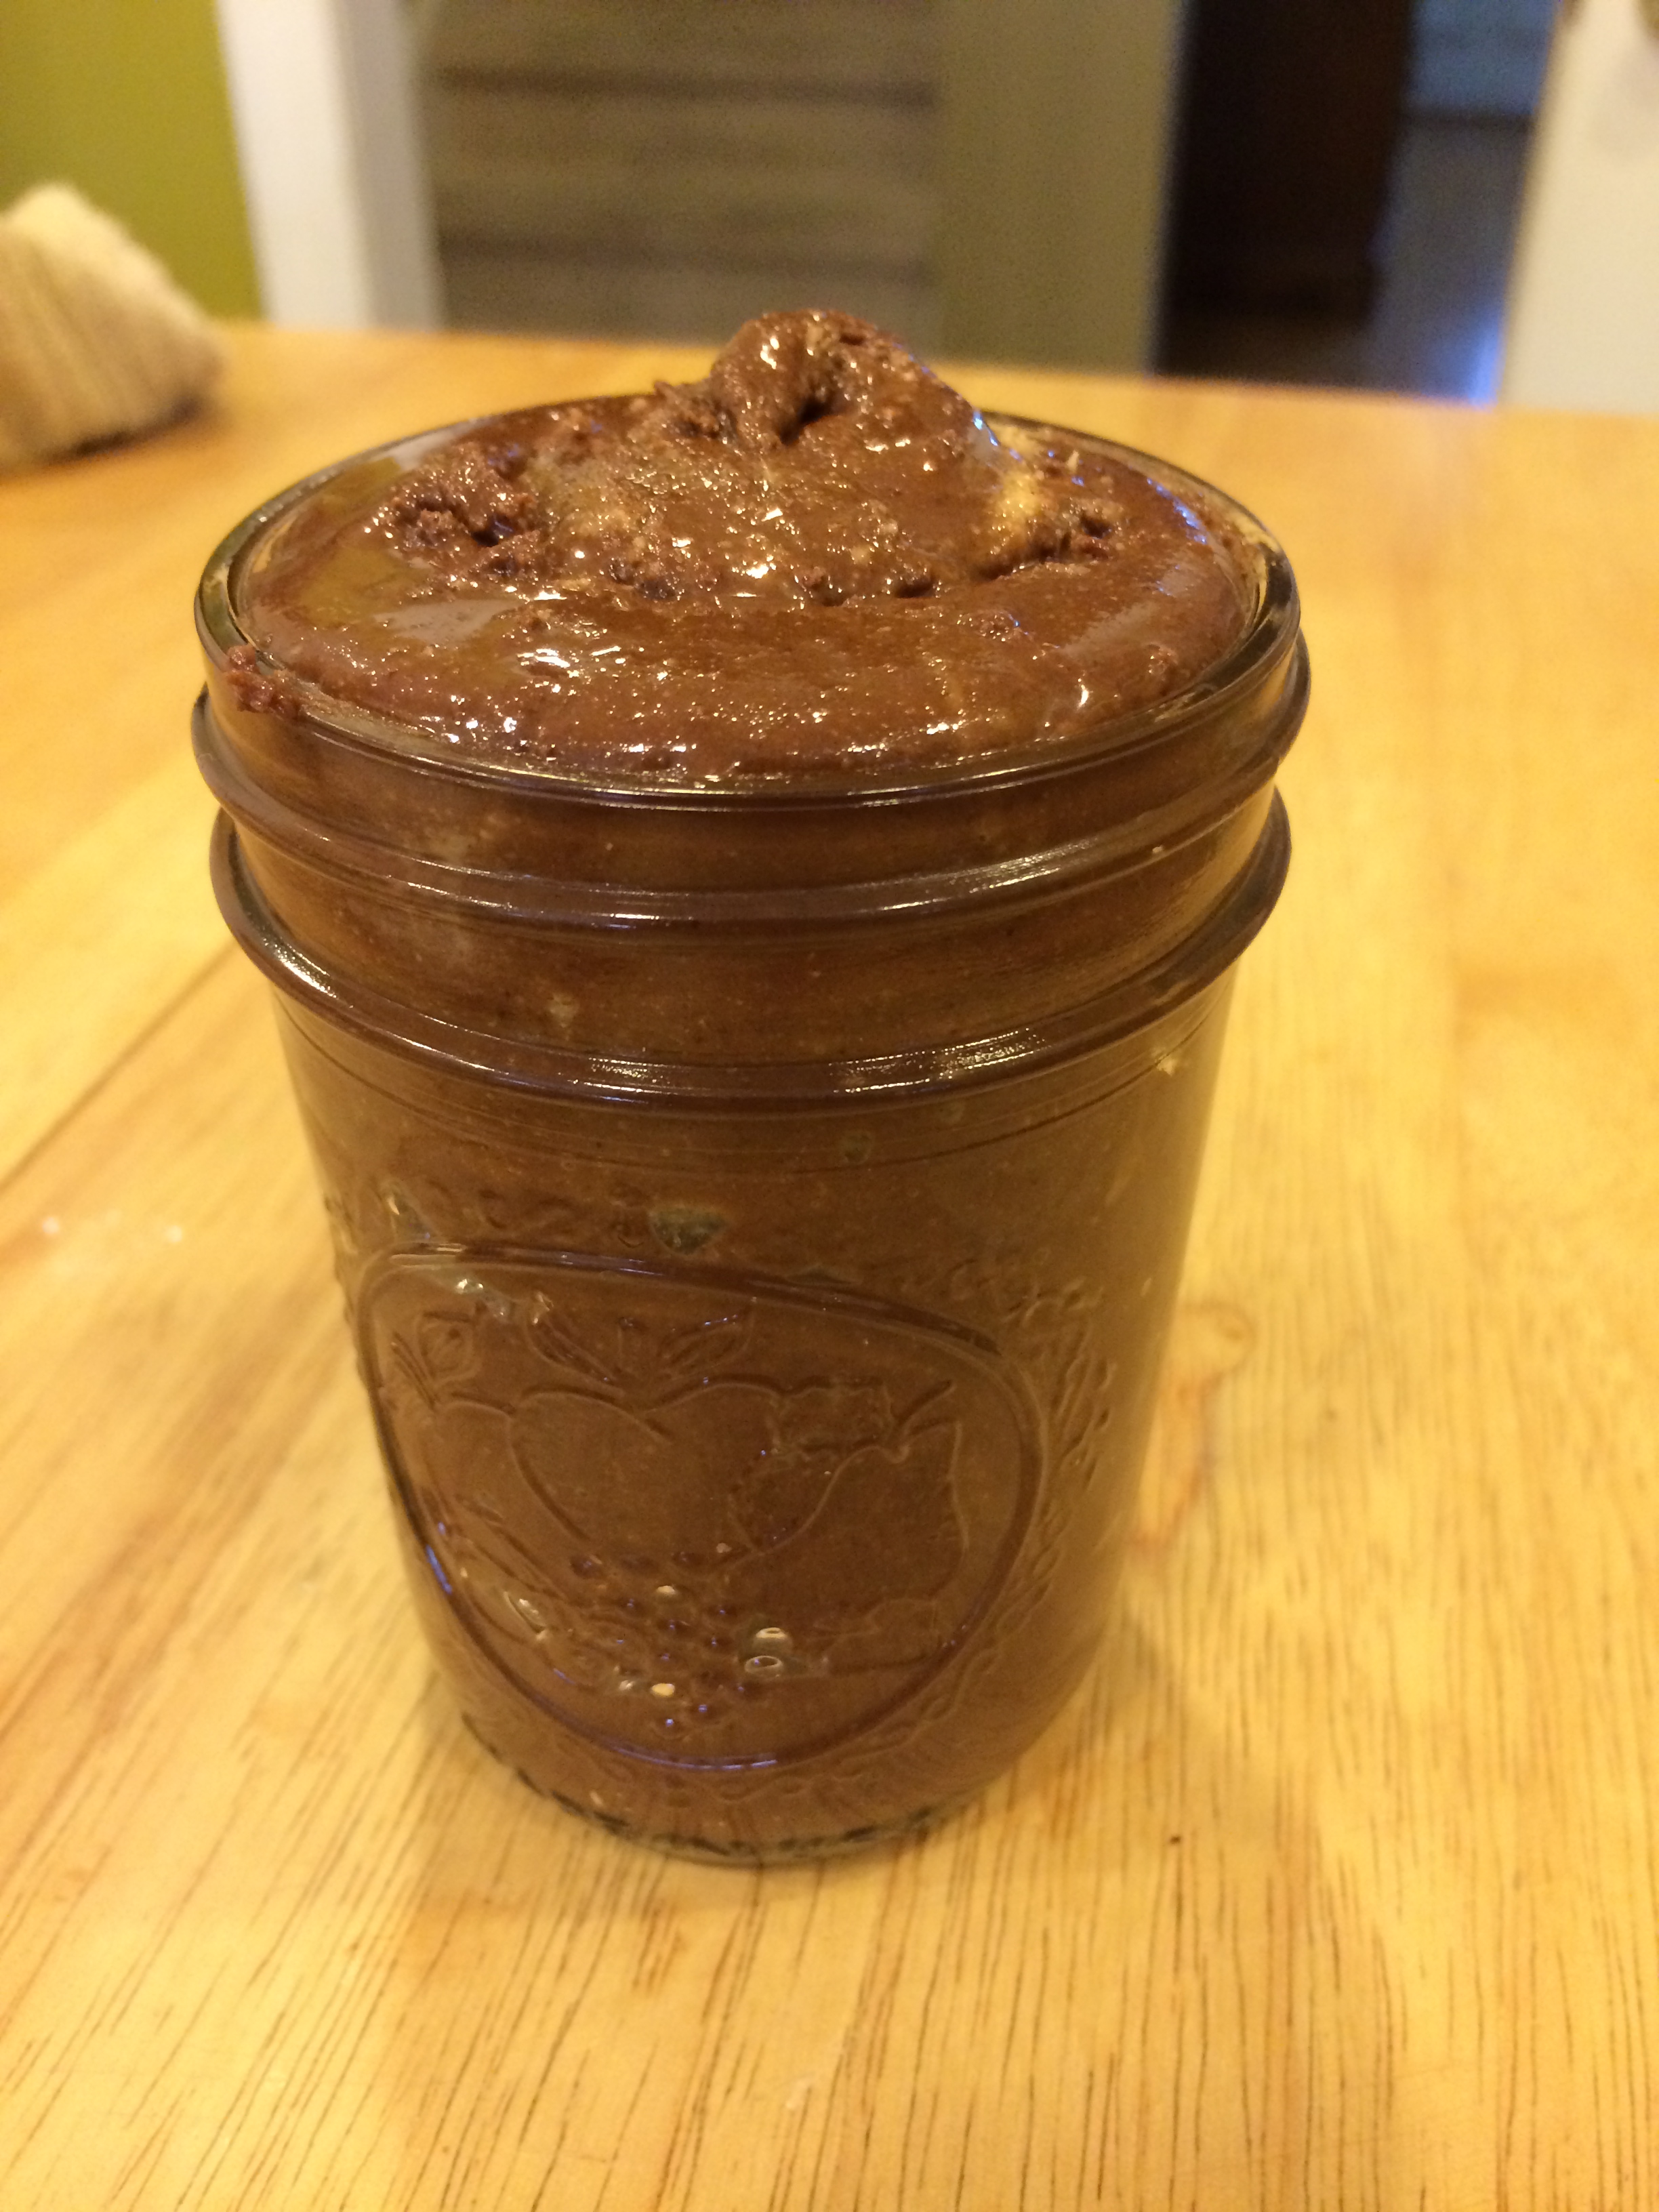
IMG_9666

Yum.

And what “snow storm” is complete without hot cocoa?  We whipped up a triple batch of a dark chocolate mix and delivered some to neighbors, along with some homemade “snow-grahams.”  The cocoa hit the spot and the graham crackers were SO much better than storebought…even though I realized later that I forgot to add the brown sugar!  Both were easy to make and recipes can be found here and here.  In the interest of full disclosure, I also tried my hand at making marshmallows from scratch…but that was a big, sticky flop didn’t quite work out…

For those of you on the East Coast, how did your family weather the storm?  (And for those of you out west, how is your spring going ;))


Share

New Gear From Red Fox NA

IMG_9357

Everest Vest on a late afternoon geocaching adventure


If you haven’t heard of Red Fox, listen up because their stores are popping up all over the world these days (literally!)  This outdoor company was started in 1989 at the base of the Caucasus mountains by Russian mountaineers Aleksandr Glushkovsky and Vladimir Moroz – and now in addition to over 30 Russian locations, Red Fox has brought its products onto the international scene.  In 2014 the company expanded to Nepal, Switzerland, and Colorado.

My first connection with this company started last fall, when I was asked to write about their Speedster 14 pack on the Red Fox NA (North America)  website (you can find that article here.)  Today I’d like to showcase a couple of their other products, both of which we’ve been enjoying immensely for the past month.

Kid’s Everest Vest

Big C was the lucky recipient of this gorgeous down vest.  At first he was pretty reluctant to try it on…after all, 4 and 1/2 year olds aren’t known for their love of change.  But once I finally convinced him to give it a whirl (and showed him how it was puffy just like mommy’s down jacket), he’s reached for the vest every time we go outside.  As a mom, that tells me that it keeps him warm as well as comfortable.  He’s still got plenty of room to grow (read: it’s a little big), but it’s still not excessively bulky.  The fabric is “Dry Factor 5000” (basically the Red Fox version of Gore-tex), so it can definitely handle it’s fair share of wet weather.  And at 650 fill down, it keeps Big C’s core toasty warm, but allows his arms to be free (and ventilated!) It’s the perfect choice for active endeavors on cold (but not frigid) winter days – hiking, playgrounding, and just plain running around being a kid!

IMG_9353

Nice and warm in the fading light!


St. Line Jacket

This light-weight sports jacket was the most recent Red Fox item added to my collection, and I’ve been very pleased.  The St. Line is a versatile fleece zip-up that makes for a great mid-layer OR outer layer, depending on temps and activity.  It’s the perfect thing to throw on over a baselayer for a crisp, morning hike or a chilly, late afternoon trail run.  A thin, very breathable fabric was used from armpit to elbow, which makes for great ventilation when you start to heat up.  On really cold days, it adds warmth without bulk underneath a down jacket.  The best part is the fit.  More than just a smaller version of the men’s jacket, the women’s St. Line was obviously based on an athletic female figure, as it hugs where it should without feeling tight and restrictive!

Me, Baby Zu and the St, Line Jacket hiking out of the  crag at the end of the day.

Me, Baby Zu and the St, Line Jacket hiking out of the crag at the end of the day.

The only negative that I’ve found with it is that the ventilation fabric around the armpits tends to “hold the stink” a little more than other fabrics, say wool, or cotton, but that’s probably to be expected out of a synthetic. (Or maybe I’m just really stinky…)  Not a big deal, I just find that I need to wash it a little more often than other similar pieces.

I know I for one am excited to see a new brand of outdoor apparel on the scene.  Red Fox seems to offer a fresh new spin on standby styles, and I’m looking forward to seeing how their company grows this year!  Anyone else out there tried any Red Fox gear? I’d love to know your favorite pieces…

Share