Cragmama "Not all who wander are lost…" JRR Tolkien

3 Ways to TRY HARDER So You Can CLIMB HARDER!

This just in: If you try harder, you can climb harder!  At first glance, this might seem glaringly obvious, but it was rather eye-opening for me a few weeks ago after my hubby (tactfully) pointed out that it looked like I “gave up before I even tried” on a route that was giving me trouble at the New River Gorge.  That statement prompted a very reflective and enlightening discussion on the drive home that caused me to develop a new mantra for pushing my limits on the rock.  And though simple, I’ve already seen improvements from it, so it seemed worth sharing!  Basically it all boils down to the mantra of TRY TRY TRY…

Slow and static does NOT always win the race...

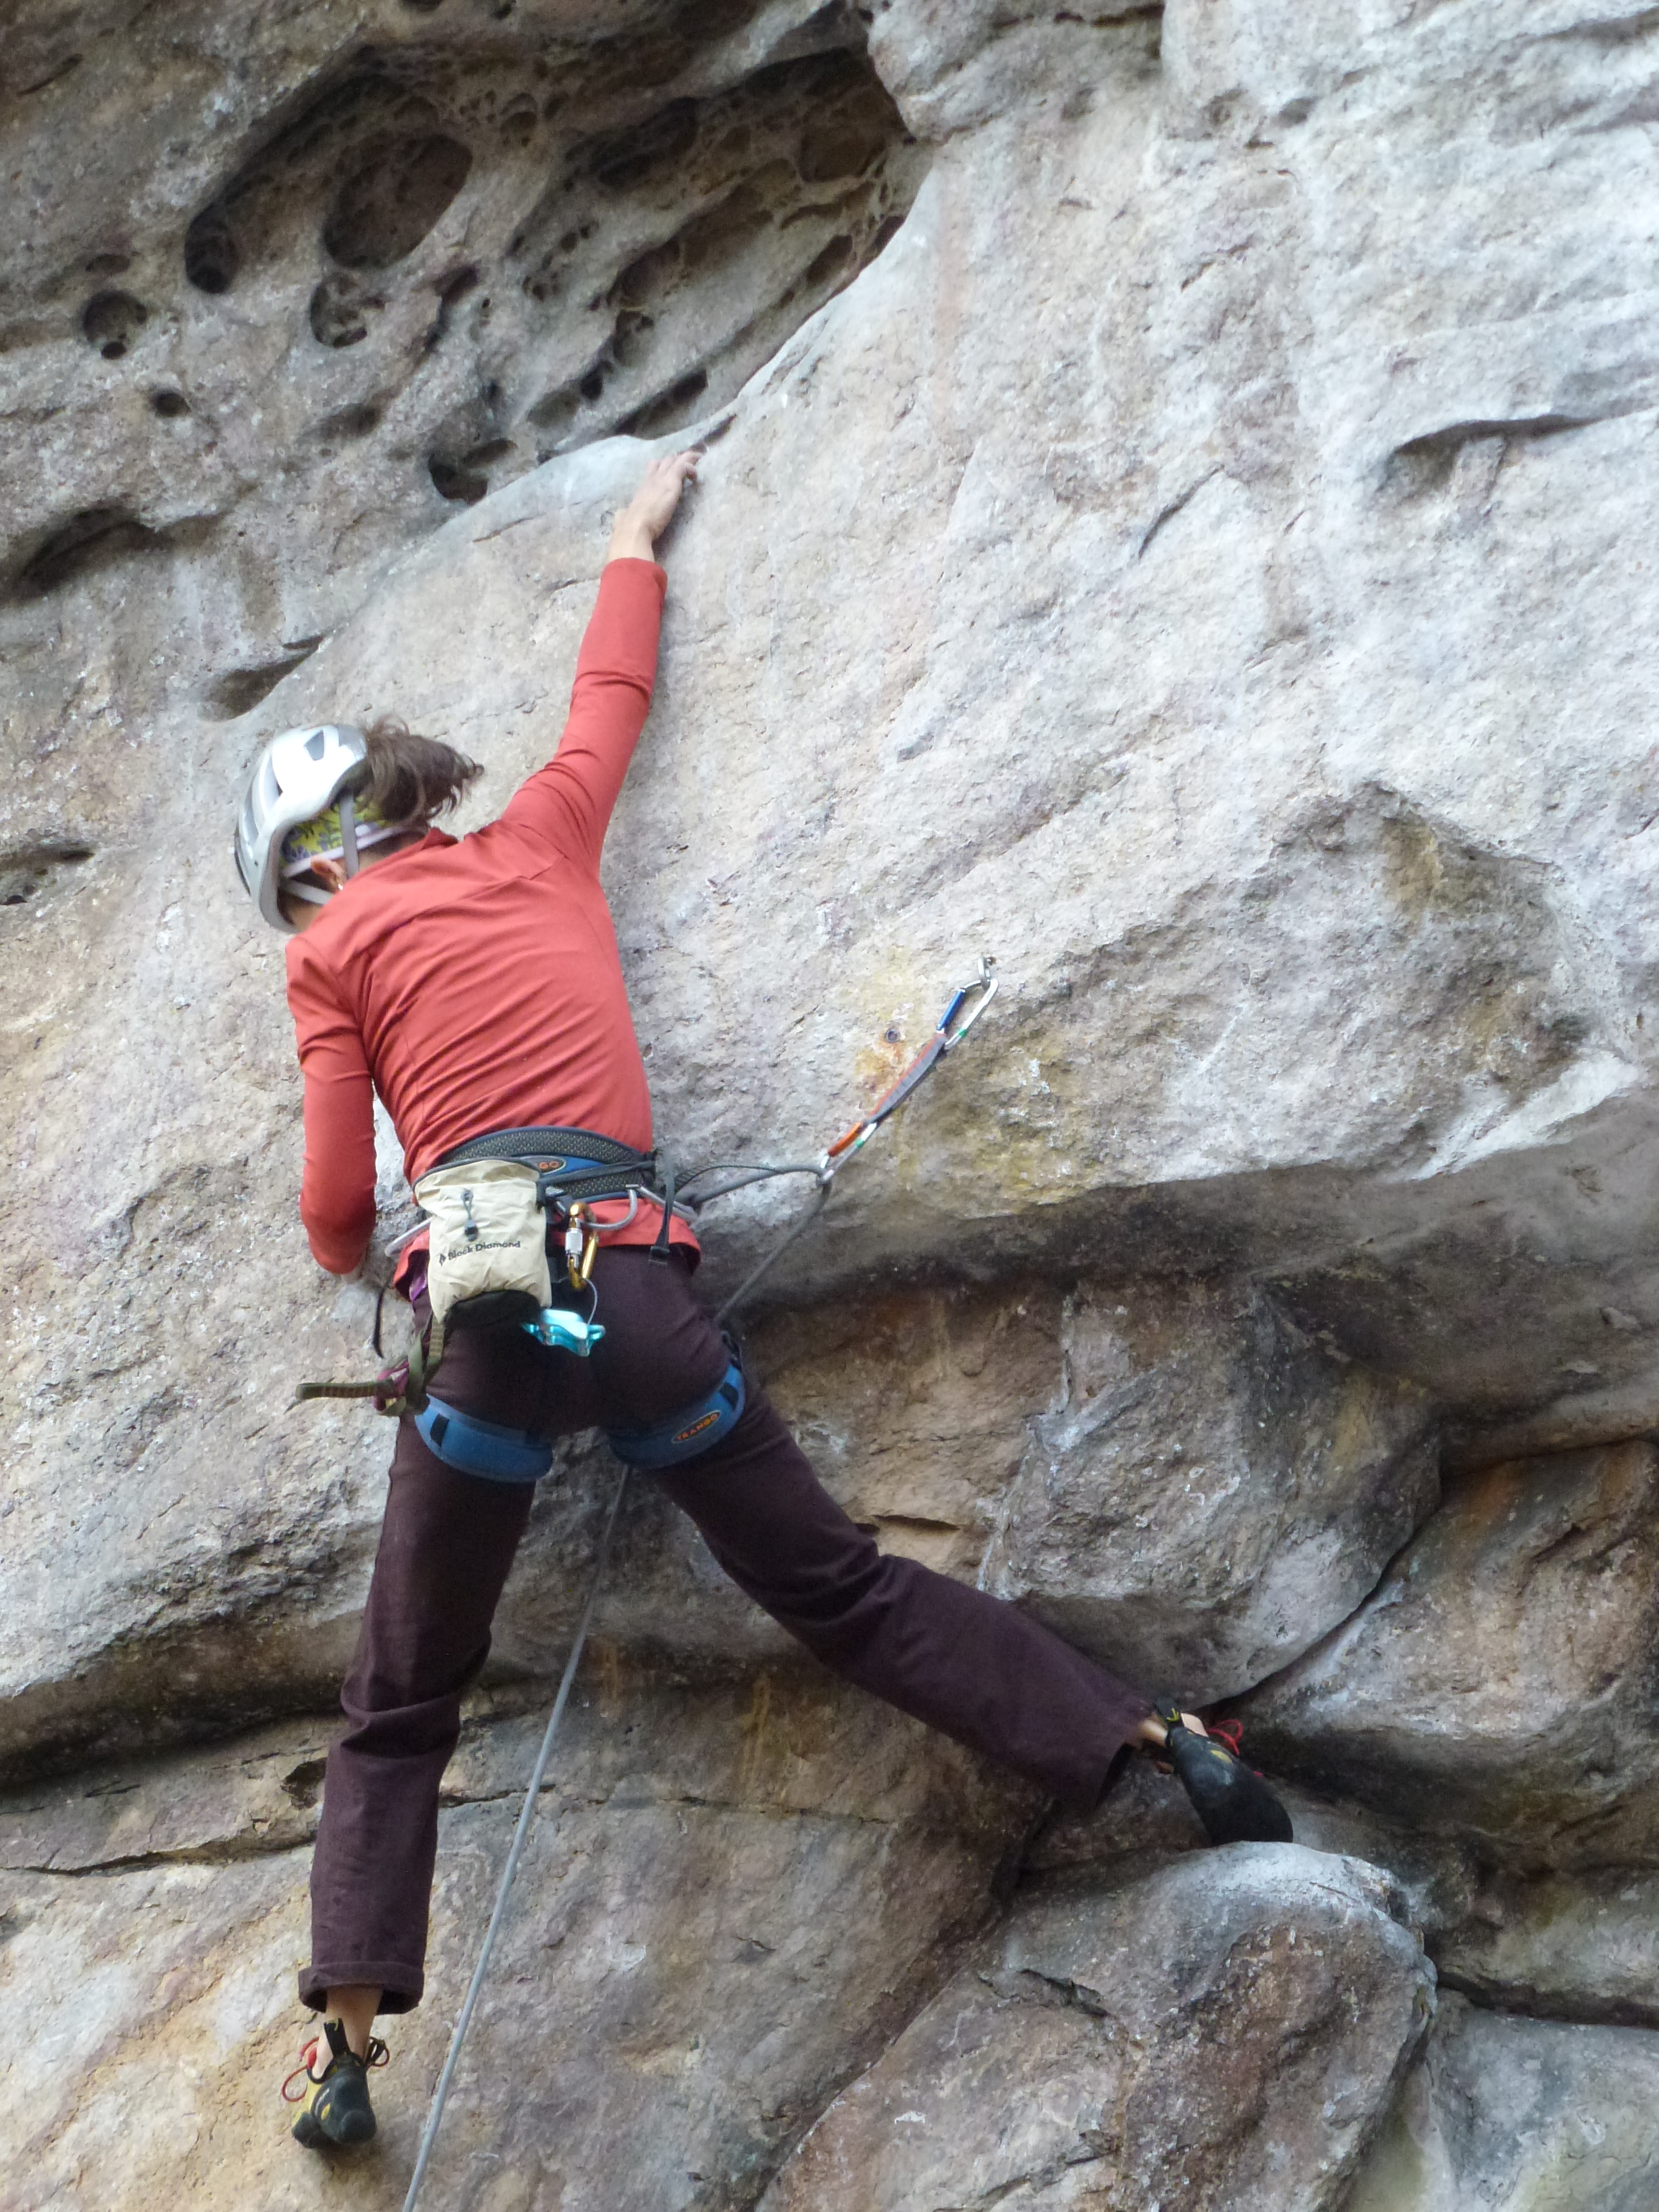
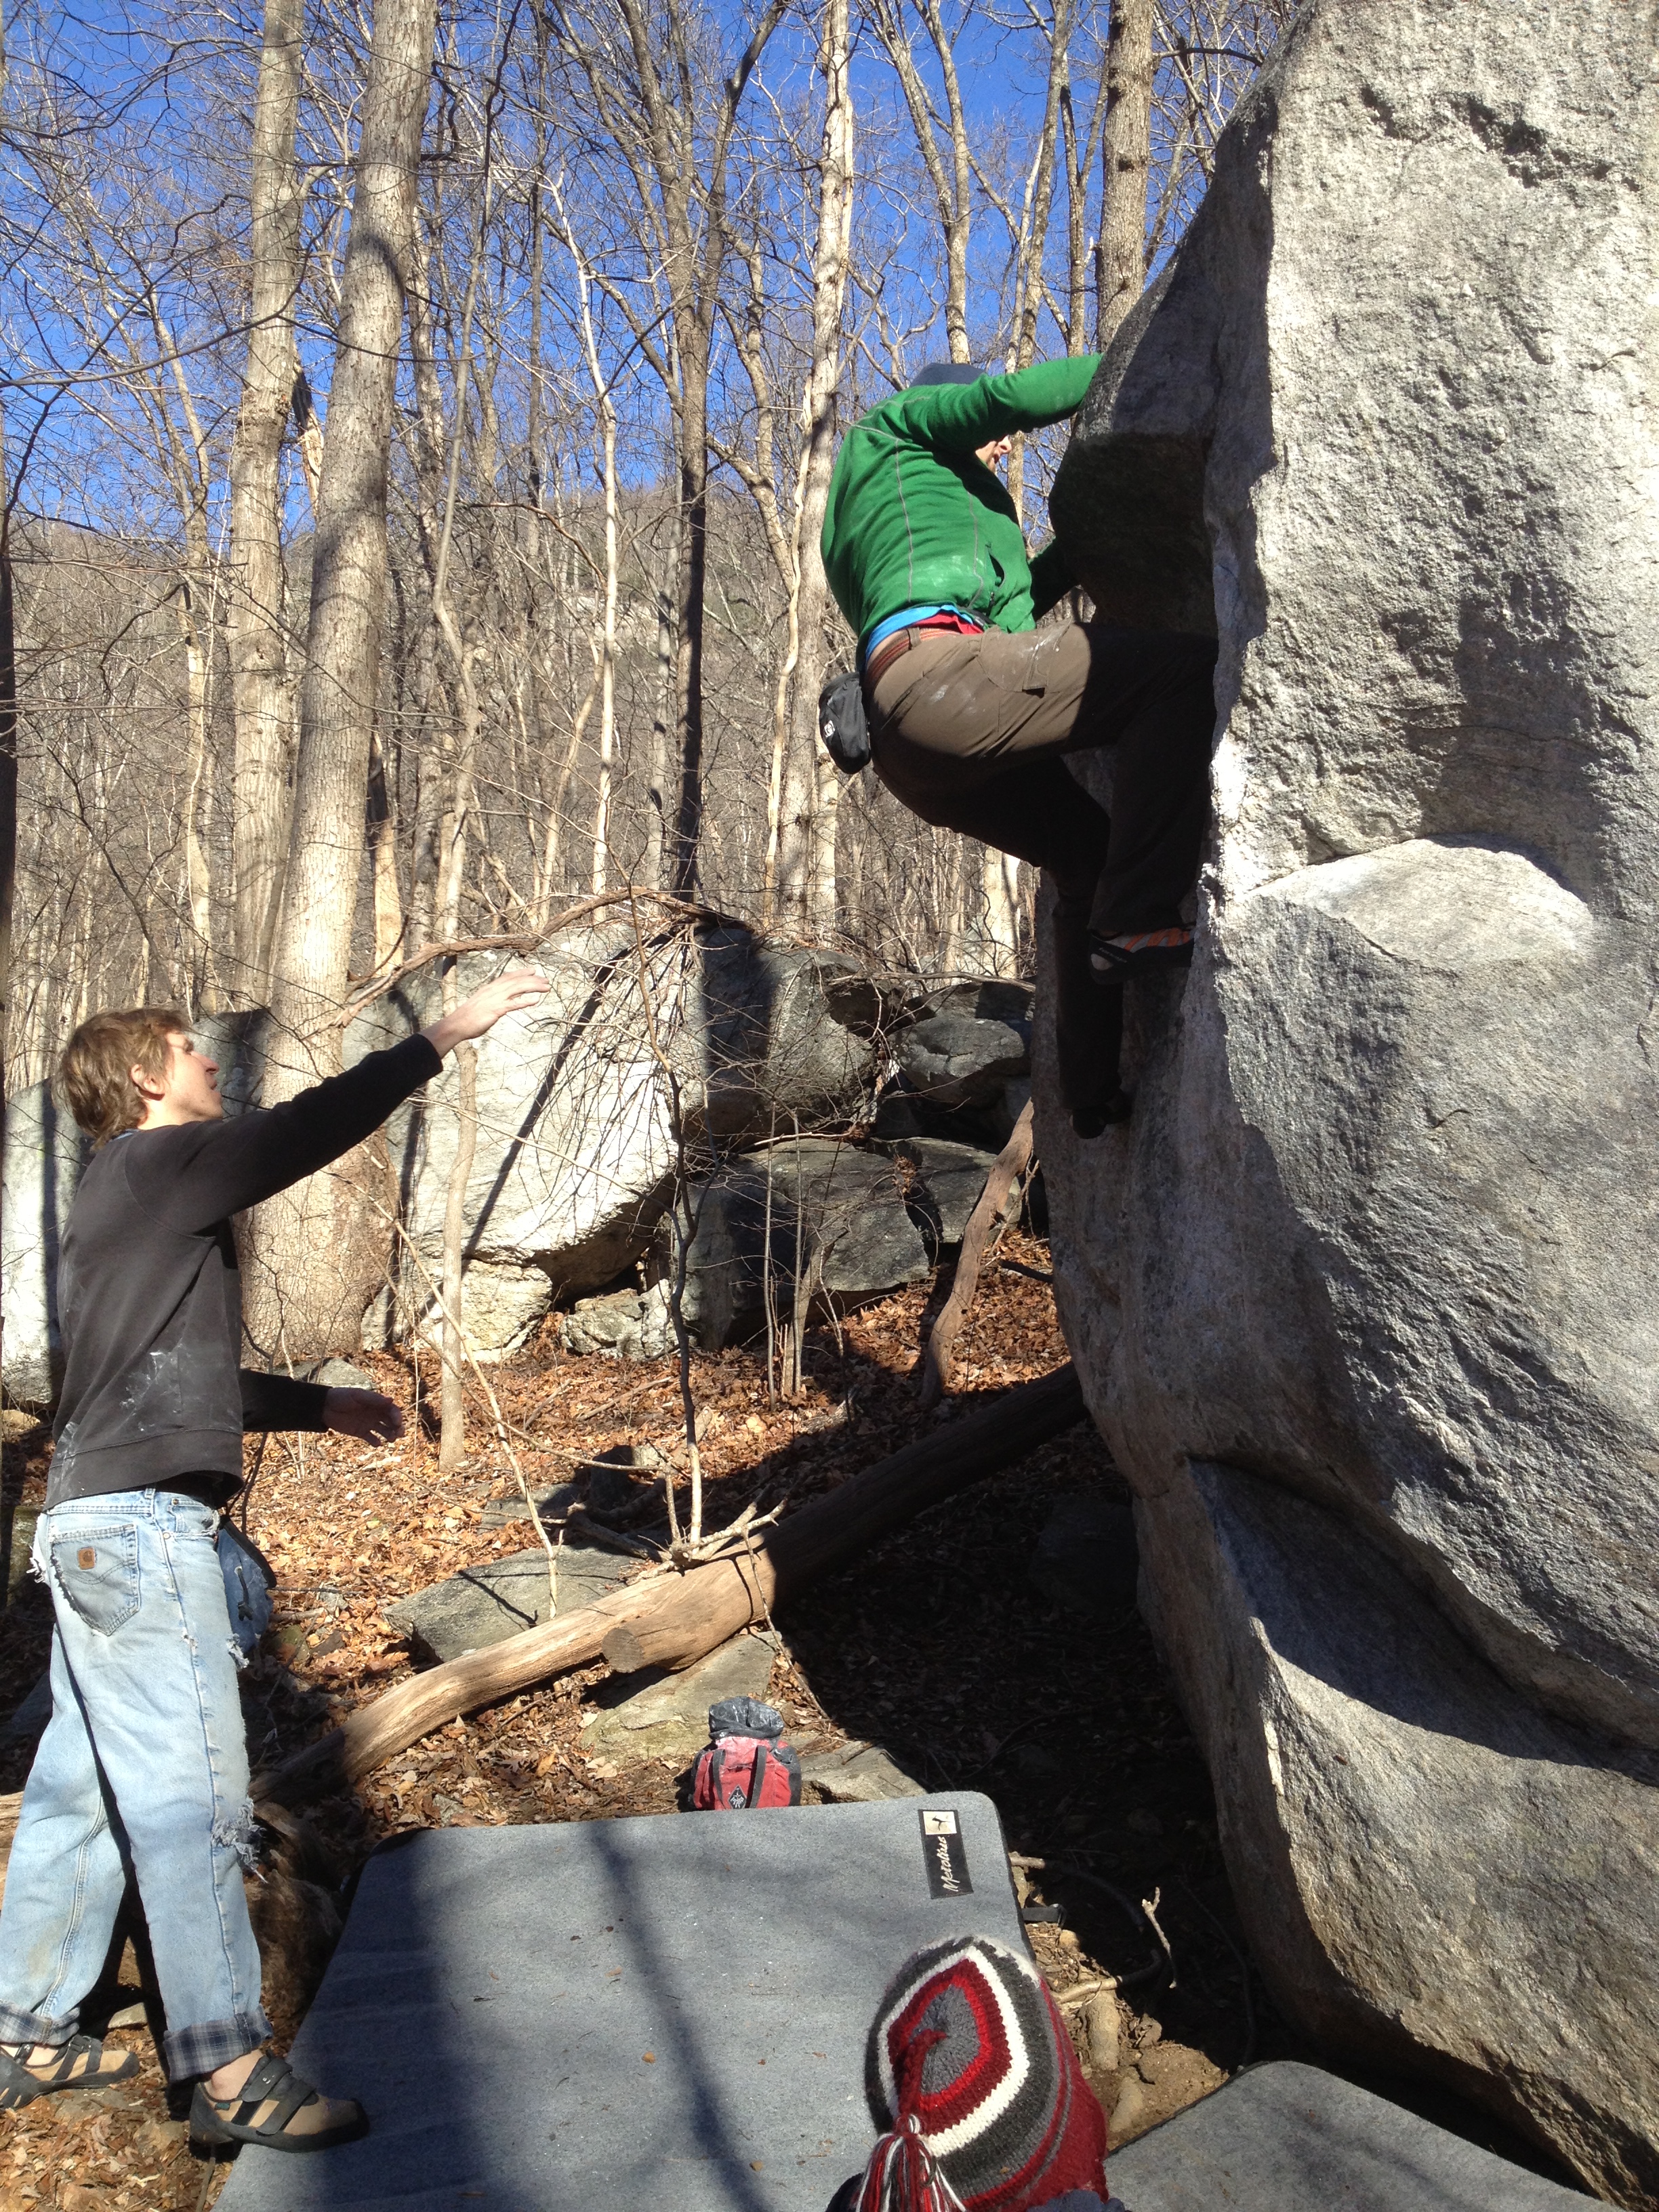
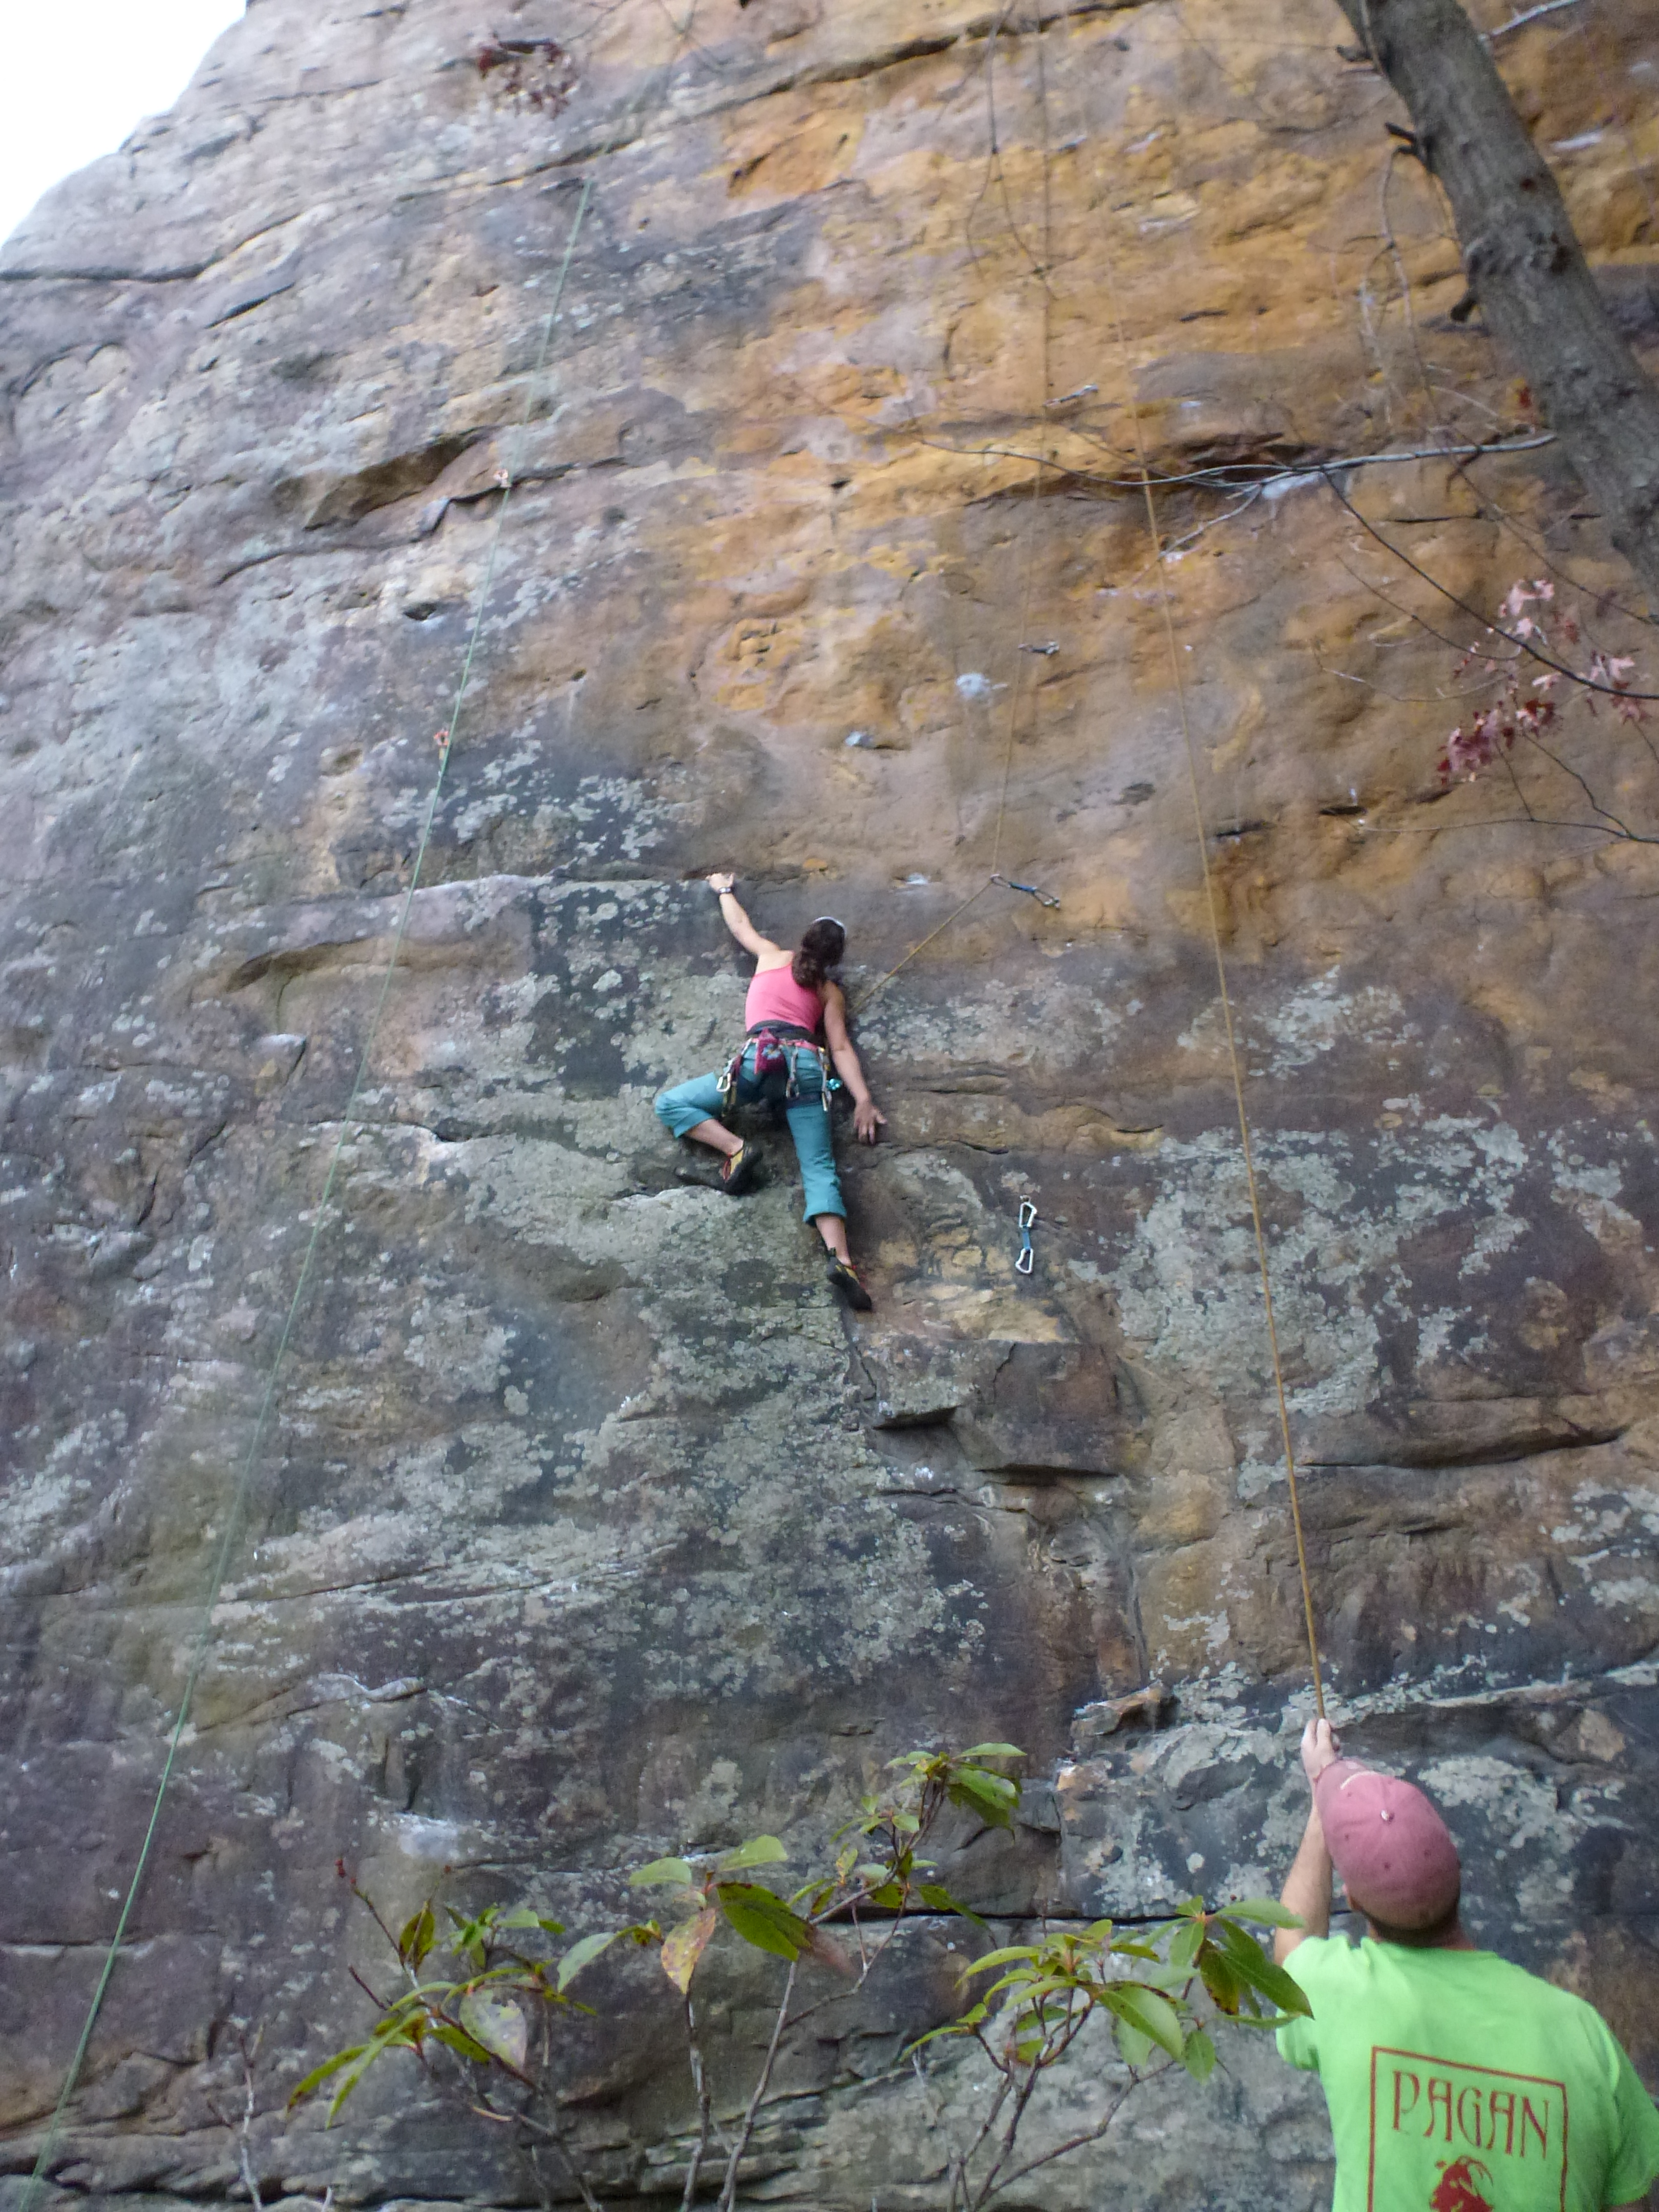
Slow and static does NOT always win the race…

TRY SMARTER After replaying my efforts from the aforementioned route in my head, it was clear why it looked like I wasn’t trying, even though I had felt as though I’d been giving 100% – I was doing it all wrong!   I was so busy using my best “girl techniques” – getting my feet up as high as possible and locking off as low as I could,  that I’d forgotten about the most basic of strategies for long moves – moving dynamically!  I realized that as I’ve gotten stronger, I’ve been able to do moves in a more static and controlled way, and have gotten out of the habit of climbing aggressively.  So I did an experiment the next week in the gym where I picked out a few easier problems to run laps on, using progressively less and less holds – forcing my movements to get more and more dynamic.  After about 30 minutes my body was remembering how to move with momentum again, so I decided to tackle some harder problems that I’d been struggling on the week before.  I was shocked to send both rather easily on my first attempt!  Adding an extra “pop” at full extension easily gave me the extra couple of inches I’d been missing, and committing wholeheartedly to deadpoint moves (rather than always leaving room to bail) made all the difference.  In other words, TRYING SMARTER enabled me to TRY HARDER.   

You're gonna have to try harder than that...;)

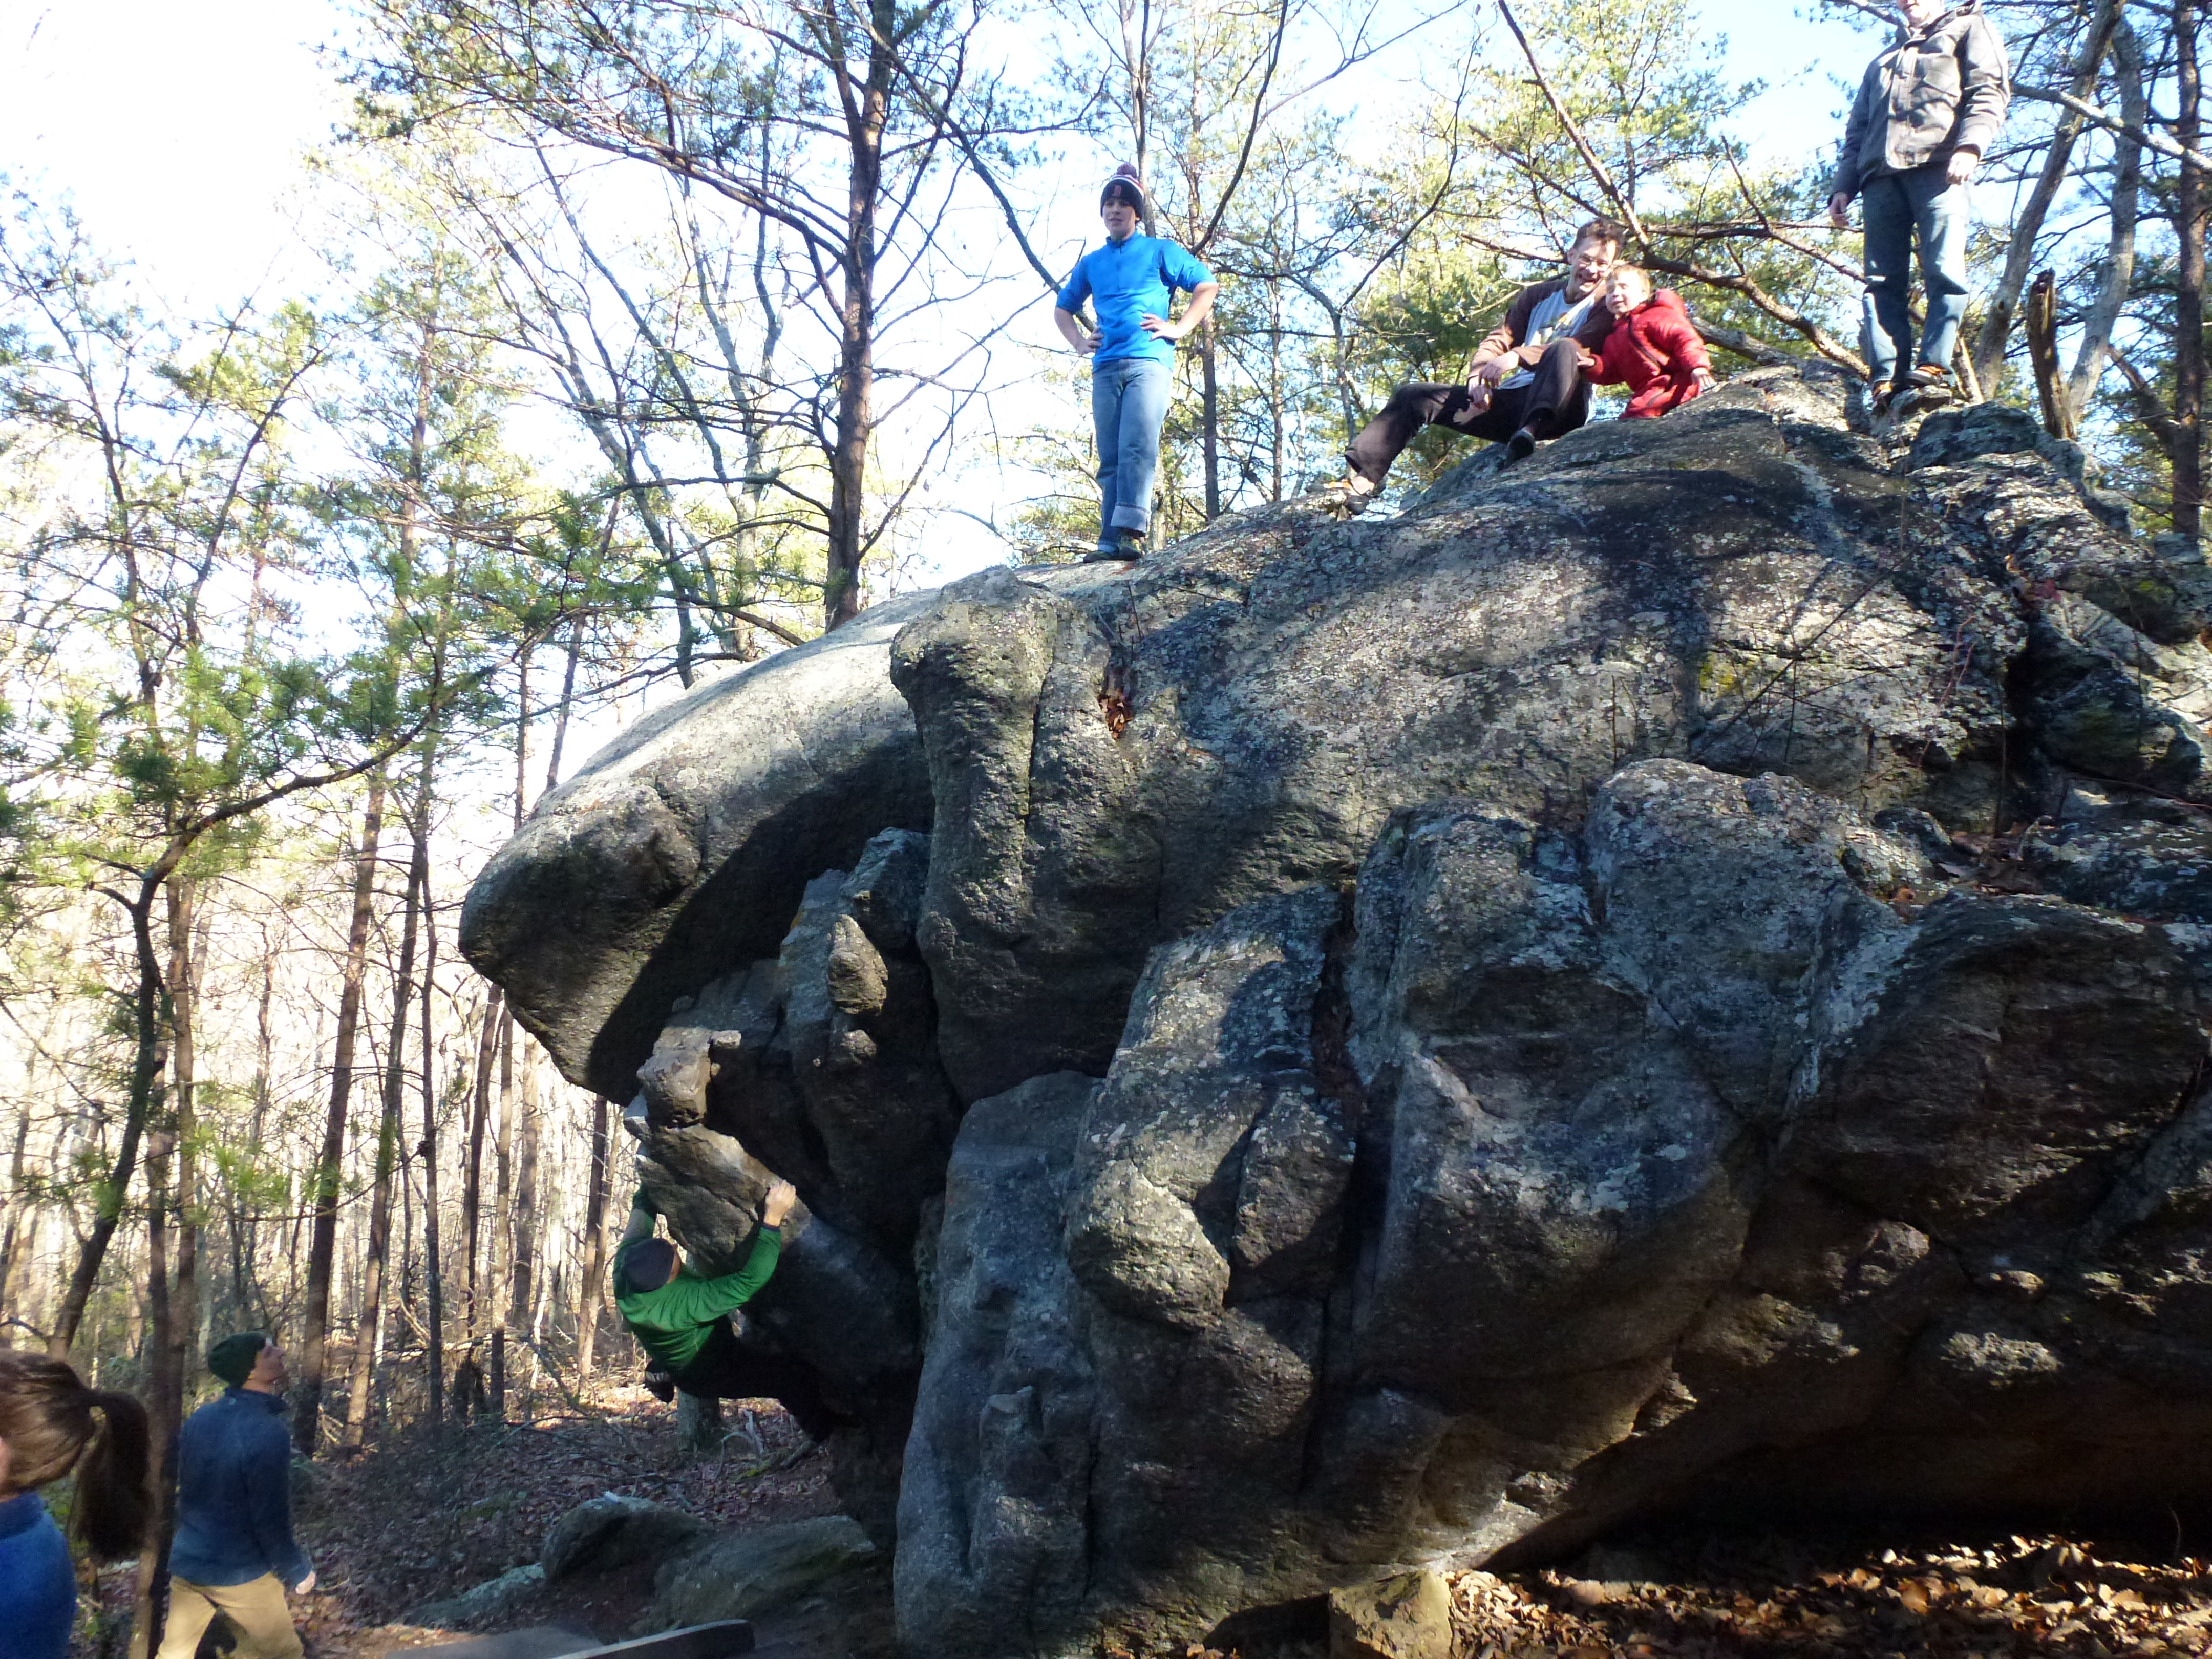
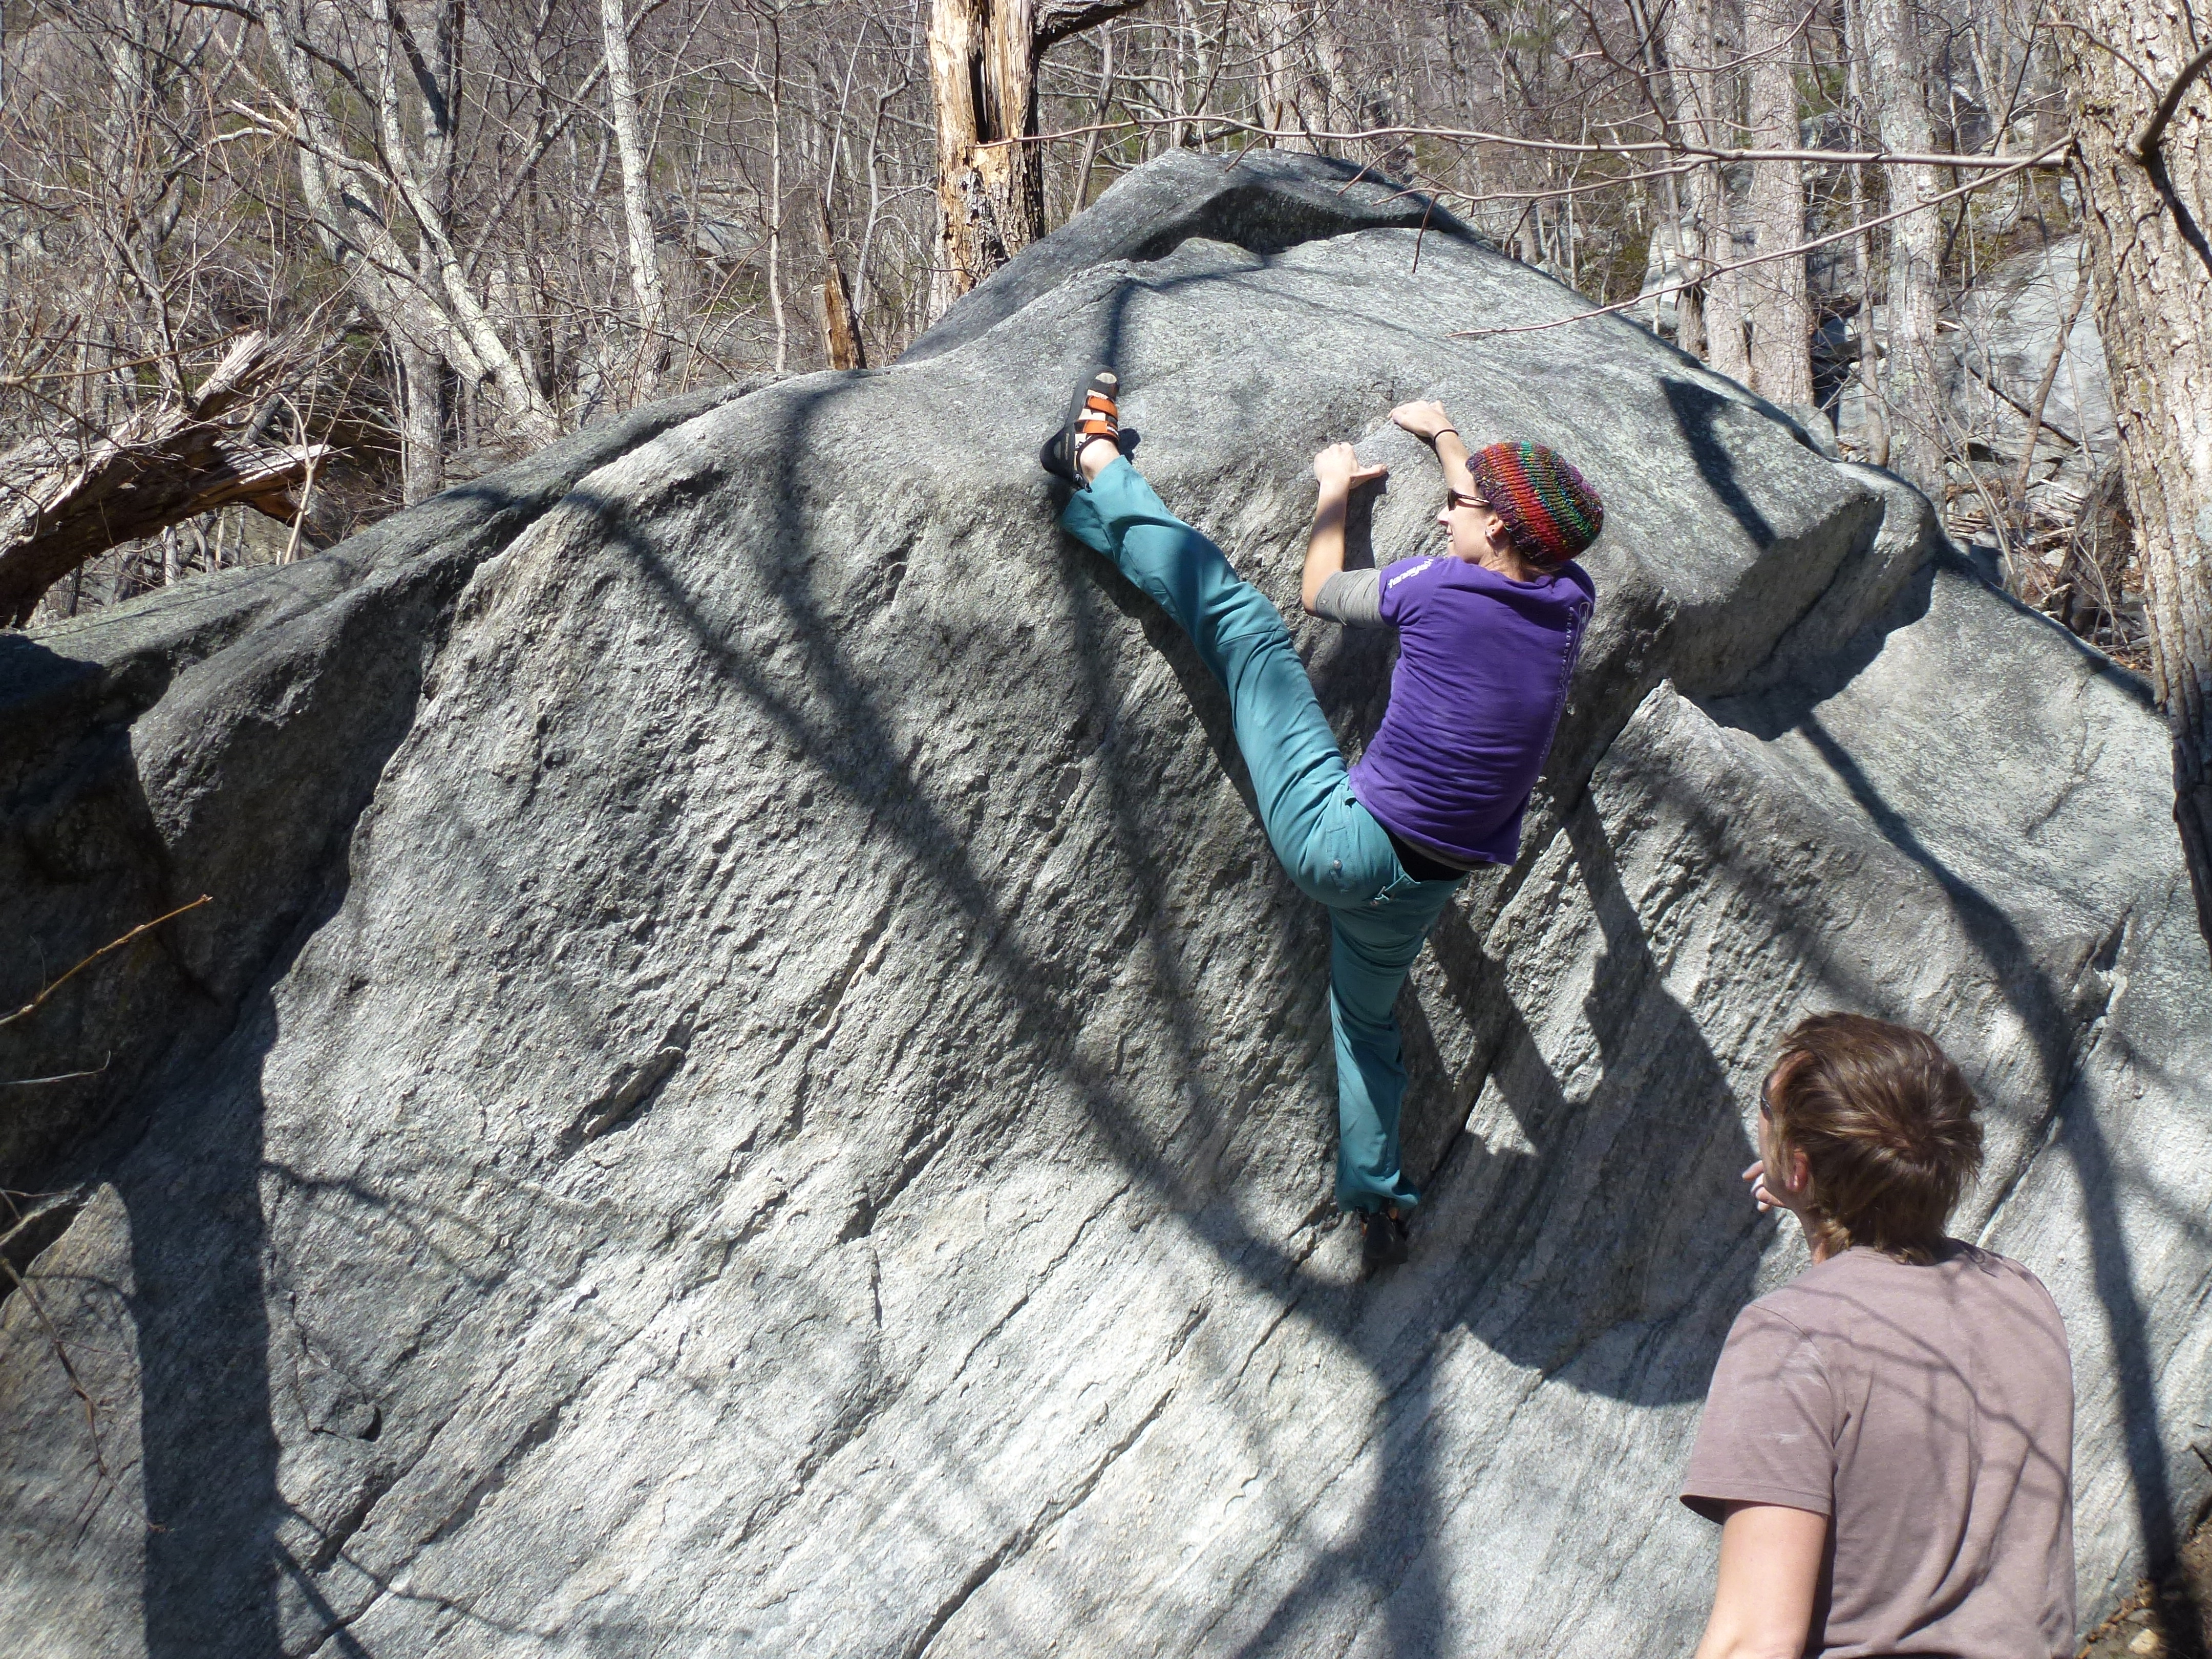
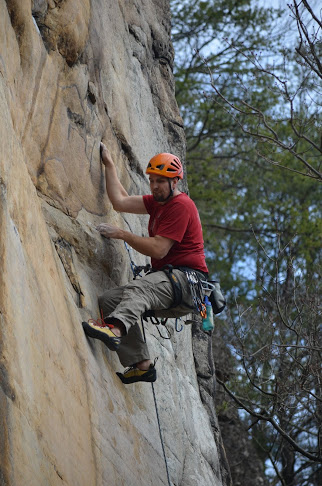
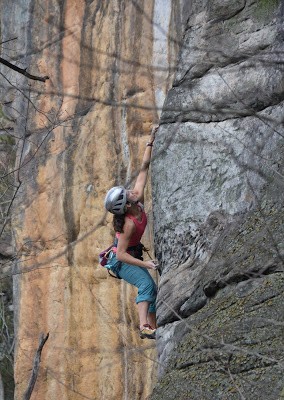
You’re gonna have to try harder than that…;)

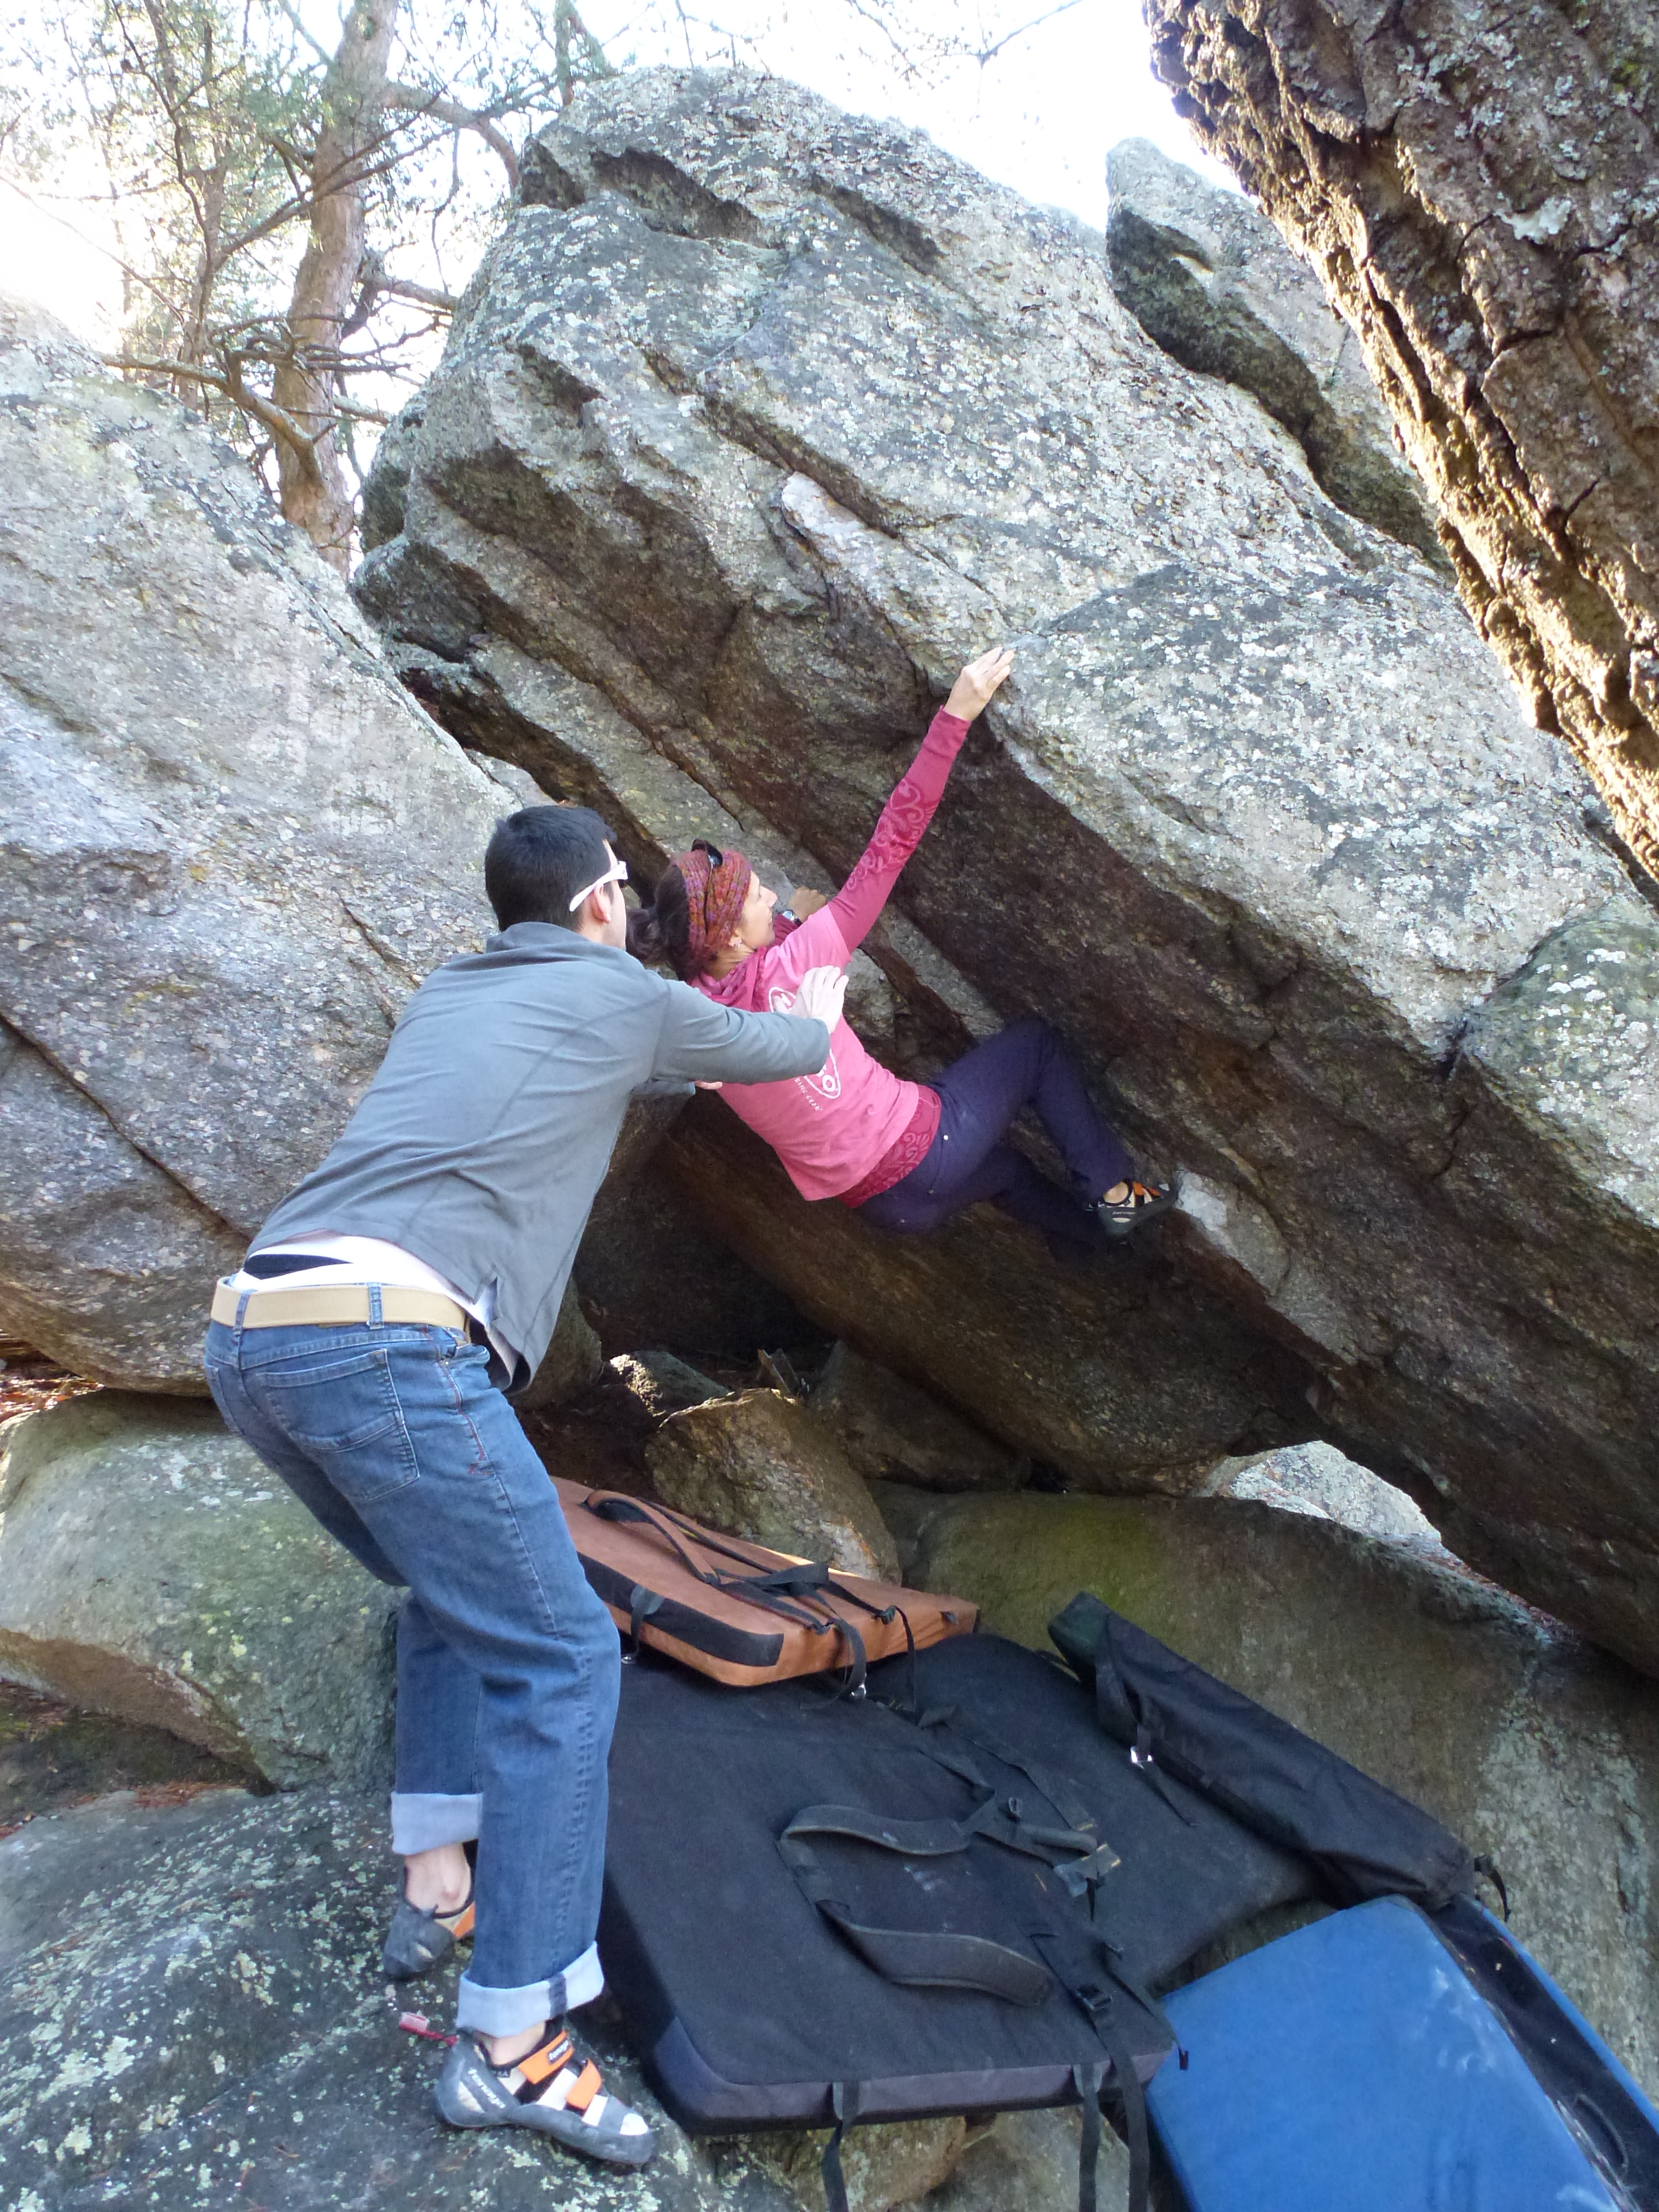
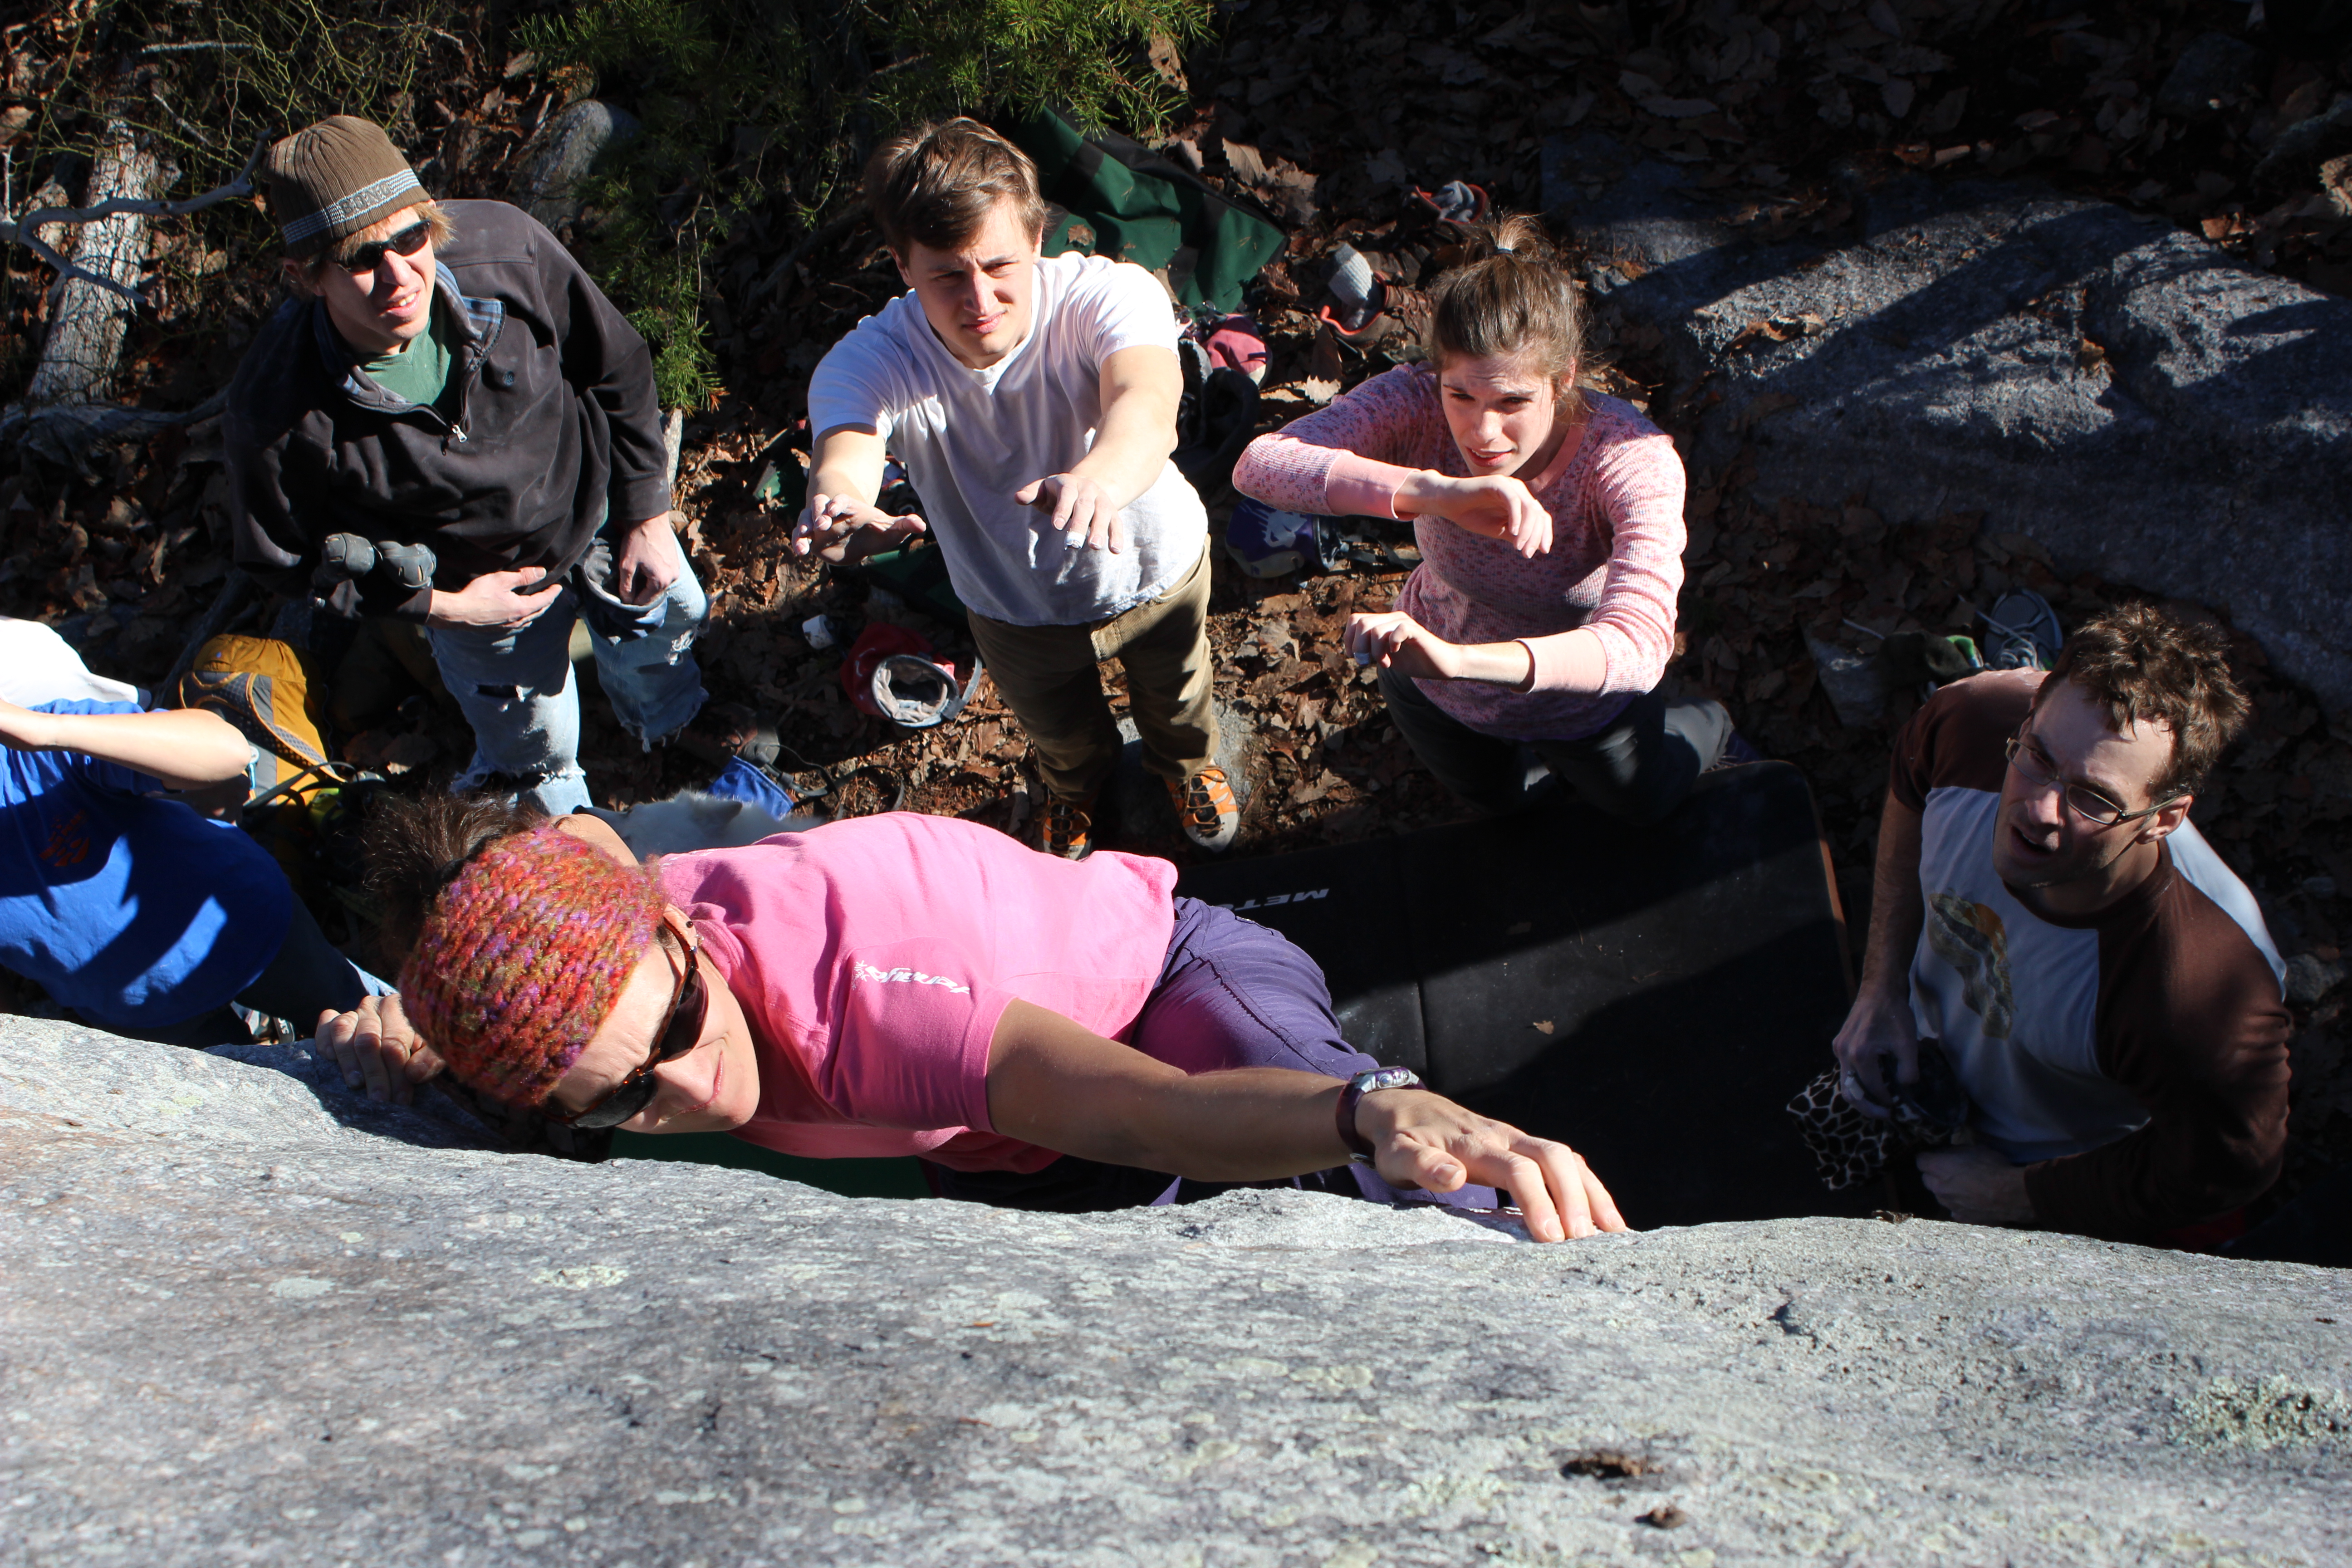
TRY ANYWAY:  Another TRY HARD strategy came to light on a recent bouldering trip.  I saw several folks working a very anti-Cragmama problem.  It looked so hard that at first I didn’t even want to try it.  As I got situated on the start holds, I couldn’t help but notice that the next hold was not only intimidatingly far away, but was behind me rather than above me.  I silently gave myself a less than 10% chance of making the move, but decided I had nothing to lose by giving it a whirl.  And lo and behold I made it all the way to the last move on my very first attempt!  I went on to send the problem about 15 minutes later.  Moral of the story – even if you’re sure you can’t do it, TRY ANYWAY!

TRY AGAIN A lot of times the “hard” part of a route is figuring out the right combination of moves for your body size and your skill set – and once you figure it out and practice it a few times, the actual redpoint run feels significantly easier.  You still have to execute perfectly, of course, but in your heart you can have confidence in knowing that if you do the sequence correct you will succeed 100% of the time.  But sometimes the best sequences are so difficult that even the best beta has a pretty low success rate, either because the route is at the peak of your limit, or because it involves a lower percentage technique, such as a dyno.  There’s a route like that for me at our local crag, and although I dont’ technically have a success story with it yet, I’ve already learned a good deal from it.  The secret to success on this route is going to come from TRYING AGAIN…and again and again and again, knowing one of these days I’ll stick the move the first time.  I’ve done the hard part (finding a sequence that works), but the TRY HARD strategy in this instance is to not give up – and to of course make sure I remember the upper section well enough so that I won’t blow the redpoint when I finally do nail the crux!

While it may sound a bit oversimplified and somewhat cliche, I’m thrilled with the improvements I’ve already seen from adopting a TRY HARD mentality.  It seems to have kickstarted a positive cycle – I’m trying harder, therefore I’m climbing better, which makes me climb more confidently, which allows me to climb harder.  So while it may be a bit cheesy, it seems to be working (at least for the time being), so I may as well stick with it!  Has anyone else been able to break through a mental or physical plateau simply by a shift in perspective?  If so, please feel free to share below – I’d love to get a discussion going! 


Share

Stonewear Designs Winter Review (and GIVEAWAY!)

I am lucky enough to have access to Stonewear Designs apparel as part of my contract with Trango, and those of you that have been reading for a while may recall the “Review Collage” I did on this company this past summer.  But now that tank top weather is long gone, it made sense to do an updated review of my favorite threads from Stonewear’s Winter Collection. 

Cross-back bra on Cruising Lane (5.10a) at the Red River Gorge, KY.

Cross-back bra on Cruising Lane (5.10a) at the Red River Gorge, KY.

AERY TOP:  This cute little number transitions seamlessly from Crag to Date Night.  In fact, I wore it at the hubby’s company Christmas party, which was dubbed as “Holiday Casual.”  I’m still not sure what that term means exactly, but my outfit worked well enough anyway!  The fabric is soft and a little on the thin side, so I would caution against areas with sharp rock or briars if you are going to be climbing outdoors in it.  It’s a perfect option for climbing in the gym, hiking, and yoga. 

 TOASTER ZIP TOP:  My favorite parts about this top is the color (I got Mandarin), and the fit.  It’s relaxed enough so that I can layer it over other clothes, and it’s long enough that it fits well underneath a harness.  The fabric is nice and stretchy, allowing for unrestricted movement on the rock, trail, gym, etc. 

MERIDIAN CAPRI:  Mmmm, this fabric is pure luxury for your legs!  I got the capris, but Stonewear makes them in pants too.  The pomegranate color is a deep ruby red that is really pretty, and the gathered waistband is a nice accent without adding bulk to your mid-section.  The pants are super comfortable, with a wide cut leg and back vents for style and mobility, and I’ve worn them everywhere from the grocery store to the climbing gym to just hanging around the house! 

Toaster Zip Top and Stonewear Pants on a chilly day in November.

Toaster Zip Top and Stonewear Pants on a chilly day in November.

STONEWEAR PANT:  This is Stonewear’s Signature pant, and it’s as versatile as it is comfortable.  These are my favorite pants to wear at the climbing gym, because unlike capris, I can keep my legs out of the cold on the way in and out, but since the legs are straight and not flared, I can roll them up to capri level while I’m bouldering.  (They dont’ have any sort of fastener to keep them up, but they never seem to fall down…)

CROSS BACK BRA:  I mentioned this in my last review, but I ended up enjoying it so much that I got more in other colors, so it seemed worth mentioning again.  The criss-cross strapping in the back makes for a great fit and a flattering look, and it provides ample support for climbing and hiking, although if you are more well-endowed than me (which wouldn’t take much…;)) you might want something more substantial for running.

STONEWEAR HEADBAND:  This headband is made out of the same dry-flex fabric as a lot of the tops (and generally comes in the same colors as the tops so you can be color-coordinated while you keep hair and sweat out of your face).  It’s wide on the top and tapers at the bottom, and it does a pretty good job of staying put.  If you’d like to win one, read on…

aery


Though my current connection with Stonewear Designs is through their brother company, Trango, my connection with Stonewear goes back a lot farther than that.  I mentioned in my last review that some of my first pairs of dedicated climbing tops were made by Stonewear, and after almost a decade of abuse, they are still thrown into the regular rotation of climbing clothes, all of them looking not much worse for the wear!  Though I received my clothing for free, I can honestly say that I would highly recommend this brand to any female climber, hiker, runner, or yogini that’s looking for clothing that is as flattering as it is functional.  Everything I’ve ever worn from Stonewear is high-quality, durable, and comfortable.


My favorite from this collection - the Meridian Capris!

My favorite from this collection – the Meridian Capris!

As pleased as I was with their Winter Collection, I was absolutely thrilled to find out that their Spring Collection will feature the return of an oldie but a goodie.  My very favorite climbing top ever (the Ladderback) will be making a new and improved comeback under a new name – the Solace Top.  That along with the rest of the Spring Collection will be available some time in mid-February, at which point I will be sporting my new Solace Top with pride (but maybe just in the gym, depending on the weather!) 

My favorite types of reviews are the ones that have giveaways, because it’s fun to email people and tell them they’ve won free gear!  So ladies, if you want a free headband (or fellas, if you’re lady friend would like one), here’s all you have to do.  Leave a comment about your favorite Stonewear piece (if you’ve tried it), and/or other brands that you like for working out during the winter.  For a second (and third!) entry, you can hop onto facebook and give Stonewear and Cragmama a like!  (Don’t forget to mention the facebook likes in your comment so I’ll know to give you an additional entry!)  Contest will run through next Monday, January 28th, at noon EST.  Best of luck everyone! 


Share

An Equal Opportunity Climbing Weekend

“I have a dream that one day bolt-clippers, boulderers, and tradsters will come together on my birthday and climb and eat pizza,”
– The Crag Daddoo

Birthday Boy warming up on Classic Overhang (V2)

Birthday Boy warming up on Classic Overhang (V2)

Well, maybe those weren’t his EXACT words, but in the spirit of the MLK holiday weekend, it was a reasonable paraphrase…and with that in mind we invited our friends from far and wide to celebrate Steve’s birthday this past weekend.  And we couldn’t have asked for more perfect weather – highs in the 50’s without a cloud in the sky! 

DIXON:  We kicked the 3 day weekend off on Saturday by converging at the Dixon School Road Boulderfield with about 20 people and almost as many crash pads.  Usually trips to Dixon are rather lackluster – we always get on the same problems, and I send the ones I always send, and thrash around on the ones I can’t.  But having an army of crashpads and spotters opened up more possibilities, so in addition to the old standby’s I was able to tick two problems I’d never been on before – Lucifer (V4) and Earthquake (V3).  I even managed to advance one move farther on an off and on project – Venom (V5).  It sounds small but this was exciting as every time I’ve worked on it, I’ve gotten shut down on a barn-door inducing move one hold from the top.  This time I was able to initiate the transition my weight in the right direction with enough control to take off my right hand and move it up.  Unfortunately at the start there’s a sharp left hand crimp that bites back (hence the name), which only allows for a few attempts per session before poking a hole through my fingertip, but now I’ve got renewed motivation to get back to it sooner rather than later!

Bad landings turned good with plenty o pads on Lucifer (V4)

 
Earthquake (V3)

Earthquake (V3)

C and his new friend :)

C and his new friend 😉

CROWDERS:  A crush-fest by day and a birthday party by night left the Crag-Daddoo in need of a rest day, so after church he hung out with C while I took our out of town guest to Crowders for the afternoon.  My only goal for the day was to redpoint Silence the Critics (5.12b).   It’s pretty sequential, and very unique compared to other routes at Crowders.  It’s got horrible feet, core-intensive movement, and a scary clip, and ever since I got on it a couple of weeks ago I’d been chomping at the bit to get back to it before I forgot my beta.  Since I’d worked all the moves out before, I felt really solid and the redpoint came pretty easily, and it was a great confident boost since I hadn’t sent anything hard since my final 5.12 of 2012.  With the main goal crossed off and several more hours left in the afternoon we hopped on over to the Trundlesauras area and picked off the handful of 5.10 mixed lines one by one.  I’d been meaning to do this for a while now to compare difficulty, as I would like to include letter grades for these lines in the upcoming guidebook rather than just 5.10, which is historically how most have been documented.  (That being said, if there are any local readers that have done the Trundle lines, feel free to weigh in with your opinion in the comment section or just email me!  The more consensus, the better!)  Unfortunately I’ve got no pictures from this day – there were just two of us, and none of the routes we did were casual enough for “belayer pictures.” 

Steve topping out on an unnamed V4 in the Hull Area

Steve topping out on an unnamed V4 in the Hull Area

RUMBLING BALD:  Monday was the only one this weekend where we technically ventured farther than local rock, although I guess I would still consider anything under 2 hours to be local.  A third day on meant spirits were willing but flesh was getting weaker and weaker by the hour, so we kept the day fairly casual – getting mostly on easier problems we  could onsight, and not spending too much time on problems we couldn’t.  However I did manage to hop on the send train for a funky (and unnamed) V4 in the Hull Area (boulder #27 in the guide).  We then worked our way to the classic Brevard Fault (V2), stopping to hit a couple of other V1’s and V2’s along the way.  The coolest line of the day was the Unnamed V4 on the Brevard boulder – a traverse along a rising finger crack to a horn, followed by a very unique (and sketchy) “double mantle” move of sorts (throw a heel and press up to another, farther away rail, then mantle again to top out.)  I made it to the first rail twice, where I got my heel up and promptly dropped off, unable to commit to the top out.  This  confirmed what I already knew about my pansy tendencies involving mantles high off the ground (somehow they always seem easier at 10 feet?!?)  But I’m secure in my fears at least – a month ago I was just starting to get back into bouldering after my ankle injury, and ridiculously scared of everything, so this is progress.  Maybe by the end of the season I’ll feel confident enough to tackle it again…or not, we’ll see.  🙂 

Boulder gnomes playing peek-a-boo :)

Boulder gnomes playing peek-a-boo 🙂

 
Gee, maybe bump your right foot up a bit next time, stumpy legs ;)

Gee, maybe bump your right foot up a bit next time, stumpy legs 😉

I’m not sure we’ve ever climbed 3 days in a row in entirely different places like that before, and it was a fun and rewarding strategy.  The combo of boulder/rope up/boulder was a good idea.  Our fingertips were shredded by early afternoon on the last day, but we drove home happy and satisfied with the weekend’s events.  My new “Try Hard” strategy for making long reaches (more on that later) has been quite successful already, which has in turn increased my confidence while I’m climbing (which in turn makes me climb better).  It’s starting to look like it’s a good thing we got out as much as we did, because so far this week our 50 degree highs have been replaced with temps in the 30’s, with a wintry mix even predicted for Friday (who knows, maybe we’ll even get to take out that sled…)

Share

Jetflow Hydration System: Hydration Evolved

Here's what it looks like before the bottle goes into the pack

Here’s what it looks like before the bottle goes into the pack

There’s a lot of different types of hands-free hydration systems out on the market now – with the grandfather of them all being the well-known CamelBak.  Of course there are plenty of companies that design special backpacks with the purpose of hydration in mind, and they can come in a wide variety of forms (over-the-shoulder pack, “fanny pack,” under-the-bike-seat pack, etc).  But the common theme of these specialty hydration “vehicles” is that the method by which they deliver water is always the same.  A soft, polyurethane bladder is connected to a tube that is secured somewhere close to your mouth, usually via a shoulder strap of some sort.  The great part about this system is that you can easily chug H2O while biking, running, hiking, climbing, etc, without ever having to break form, change stride, or take both hands off the rock.  It’s multi-tasking at its finest!  But for all it’s efficiency, there is one major drawback – it doesn’t take long before those bladders (and tubes, and valves), get pretty nasty.  And despite all of the conventional cleaning methods (tablets, wire brushes, and even bleach solutions, yikes!), keeping them mold-free is still a pain, no matter how hard you try.  The problem is, there’s never been a better alternative…until now! 

The Jetflow system in action!

The Jetflow system in action!

That’s where the Jetflow Hydration System comes in…Why not use a regular bottle and just turn it upside down?  This innovative idea was developed by a group of outdoor athletes from Utah who were set on improving the age-old moldy bladder rig – what started out as an “unimaginative heap of bits that worked better than it should have” turned into a sleek and brilliant product that functions based on simple science.  In fact, “simple” is one of their main claims – “simple to use, simple to clean, and simply better-tasting than the competition.”  When these guys contacted me about a review, I was intrigued by the concept, and psyched to try it out.  While the system can be fitted to any ordinary hydration pack, the Jetflow folks were gracious enough to provide me with a Tomahawk Pack along with the Jetflow kit.  The pack can accommodate one 1.5 L bottle OR two 1 L bottles, and contains 250 cubic inches of gear storage space.  And even though I get tired of saying it, I am required to disclose, so here goes: in no way are the opinions in this review biased towards Jetflow because I got my items for free!

Cragbaby and I took our Jetflow out for a test last week on a morning hike at McDowell Nature Preserve.  The verdict?  We’ll definitely be using it again!  Here’s the breakdown of my our opinion.

What We Liked:
Bite Valve: 
My other hydration systems have always had an on/off switch on the valve that must be operated by hand.  Keep it open and the hose tends to drip.  But keep it closed, and that’s one extra hand movement I have to do EVERY time I drink.  It might sound lazy, but I’m not the most coordinated mountain biker in the world – it can make a difference!  The on/off of this system is controlled by biting the mouthpiece – so if it’s not in your mouth, it’s not on, which means no leaking!

Use Any Bottle: 
While you of course can pour anything you want to in a conventional soft bladder, the hard-to-clean component means you’ll be tasting whatever that non-water liquid was long after it’s gone.  But with this system, you can use a reusable Nalgene bottle one day for water, and a PowerAde bottle the next day – if the hose tastes like PowerAde, just run it through the dishwasher once.  The kit comes with several different adapters, so virtually any type of bottle can be used.

"Drinking water is important, Mommy!"

“Drinking water is important, Mommy!”

Easy to Clean – ALL parts of the Jetflow system are dishwasher compatible!  No more pretending you don’t see that funky-looking brown stuff at the bottom of your bladder…

No Vaccuum
– If you’ve ever tried to open up a soft bladder that has been sucked dry, you know it can sometimes take a burst of extra-human grip strength to twist off the top of the bottle (and this is coming from a climber…)  Because the Jetflow uses regular bottles, this problem is eliminated.
(For a better and more in-depth explanation that what I could give of how the system works, click here. )

Worth Noting:
TWO Hoses- The science behind this set-up operates on two tubes coming up from the manifold at the base of the pack, and secured to both shoulder straps, although only one tube has a mouthpiece (the other is a jet valve that maintains equilibrium as you drink and keeps the bottle from crushing.)  It didn’t cause any problem, but having a hose on each side felt a little odd at first.  (Cragbaby meanwhile is still insisting that the other tube is “broken.”) 

Noisy Little Sucker
– Not a negative unless you are using your Jetflow while you practice your ninja skills, but sucking on it does make a weird sound, especially towards the end of the bottle.  Again, not really a problem – and if this was C’s post he’d probably put that tidbit in the “What We Like” category, because he thought the noise was hilarious…:)

C and "his" Tomahawk pack!

C and “his” surprisingly well-fittingTomahawk pack!

And while I was instructed to focus my review on the hydration system, here’s a quick word about the backpack.  Though it seemed durable and well-made, I found the storage capacity on the Tomahawk pack to be pretty small.  (It held keys, cell phone, and camera just fine, but the trail food and field guide was almost too much…)  In all fairness though it wasn’t the pack’s fault – it was probably designed more for one person’s afternoon bike ride or long trail run.  The Raptor pack is probably better suited to a nature outing with a toddler, especially one that includes a picnic lunch – and it’s only $15 more.  Cragbaby, on the other hand, was THRILLED with the compact size of the pack, and claimed rights to it almost immediately!  And ironically, it was a pretty good fit!  With the straps tightened down all the way, they were only slightly too wide, and the chest strap (well it was more of a waist strap for him…) kept it pretty snug on him without seeming uncomfortable.  I did have to unhook the tube from the first two snaps so that he could drink it, otherwise when he pulled the tube to his mouth, the angle was so much that it kinked up the hose and blocked the water from flowing.  But other than that, it was actually a pretty decent pack for a little guy!  He carried it with pride for the majority of the hike, and even wore it all evening after dinner “to show Daddy.” 

I don’t think it’s an exaggeration to think that the Jetflow system could revolutionize the way we drink water.  It’s simple, easy to use, and not to mention more sanitary and environmentally friendly (provided you reuse your bottles) than it’s polyurethane counterparts.  My guess is that we’ll all be hearing a lot more about this company once the word gets out.  A very well-planned and well-executed design, I would highly recommend the Jetflow to anyone looking to improve their hydration strategy.   What is your or your family’s hydration strategy when it  comes to morning, afternoon, or all-day adventures?  Has anyone else tried this product?


Share

New River Gorge (in January?!?) and Climbing “Tall”


Stretching tall on Tech-man (5.12c)

Stretching tall on Tech-man (5.12c)

The cool thing about living in the Southeast is that rock climbing can be a year round endeavor.  In fact, some south-facing, friction climbing areas are pretty much only good in the winter (Stone Mountain, Rumbling Bald, and the Asheboro Boulderfield come to mind).  If the sun is shining and the wind is calm, you can have a very pleasant day with relatively warm rock even with high temps in the low 40’s.  But despite the abundance of winter climbing opportunities, our family always makes a definitive shift into “cold weather climbing mode.”  We spend more time jumping down onto crash pads than tying into a rope.  The short days make for less longer excursions and more quickie local sessions.  We get started later while we wait for the rock to heat up, and we end earlier in hopes of making it back to the car before dark.  But most notably, we say good-bye to our home away from home, aka the New River Gorge, until some time around March…but not this year! 

Due to a freakishly warm spell that pushed daytime temps to almost 70, we found ourselves in a gear-laden car on that familiar drive up I-77 on Friday afternoon.  “It’s dark outside!” Cragbaby noted within an hour of driving, which felt odd to us all, considering that in the summer months we can make it there before sunset so long as we don’t hit too much traffic.  It also felt odd leaving our jackets in the car on Saturday morning when we hiked in – in fact I think everyone brought them down to the cliff anyway “just in case.” 

The Crag-Dad climbed AWESOME this weekend...Here he is on Flash Point (5.11d)

This weekend the Crag-Dad climbed harder than I’ve ever seen him climb! 🙂 Here’s Flash Point (5.11d)

Our crew had plans to hike in to Endless Wall via the Fern Point ladders and eventually work our way to Idol Point, but when we saw all the wet rock on the hike in, we realized that we couldn’t afford to be picky.  Even though the area had seen a lot of rain in recent weeks, we were banking on the fact that Endless would be dry because of it’s sunny and exposed position in the gorge.  What we hadn’t factored in, however, was the fact that the sudden burst of warmth had caused a remarkable amount of ice melt as well as condensation on the previously frigid rock.  Routes that are notorious for staying dry in the worst of downpours were soaked and completely unclimbable.  Just when we were starting to wonder whether we should have stayed local, we found dry rock. 

I’ll be honest, day 1 was a pretty frustrating one for me.  Let me back up.  The New is notorious for routes with stopper cruxes involving long reaches.  While other areas, such as the Red River Gorge, tend to always have smaller features for us shorties to extend our reach by bumping a foot up or by using an intermediate hand hold, the New usually has comparatively great holds with nothing in between them.  (There’s a reason why all the beastly kid phenoms choose the Red over the New, and it’s NOT because of the rock quality!)  But despite the occasional frustrations, I’ve always loved the New, and Endless Wall in particular because it favors good footwork and technical skills over brute strength. 

However, as I’ve started to push myself on more difficult climbs, I’m finding that these “reach issues” are popping up more and more.  I don’t want to play the “short person card,” as I know plenty of female climbers that are far shorter and climb far harder than me, but it’s easy to get into that mode when I’m climbing with a bunch of guys.  I think a more accurate and honest assessment is that my problems are related to movement.  When I first started breaking into 5.12 I had to climb very aggressively to make the moves.  As I’ve gotten stronger I’ve been able to lock off harder and reach holds that previously would have required dynamic movement.  (By nature I’m not a very aggressive climber (which is probably why I can’t boulder very hard), and always tend to choose very static movements unless I consciously tell myself to move with momentum.  Now that I’m pushing myself on even harder terrain, I’m realizing that I’m going to get back into “aggro mode” and use a combination of strength, timing, and coordination in order to make some of these longer reaches. 

Prepping for the crux on Aesthetica (5.11c)

Prepping for the crux on Aesthetica (5.11c)

It’s too bad I didn’t come to that realization until the END of the trip, otherwise I think Flash Point (5.11d) would have had a different ending.  Good thing I’ve got a hubby that’s chomping at the bit to get back to it, after a heartbreaking redpoint run that came just a move or two short.  But I was psyched to work out my own personal “girl beta” for a lot of the moves on Tech-man (5.12c), including the crux, before bailing at what I was told was the last significant move before more moderate terrain.  I know the finish will be hard, but I also know I can do it, because it’s the same finish as Freaky Stylee (5.12a), a route I’ve already sent.  Some hard work and a lot of fine-tuning, and I think this route could be mine for the taking.   The only other route that I did that day was The Spectre (5.11c), a burly, physical affair that I chose to do on toprope since the crack was damp in most places and sopping wet in others. 

The next day dawned a little cooler, a little cloudier, but MUCH drier – in fact, conditions were darn near perfect!  After much debate the night before due to uncertain weather conditions, we headed back to Endless, this time on the other side at the Fantasy Area, which I’d only been to once, in the summer of 2011.  Aesthetica (5.11c), was my main goal for the day, since I’d battled with it twice before and lost.  I hung the draws and dialed my crux beta in, which involves scooting off to the right…and yeah, yeah, if you’ve done this climb and done it the direct way, you are indeed cooler than me, but the long move off the crimps is too far for me (speaking of long moves…).  Anyway, I opted for the easier, but scarier and less efficient way off to the right.  The next section features two big moves one right after the other, requiring (for me anyway) full extension plus an extra dynamic “pop” just when I think I can’t reach any higher. (Ding ding!  This is when the lightbulb went off in my head…)  The rest upper section features typical well-spaced Endless Wall bolting and edgy finish.  I pulled the rope and sent on my next go, this time moving much more fluid and confidently in the reachy sections.

Loaders, and backhoes, and 'dozers, oh my!

Loaders, and backhoes, and ‘dozers, oh my!

 
Belt loops double as gear loops when you are sans harness.

Belt loops double as gear loops when you are sans harness.

My friends were working on Blackhappy (5.12b) which is just a few lines down, and since the rope was up, I decided to tackle it on toprope.  To toprope or not to toprope seems like a burning question in my mind these days.  Sometimes it’s a very wise idea, other times it feels like cheating.  But after seeing the deadpoints my taller friends were making, I really didn’t think I’d have much chance of getting to the top.  But I surprised myself by being able to do all of the moves.  Had I been on lead I would have been whipping left and right, as I had to stop and rest midway between bolts numerous times, but getting on this one was a great experience, and really challenged me to make good use of all of my 5 feet, 5 and a half inches.  It felt like it was at the very limit of my abilities, and I learned a lot from working out the sequences.

This weekend taught me that I lose motivation quickly when I feel like I’m limited by reach.  (To quote my husband, “I was surprised you gave up because it looked like you never really gave it a good try….”)  It especially happens when I’m struggling in a non-crux section of the climb that my taller partners breeze right through (which can be frustrating), or when I’m struggling to reach to hang the draws on a route (which can be scary!)  And when that happens, I settle in to a non-committal mode of “trying” without ever really FIGHTING for it.  But I left the weekend with a better self-awareness and a plan for improving my movement skills.  While there might always be certain routes at areas like the New that will give me trouble, I think it’s too soon to write me off there just yet. Flash Point?  Tech-man?  Your days are numbered.  Blackhappy?  Watch your back…(eventually 😉 )


Share