Cragmama "Not all who wander are lost…" JRR Tolkien

Sleep in Heavenly Peace

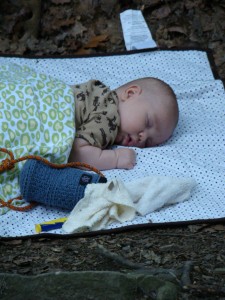
This is not the first time I’ve posted a picture of Cragbaby sleeping, and it probably won’t be the last.  He’s just so darn cute when he’s sleeping!  I love the irony of an energetic toddler that’s been going 100 miles per hour all morning shift directly into sweet post-lunch snuggle session as he drifts off to dreamland.    Go, Run, Explore, Laugh, Love, Live…then, almost without warning – Stop, Relax, Breathe, Rest, Restore, Refresh.

This picture was taken just a few days ago when I went in to C’s room to wake him up.  Some might accuse me of breaking the number one rule of parenting (Never wake a sleeping baby), but I’ve come to realize that while allowing a toddler to sleep more than 3 hours or so might prove helpful by day, it without fail makes for a frustrating evening that involves parents that seem more ready for bed than said toddler. That means that several times a week I go into C’s room around 3 and do things like fold laundry, sing, dust, and organize drawers to ease him back to the land of the awakened.  This of course, never happens outside on climbing days – those days I count my blessings if we get an hour!  Anyway, on this particular day slumbering C was the picture of serenity, seemingly stuff into the corner of his crib on top of his monkey pillow, legs all awry and popping out of the crib slats with a belly that was rather tempting to tickle.  I couldn’t help but smile as I watched him for a few minutes before opening the blinds to let the sun shine in.  I found myself wondering what he was dreaming about, and tried to picture that same little boy as a big boy, teenager, and eventually, a grown man with a family of his own.  Then I decided that I’d rather just enjoy him as an innocent little toddler indefinitely – too bad its not up to me 🙂  What images come to your mind when you think of words like peace, serenity, and restoration?

Share

A Slab-tastic Thanksgiving at Stone Mountain


While the majority of the country was up at 4am (or never even went to bed…) for Black Friday sales, our household instead celebrated “Slab Friday” at Stone Mountain.  Cragbaby’s Grammy graciously agreed to let him hang with her all day so that Steve and I could not only hit up the area that I am definitely the least familiar with guidebook-wise, but also have the chance to get our multi-pitch on together for the first time since an excursion to the Linville Gorge back when I was 5 months pregnant or so.

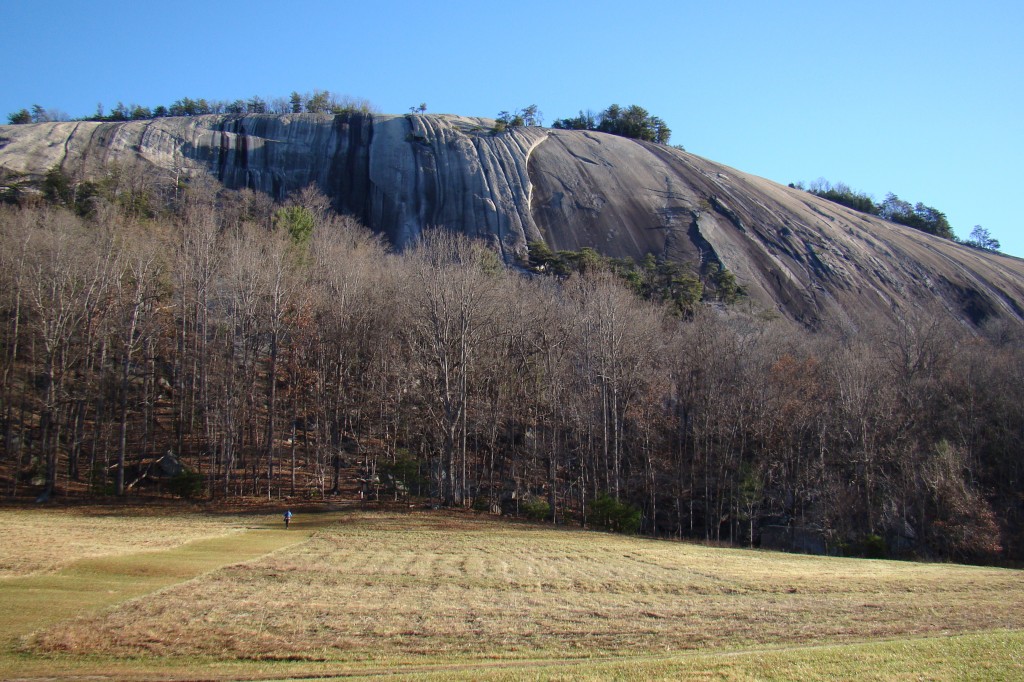
Stone Mountain is one of those areas that has a reputation that precedes itself.  Its not the kind of place you see on a map and decide to head to on a whim without knowing what you’re getting into.  The 600 foot granite dome seems like it may have taken a wrong turn at Albuquerque to end up on the east coast, but nevertheless, it offers some of the best pure friction climbing in the country.  Completely different from the steep quartzite climbing found throughout the rest of the region, this area offers sanctuary for those wishing to give their biceps a break in exchange for putting their mental muscles to the test.

A party from VA making first tracks on the Arch last Friday

But while Stone Mountain may be famous for its swaths of impeccable granite, what makes it infamous is its jaw-dropping runouts.  Almost all of the lines here were established from the ground-up, meaning bolts were placed on lead (by hand) by the first ascent party.  This bold style means 20-30 foot distance between bolts is considered well-protected, while 1-3 bolts spread out over 150 feet of easy terrain is rather commonplace.  In fact, the notoriety of the runouts at Stone gave birth to a unique belay technique – the Stone Mountain Running Belay, discussed here.  A day at Stone carries the ironic potential for providing a relaxing day of slab paddling for the follower while at the same time a hair-raising, mind-blowing head game for the leader.

Up until Friday, Steve and I had only been to Stone once, back in 2007 when we had first started climbing.  That first visit we’d followed a mentor around the sea of granite all day, and I had done my 3rd trad lead ever on the first pitch of No Alternative (5.4), which is a well-protected left-facing dihedral.   Fast forward a year and a half later to Squamish, BC (dusty, archived trip report found here), where we honed our slab paddling skills in the Little Smoke Bluffs and put them to the test later on in the week on Diedre (5.8).  We started to get an appreciation for slab technique as a legitimate style all its own, rather than just “being able to trust your feet on blank sections of rock,” and toyed with the idea of a return visit to Stone the following winter (The South face BAKES in the sun, which every friction lover knows means that sending is restricted to a winter-only activity).  But that December I tore my rotator cuff and was out for a a couple of months…then by the time the next winter rolled around I was restricted to top-roping in a full body harness (7 months pregnant 🙂 ), and then once Cragbaby entered the scene, multi-pitch was obviously out for the short-term.  But now that C is old enough to hang out with the grands, and especially considering that Stone Mountain is on my list of areas to cover in the guidebook, this season seemed as good a time as any to dive into a sea of granite!

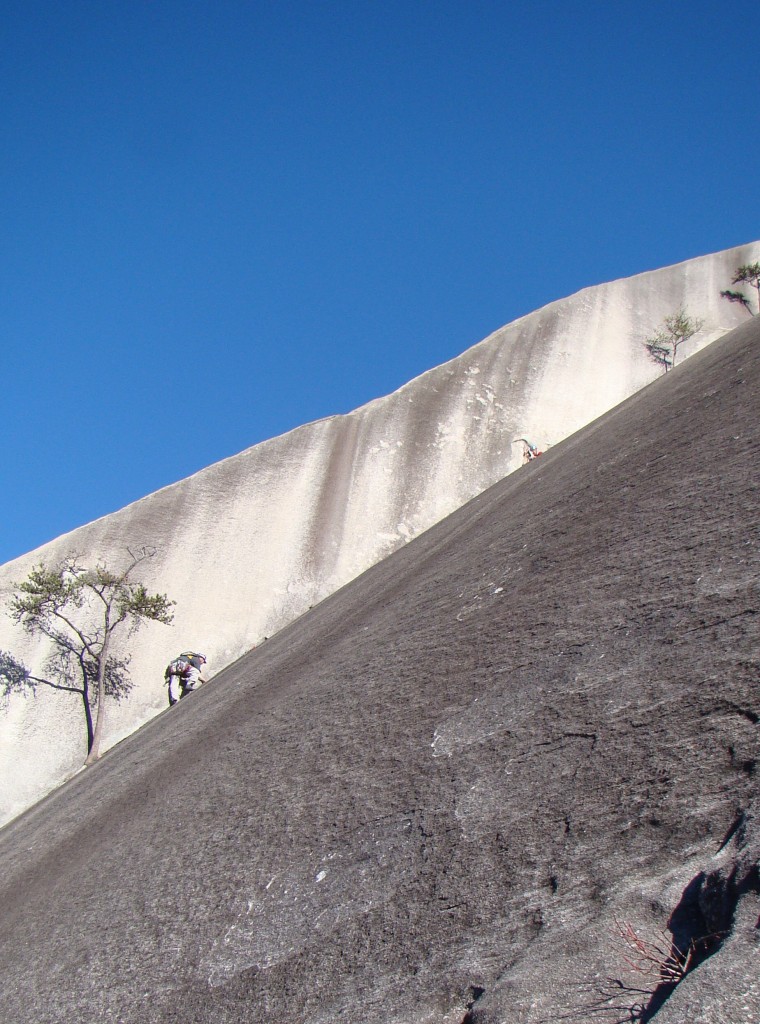
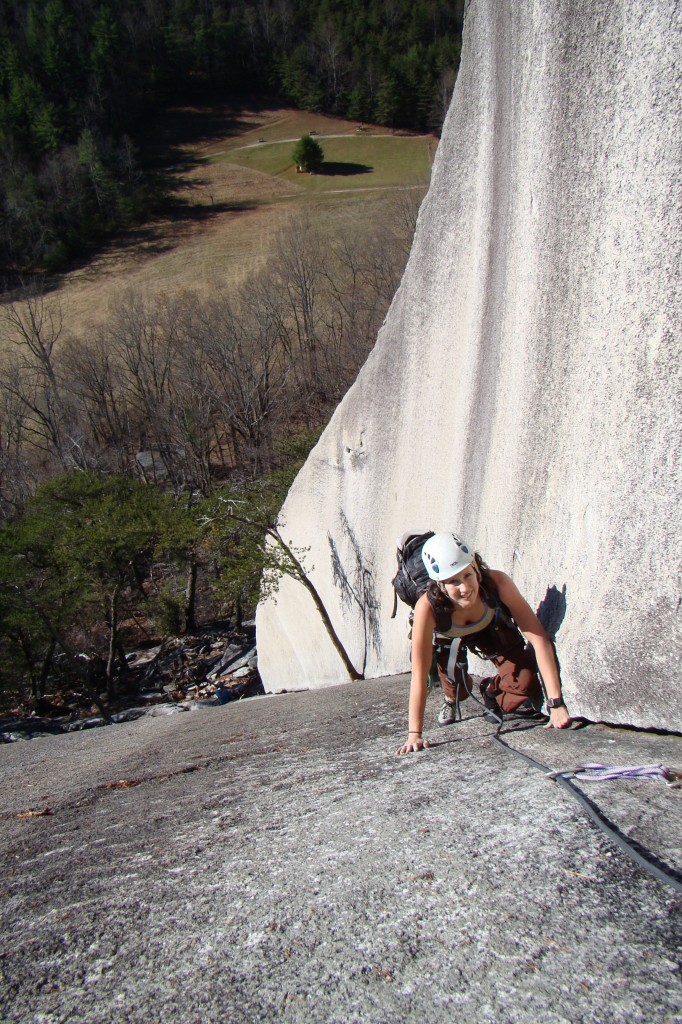
Pitch 3 of The Great Arch (5.5)

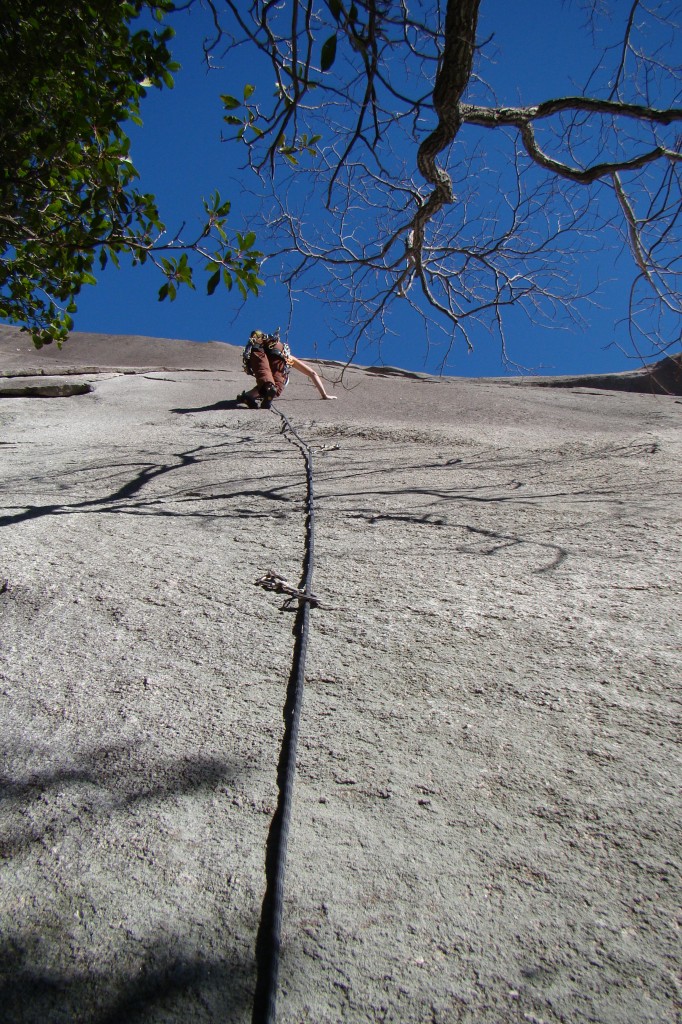
Our main goal on Saturday was to re-familiarize ourselves with the area, and to make firsthand sense of all the mounds of research I’ve been doing.  We had our sights set on The Great Arch (5.5), a three-pitch classic that follows a right-facing dihedral (and incidentally has all the gear that we could ever want).  This proud line can be seen from the field below, and gives a great vantage point for all the routes on the middle of the South Face.  The Great Arch starts from the Tree Ledge, so to get to the base of the route we climbed Block Route (5.8).  Block Route consists of an enjoyable romp up a small seam to a 5.6-ish slab for about 100 feet, to a well-protected flop onto the left side of a large overlap (crux), and then another 20 feet of easy slab.  The gear is there when you need it, and not when you don’t.

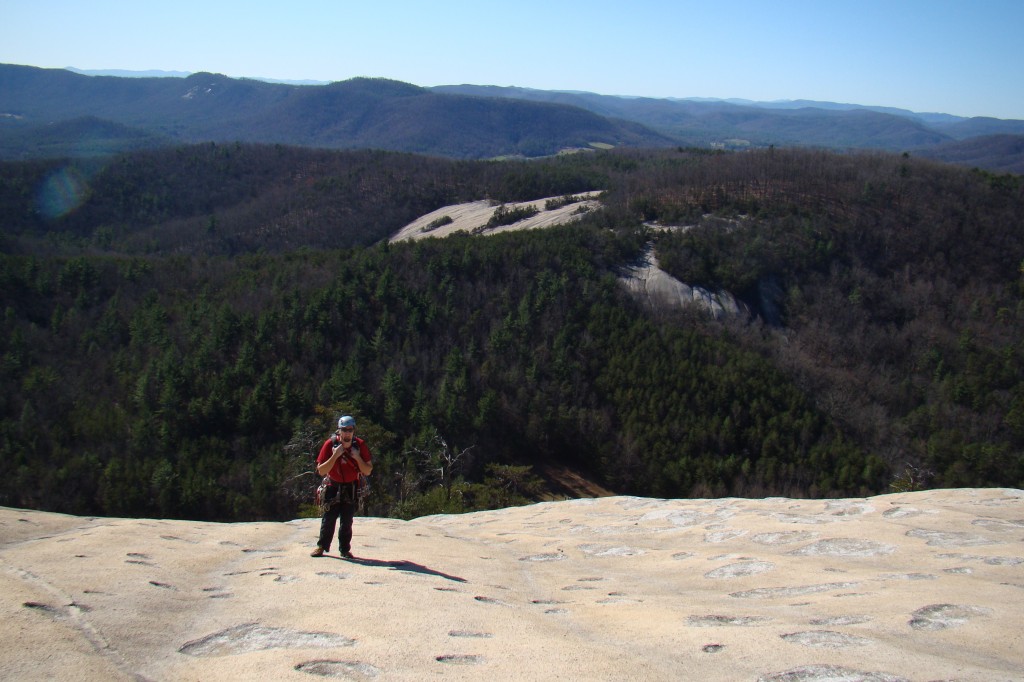
It was a good thing we’d headed out early, as there was already a party on the Arch as well as parties lining up below us with the same goal.  While we waited our turn I was able to snap some photos of the other lines along the Tree Ledge.  The climbing on the Arch most certainly lived up to its classic status – 300 feet of perfect liebacking, starting at hands size, and trickling slowly down to a thin seam.  Great gear throughout, with a very friendly angle for which to place it.  We summitted just before noon and ate lunch amidst groups of hikers in a surreal lunar-like landscape, then hiked back down to the parking lot.

A beautiful lunchtime summit

On the way down we realized that we had time for one more route.  After discussing our options, we decided on Scimitar (5.12a), since it would give us a nice chance to get our bearings on the extreme left side of the South Face and snap some more photos.  It also seemed fitting to couple our morning on one of the easiest routes at Stone with an afternoon on one of the hardest…and it didn’t hurt that Scimitar boasted 9 bolts for 120 ft (unheard of for Stone Mountain standards, and if you’re wondering – yes, it was rap-bolted) and was also rumored to be soft for the grade.

Tiptoeing up Scimitar (5.12a)

More than a little imposing from the ground, this line ascended a sustained, steep, and chalkless slab that started out thin and technical and quickly turned to hard, friction climbing some time after the 3rd bolt.  I ended up bailing from an archaic looking quicklink on the 6th bolt. We’d had such a successful day, and I didn’t have it in me to go for it when my feet were already several feet above my last bolt and I was looking at at least another body length of rock devoid of holds to reach the next one.  Somehow cheese-grating myself down 20 feet of slab didn’t seem as enticing as calling it a day and heading home to my Cragbaby!  I’m glad I tried it though, as it was a superb lesson in footwork.  Highlights for me included slipping at one point, then realizing (after sliding a few feet down the slab) that my body position had somehow managed to catch me without weighting the the rope, as well as snagging some booty gear off the 2nd bolt.

This excursion was the perfect way to work off some post-Thanksgiving gluttony.  It was the first time that the hubby and I were able to climb just the two of us since before Cragbaby was born!  It was really fun to be able to sneak away over the holiday and log some multi-pitch miles together.  It felt good to finally get back to Stone, and also to somewhat get my bearings at the area I feel least prepared to cover guidebook-wise.  And in addition to a whole slew of new moderate lines for us to play on, I even walked away with a new winter project to hit another time when I show up with my try-hard pants on!  What adventures did YOUR family get into over the Thanksgiving holiday?


Share

A Wishlist for Cragbabies (and Cragmamas, too!)

I’ve said time and again that one of my main hopes for this blog is to inspire other families to get outside and teach their kids about the value of adventure.  Armed with a sense of humor, a dash of patience and some high quality gear, our family has learned to adopt the motto that “There is no bad weather, only bad clothing!”  So what are the all-weather must-haves for the average, run-of-the-mill adventuring family?  While it may be true to some extent that you get what you pay for, the budget-conscious among us will hopefully be pleasantly surprised at this combination list of items that our family swears by, as well as items we’re hoping to find under the tree this year!  So here’s  a list of the top 5 items that your Cragbaby probably won’t ask for specifically, but would for sure request if he’she only knew the fun and adventure they represented!  (Oh yeah and I also included links to everything for your online shopping convenience!)

Having fun growing into it at 6 months…


…and just as much fun growing out of it at 19 months!

Bunting – Cragbaby was lucky enough to acquire a fair amount of his outdoor gear as hand-me-downs for the majority of the first year.  One such item was a down suit from REI.  (Picture a big puffy sleeping bag with legs…).  It was a 12 months size, but we started using it as C’s “sleeping bag” when the weather first started turning cold, and he was only 6 months.  We used it that whole winter/spring, and even made it all the way through the following fall when C was 18 months (although I will admit that the last few times I was amazed that we were able to get it zipped…).  Now, at 20 months, his arms and legs are too long to utilize the fold over feature that covers his hands and feet, but it still works out just fine as outerwear for chilly mornings/evenings at the crag.  The largest size this particular suit comes in is 18 months, so for Cragbaby’s Christmas List this year we decided to upgrade and splurge on a bunting made by Molehill, which we are thinking should last us through another couple of seasons of cold weather fun until C is ready for his own big boy sleeping bag.  In our experience a warm bunting is among our most-used pieces of gear – if the temps are under 50, we never leave home without it!


Cragbaby sending his project in his Icebreaker Oasis top

High-Quality Baselayer – You don’t like to wear cotton long underwear (it traps the sweat on your skin and makes you feel cold from the inside out), so why should your cragbaby?  Yes, a high quality wicking fabric such as merino wool is expensive, and true your kids are growing like weeds, but if your kid is cold and wet, the whole family will be miserable.  Our family’s baselayer favorites are Icebreaker and Polarn O. Pyret.  In the interest of full disclosure I must mention that we recieved our Icebreaker gear for free, but I can assure you all that I would never recommend a product that I didn’t have first hand experience with as a superior product.  Both companies use merino wool, which is amazingly soft, breathable, and still wicks away moisture to keep you warm and dry.  Take advantage of the gift-giving season to splurge on a nice set of long john’s for your tyke.  If budget is an issue, you can probably get away with just one pair – if it means they are so dirty by the end of the weekend that you have to peel them off of your child, keep in mind the mantra “God made dirt, dirt don’t hurt.”

Every Cragbaby needs a chalkbag chock full of burp cloths…

Chalkbag – Non-climbing families might be tempted to skip over this suggestion, but a chalkbag can be an excellent asset to any outdoor family’s gear stash, regardless of whether you own a harness or have ever tied into a rope.  A sweet and creative friend of mine actually crocheted us a baby-sized chalkbag as a shower gift before C was born, and we of course clipped it onto our backpack carrier, initially just for giggles and a conversation piece.  However, we’ve since come to realize that its actually pretty handy to have a free-swinging, removable container that your toddler can open and close on their own.  When C was little we used it for easy access burp cloths and teething rings – nowadays its the perfect nook to stuff important toddler things like rocks, sticks, and matchbox cars.  You can get a chalkbag anywhere that climbing gear is sold, but
here’s
a cute one for kid’s with a bear paw on it.


Flipping through to find the “are we there yet” page

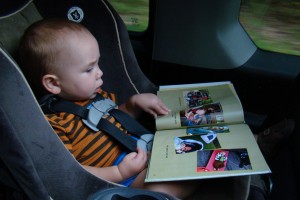
Personalized Adventure Books – So your family has set a precedent of Adventures R Us – and now you’ve got about a million photos to rotate through the 10 picture frames around your house.  A better solution?  Make a personalized photo book of your family out adventuring together (if you’ve got older children, it would make a great family project!)  If your cragbaby is anything like mine, he/she loves to read books that feature pictures of real people and children participating in everyday activities.  Last year I made a photo book entitled “Let’s Go Climbing,” for Cragbaby to read in the car to and from the crag – it was an illustrated step-by-step story of what a typical climbing weekend involved.  He’s ready and informed about what we’re getting ready to do, as well as picked up some important (for our family, anyway) vocabulary.  I also made a book for my nephew last Christmas that taught him names and titles of each family member, and just recently my brother-in-law told me the book has turned into a favorite family bedtime story!  I’ve always gotten my books at Shutterfly – you can design your own from scratch or choose from any number of templates.

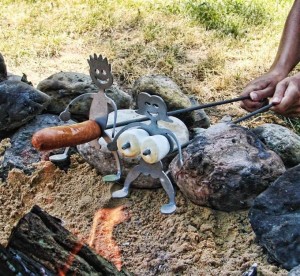
Anatomically Correct Campfire Cookers – Ok so they are ridiculously funny…if perhaps slightly inappropriate for a family camp-out, but I laughed so hard when I saw these roasting sticks that I couldn’t resist including these on the list.  There isn’t really much to say about them since they pretty much speak for themselves, but I will say that if you like the idea but are looking for an option that focuses less on naughty and more on nice, the same company (Roast My Weenie) also makes a cute little elephant roaster, where the hot dog becomes the elephant’s trunk rather than wishful thinking.  🙂

My list is a good place to start, but if you still have more gifts to buy (and an itchy clicker finger!) check out these other gift lifts from a few of my favorite outdoor blogger mamas!
Brave Ski Mom: Suggestions for Skiing Families
Velo Mom: Family Holiday Gifts for Cyclists
OutsideMom: Outdoor Gifts for Families
Mountain Mama Tales:  Great Kids Gear (Adventuring for Christmas)
Bring the Kids: Christmas Gift Ideas: The 5 Pieces of Gear We Take Everywhere

Share

A Classic, A Project, and a Classic Video Project

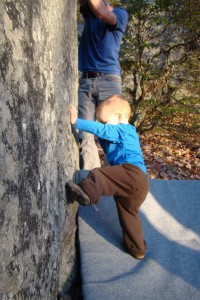
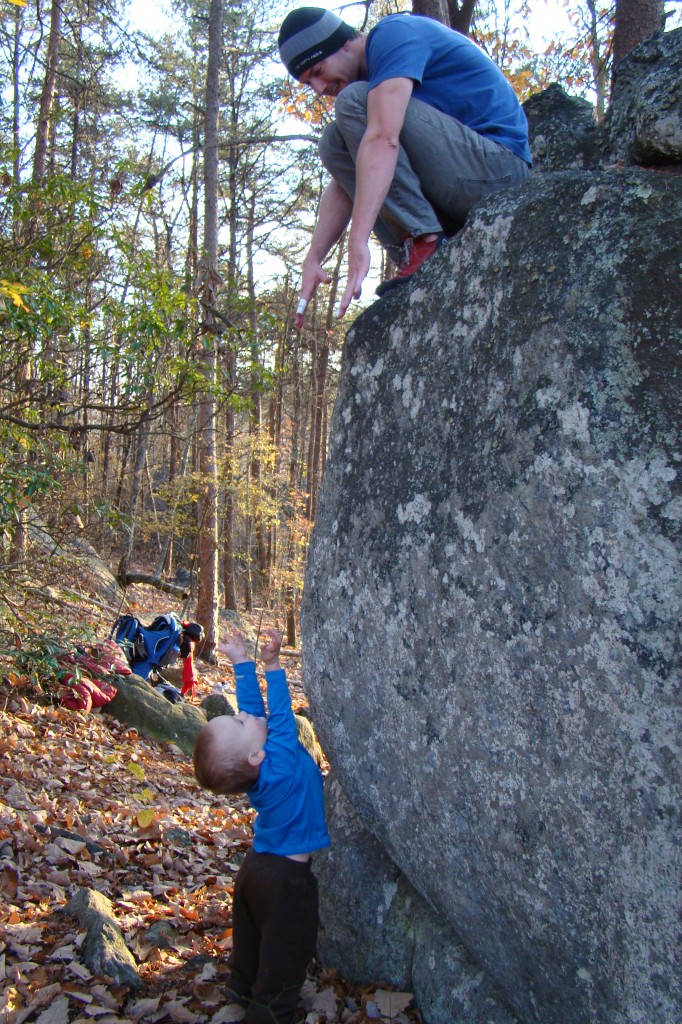
Cragbaby crushing

We’d been looking forward to the Dixon Crush-fest Bouldering Competition for a few months, and although we were disappointed when it got cancelled, we didn’t let it stop us from having our own crush-fest this past Saturday.  Besides, Cragbaby and I were both sporting new gear from Icebreaker  and we were anxious to put it to the test (more on that exciting partnership later!). What started out as a chilly morning turned into a great day – what we lacked in sunshine was more than made up for in friction!

Steve topping out on Snake Jam - nice spotting guys...


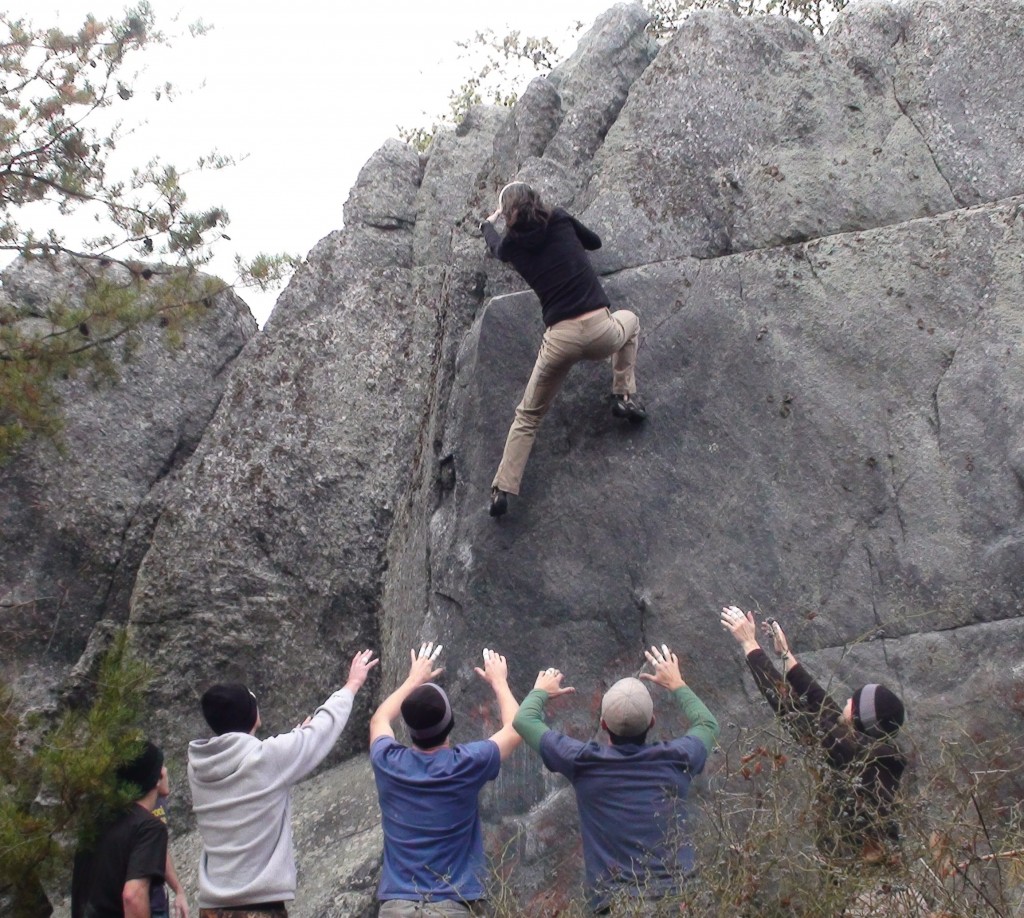
We spent the morning in the Lower Area, where we got the party started on 2+2=3 (V3) and Disinformation (V2).  We played around with a variation on Baleen (V2) that traversed in and made the problem a little longer.  We also hit Classic Overhang (V2), The Rattler (V2), and Snake Jam (V3) before heading up to Venom (V5), which I’ve officially adopted as a project.  The first couple of times I got on it, the initial move felt absolutely impossible for me.  Eventually however, I was able to figure out some beta that worked well enough to not only get me off the ground, but also through the next few moves as well.  The first hold is really sharp, and after several tries I realized that I was working on a pretty good hole in my middle finger, so I decided to move on and save my fingertips for other things.

My high point on Venom...still got a ways to go!

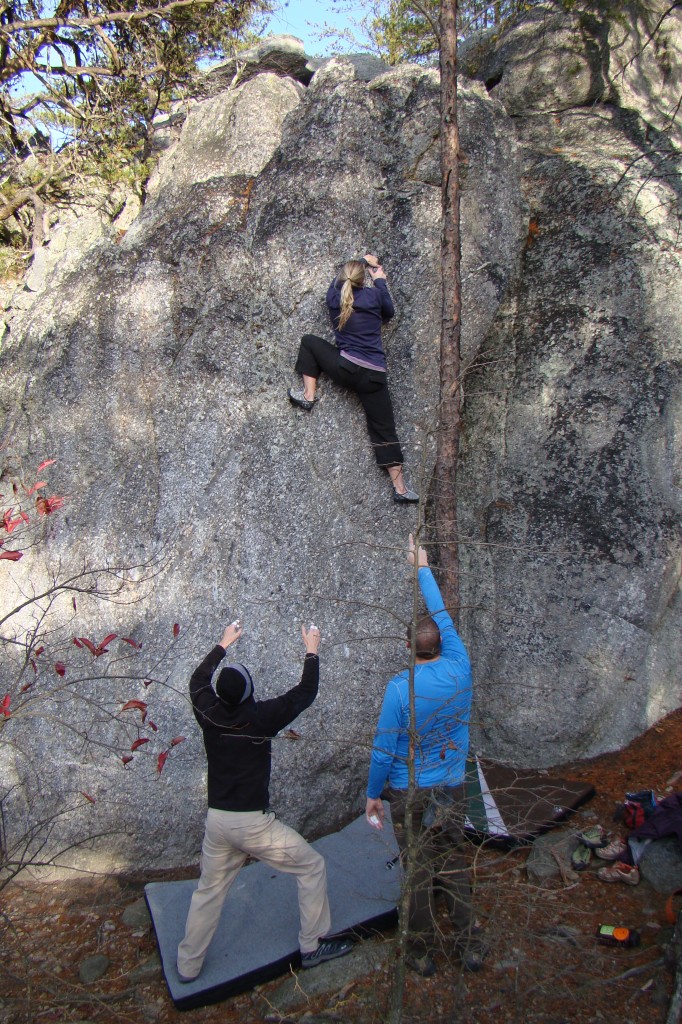
 Megatron (V2) and Unicron (V3) were next on our list before heading all the way up the hill to Classic Arete (V4) on the Missing Boulder.  This tall, imposing line just might take the prize for “Scariest Moderate” at Dixon.  We’d hiked up to it on our last trip a couple of months ago, but didn’t do anything more than look, due to the swarms of wasps buzzing around at the top.  The wasps were gone this time, but there was still plenty of excitement to be had.  It took us a while to pad up the landing, a 5×5 area that is bordered on the sides by sharp rocks and by a large fallen tree at the back.  One by one everyone finessed their way up the off-balanced arete, fighting off the barn-door to make it to the crux – an ultra-committing core-intensive move from an uncharacteristcally greasy rail 15 feet off the deck.  On my first go I got both of my feet high and left and tried to make a layback move onto the flake above the rail…I couldn’t hold the body tension and literally came off like a cannonball onto my spotters below.  Thankfully they were able to aim me onto the pads so that I could get a soft (albeit butt first) landing.  It didn’t hurt at the time (thanks adrenaline!) but by the time I crawled into bed that night I could definitely feel it, although after a visit to the chiropractor on Monday morning, I was thankfully on the mend.


Mid-crux on Classic Arete, with plenty of pads and spotters!

After a few more similarly dramatic bails from other folks, Javier stepped up and got the send train rolling when he discovered two sharp crimpers be could bump to from the rail, along with a couple of high nubbins for his feet.  His casual-looking send was not only inspiring, but the fall potential from his beta looked much safer, (since his body position was more straight up and down), so I decided to give it one more go – and sent!  The new beta worked out perfectly for me, and although I can see why this line gets a classic status, the fear factor of such a high and committing crux keeps it from becoming the kind of thing you’d want to run laps on over and over (at least for me anyway!).  Steve chose to sit this one out and play camera-man, so we did get some decent video of most of the sendage – click here to see our Ode to Classic Arete video collage.

We played around on a few more lines but by this point we were all feeling pretty wiped, so we decided to close out our day with a few runs up the easy lines on the Y-Axis Boulder – Starboard (V1) and Y-Axis (V0).  We timed the hike out perfectly so that we were arriving at the parking lot just as the last few rays of sunlight were dipping below the tops of the trees.  After a lively discussion of The Highlight Reel over dinner amidst a sea of cheese fries wallowing in ranch dressing, and we were still able to make it back home before Cragbaby’s bedtime with 15 minutes to spare!  Here’s a big +1 for having rock within 45 minutes of your house!  What natural playgrounds does your family take advantage of having close by?

April gettin' high on Backsplinters

I wish I was a little bit taller...

Share

Dave the Dude 5.11d – From a Dudette’s Perspective…

Caleb high on the face

While every climbing trip we take involves fun and uniqeness, not every trip contains a moment like this one.  It’s 5 days later as I write this and my heart still skips a beat when I think about this line.  When I first sat down to write up my trip report from last week’s trip to the Red, I knew Dave the Dude deserved way more love than a brief mention in a weekend recap, so I decided to memorialize it as a Classic Climb.

Just like the old adage that says you can’t judge a book by its cover, you can’t always tell how good a route is at first glance.  Sometimes a simple, uninteresting face can provide exceptional movement and position, whereas other times the most aesthetic lines don’t climb near as good as they look.  Dave the Dude however, is one of those special lines that not only lives up to, but far surpasses its first impression.  No matter what type of climber you are, or what type of style you prefer, you can’t walk by this route without taking notice.  Its the kind of line that almost seems to shout, “Climb me!”

The varied movements on this route make it almost seem out of place amongst its neighboring lines at Eastern Sky Bridge.  The clean face that for the most part remains devoid of obvious pockets and huecos is more reminiscent of a long technical Endless Wall line at the New River Gorge than a typical route you’d find at the Red.  Upon closer inspection you’ll notice this line has a diverse combination of styles, somewhat sustained, complete with a devilish crux sequence and an exciting, powerful finish.
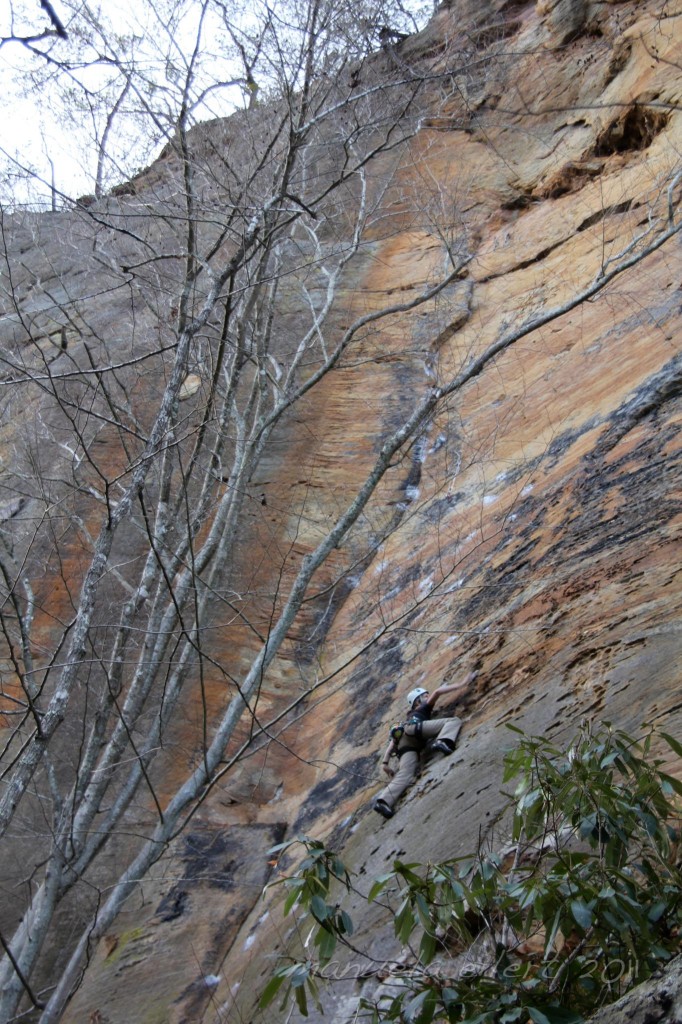
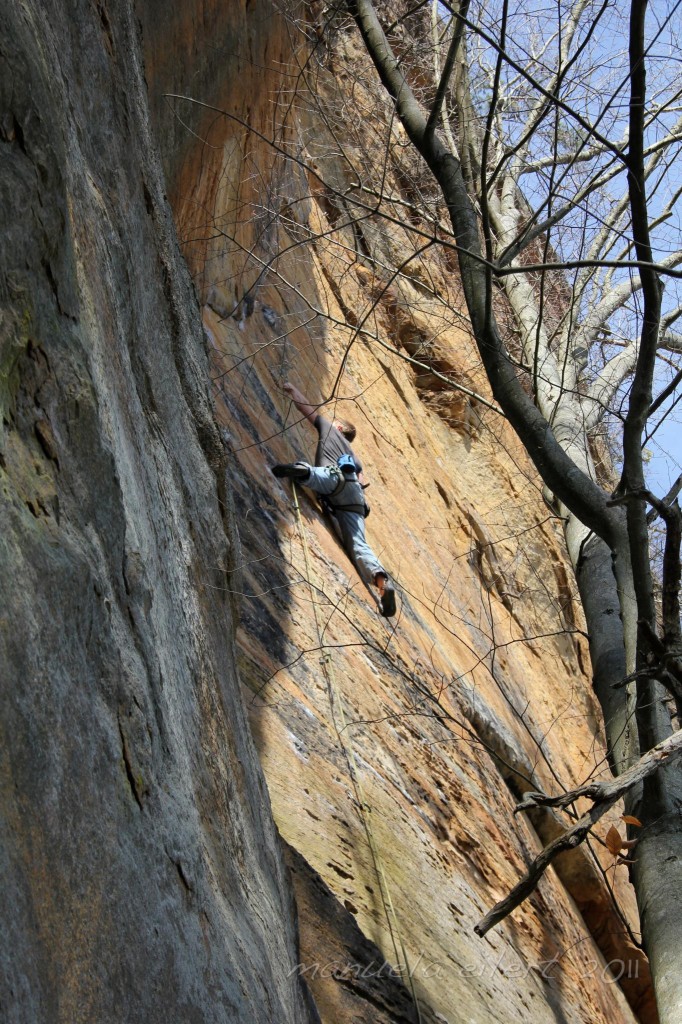
It was hard to get clear shots b/c of the trees, but the line ascends the face, then heads left and up into the flake system

The route can basically be divided into three segments – finger crack, crimpy face, then a burly layback section which is preceded directly by a mono crux.  After hearing the nasty play by play of what the boys had been doing at the crux, I decided to toprope it rather than lead it first.  Sure enough, I had a lot of trouble with the tall guy beta – a right hand mono pocket and a wicked step through to a hard left hand gaston to gain the flake that looked pretty shoulder-intensive.  However, during one of my many flailings, I discovered another hold that was ironically an exact mirror image to the mono pocket they’d been using.  It was a little harder to get to, but once I had it I was a lot closer to where I needed to go. With the left hand mono and a tiny but positive crimper for my right, I was able to move up first try into the flake completely static and in a good body position to set me up for the layback piece.  The layback section was hard but fun and I felt pretty confident about it.

I lowered and had intended to head to another route (since virtually everything at Eastern Sky Bridge gets at least 3 stars…) but started toying with the idea of leading it after hearing how much everyone else had thrashed and flailed during their first attempt.  I realized that there was only enough daylight for one more route, Bennett scrambled up on top of a ledge and announced that he had a good angle for video, and the rest of our posse joined us after finishing up somewhere else and proceeded to not-so-subtly encourage me to go for it.  It seemed as though the situation was quickly turning into my chance for either an epic send or an epic fail…
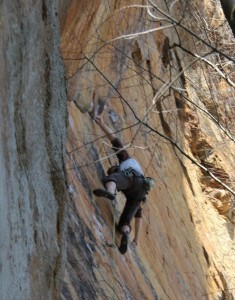
Boy Crux Beta

As we all know, a little peer pressure never hurt anybody (well, I guess that might not be entirely true, but in this situation it was a good thing…), so I decided to put on my big girl panties and lead it.  Looking back, I’m not sure why it was so intimidating – the bolts were pretty far apart in the lower sections, but the climbing was straightforward and I’d had no trouble on it during my toprope run.  The crux occured right after clipping a bolt, so those moves were basically on a toprope, and the layback section, while committing and insecure with a lack of feet, had good clipping stances and reasonably clean falls.  Nevertheless, in the back of my mind I was afraid I wouldn’t be able to finish it, and we’d have to deal with all sorts of shenanigans to get our gear back in the dark.
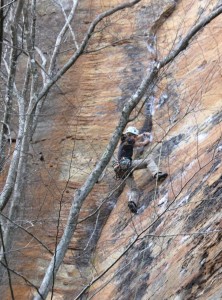
Girl Crux Beta


Just for background, my only prior 5.11d send had been at Hidden Wall in North Carolina – a route called Toxic Shock that had a nasty crux right off the deck, but then provided a no hands rest and 5.9 terrain the rest of the way – 11d yes, but Dave the Dude was obviously much more legitimate (and far more classic).  I was able to make quick work of the crack and face climbing sequences, and before I knew it I was at the crux…and starting to panic because I couldn’t figure out where to put my right foot.  There were only two options for my hands, so I knew those were right, but when I put my left foot up, it felt too far away to rock onto, which meant my right foot wasn’t right.  My fingers were screaming at me and I knew I didn’t have much time to figure it out –  I lost my focus for a second as I thought about how lame it would be to botch my redpoint over a lapse in memory.

Finally I retraced my steps a bit and realized my right foot needed to be where my left had been.  As soon as I did that, it felt right and I pulled up on the mono and bumped into the good part of the flake.  From this point the feet disappear except for a key pocket for the right toe, so its all about using  body tension to stay on.  With the crux down,  I took a minute to shake out and remind myself to keep my core tight before starting up the flake – and then promptly felt myself barn-door when I started moving again…thankfully my hand holds were good enough to keep me on.  Once I got my right toe in the pocket, I knew the send was mine for the taking, and powered up the rest of the flake.  When I lowered I could tell that I was sporting a goofy perma-grin, but there wasn’t a thing I could do about it – nor did I care!
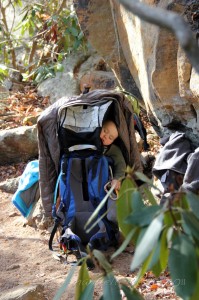
Meanwhile, here's how Cragbaby kept himself entertained...

Sending Dave the Dude was definitely an unexpected surprise, and a great climax to a fantastic trip.  I normally don’t like to project routes when we are in new areas and/or areas that I don’t get a chance to climb at very often.  My m.o usually consists of hopping on as many classic routes as I can, regardless of grade so that I can get a full-value experience out of a particular area.  That means that for the most part I generally stick with routes I have a good chance of onsighting so as not to beat myself to a pulp on any one line.  That being said, I hadn’t been expecting to send anything hard, so to tick off a solid 5.11d on my second go was definitely pretty exciting for me!
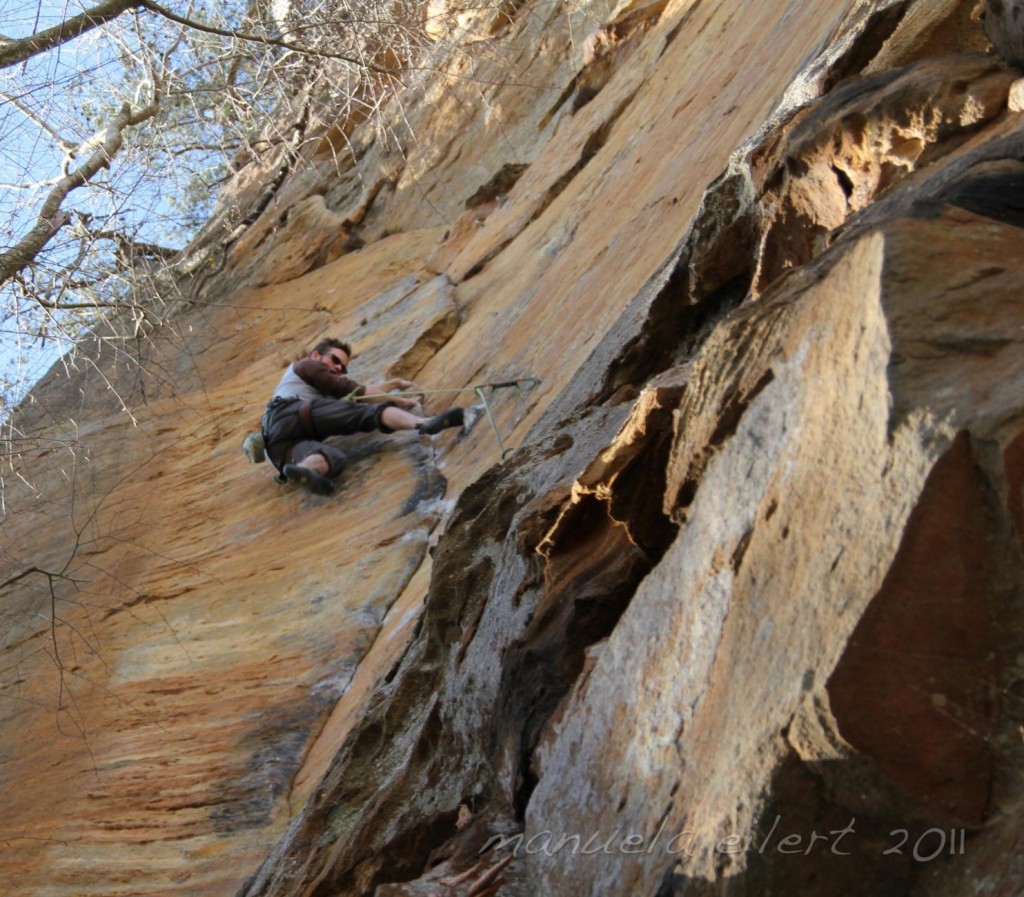
Bennett getting his layback on


So for anyone out there that is headed to the Red in the near future – make sure to hop on Dave the Dude if you find yourself at Eastern Sky Bridge – I promise you won’t regret it, as it was unanimously given 5 stars from everyone in our party that tied in to it.  We did manage to get some video…although admittedly I’m a bit hesitant to share it because it’s by no means an example of fine cinematography (not to mention that the angle makes it look 5.9…).  At the very least, however, it does a pretty good job showcasing the route, so if you’re interested, please pardon the occasional jumpiness and climber-out-of-frame bits and click here.  Oh yeah, and big props to Bennett who had the idea to scramble up on the ledge to film right after his own send of Dave the Dude…
 

Share